3.1.8 System
Configuration
Account
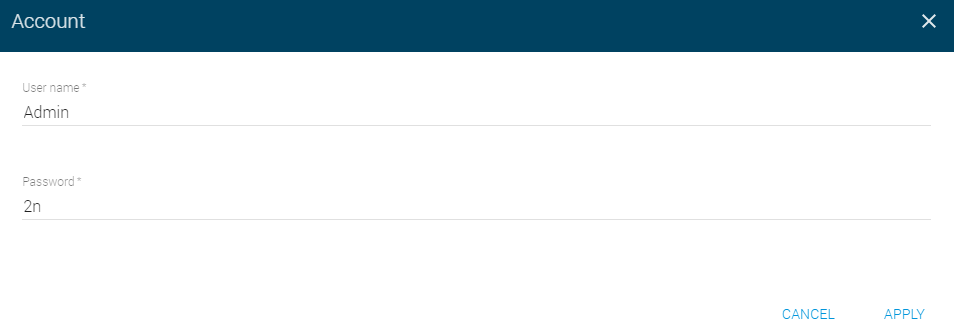 |
- User name – set the user name for 2N® SIP Mic web login.
- Default user: Admin
- Password – set the password for 2N® SIP Mic web login.
- Default password: 2n
- We strongly recommend you to change the password upon your first login!
Date and time
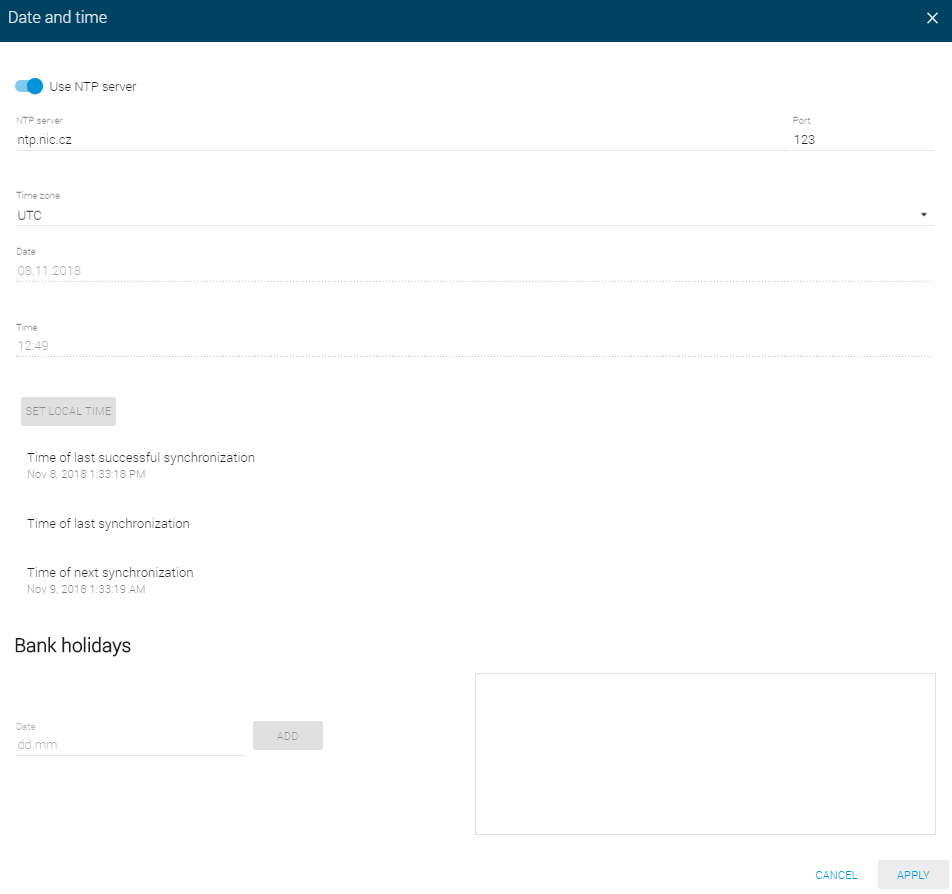 |
- Use NTP server – use the NTP server for internal time synchronisation with 2N® SIP Mic. Enable the function to deactivate the manual local time setting.
- NTP server – set the NTP server IP address or DNS to be used for 2N® SIP Mic internal time synchronisation.
- Port – set the NTP server port to be used for 2N® SIP Mic internal time synchronisation.
- Time zone – set the time zone for the 2N® SIP Mic installation site. Winter/summer time is not considered automatically.
- Date – set a date in the DD.MM.RRRR format.
- Time – set a time value in the HH:MM 24-hour format.
- Set local time – use the button to synchronise the 2N® SIP Mic time with your current PC time value. Press Apply to set the time value in whole minutes.
- Time of last successful synchronization – display date and time of the last successful synchronization.
- Time of last synchronization – display the date and time of the last synchronization result.
- Time of next synchronization – display the date and time of the upcoming synchronization.
Info
The default NTP server is 195.113.144.201.
Syslog – this function has not been implemented yet.
Axis Audio Manager – set the Axis Audio Manager server connection parameters.
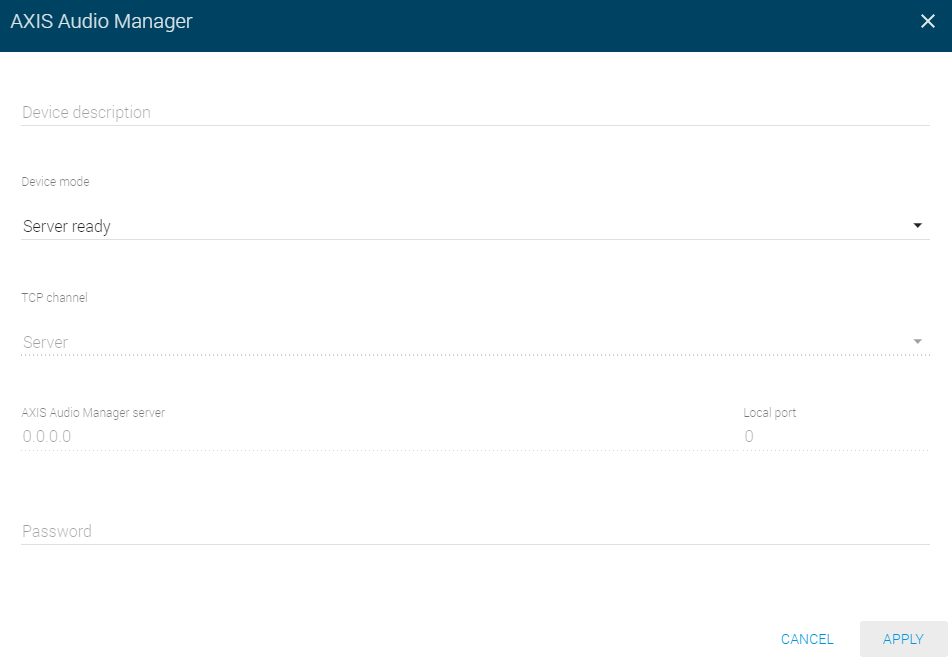 |
- Device description – set the device name.
- Device mode – set the device mode.
- TCP channel – set the client server mode.
- Axis Audio Manager server – set the Axis Audio Manager server IP address.
- Local port – enter 6888, optional for remote.
- Password – set the Axis Audio Manager server access password.
Console lock – lock the console to prevent the action buttons from being used. Locking is signalled by backlight flashing of the button pressed.
Allow audio message recording – allow audio message recording using the Zone announcement button.
Note
- The console lock only controls the upper panel buttons. The logical inputs attachable to the back panel remain active.
Maintenance
This section only describes the action buttons that generate direct actions to be confirmed using a dialogue window.
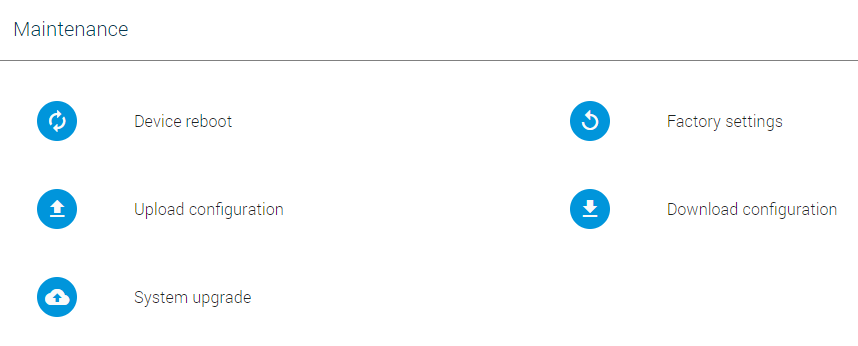 |
- Device reboot – restart 2N® SIP Mic. The entire restart process takes about 30 s. Once 2N® SIP Mic obtains the IP address after restart, the login window is displayed automatically.
- Factory reset – reset all the 2N® SIP Mic parameters except for network settings. To reset 2N® SIP Mic fully, use the Reset button on the device bottom.
- Upload configuration – upload configuration from backup. Press the button to display a dialogue window for you to choose the configuration file to be uploaded.
- Download configuration – back up the current 2N® SIP Mic configuration. Press the button to download the full configuration to be saved on your PC.
- System upgrade – upgrade your 2N® SIP Mic firmware. Press the button to display a dialogue window for you to choose the firmware file for your 2N® SIP Mic. 2N® SIP Mic is automatically restarted upon a successful firmware upload to make full use of the new firmware. The entire upgrade process takes less than 1 minute. Refer to www.2n.cz for the latest 2N® SIP Mic firmware version. The firmware upgrade does not affect the configuration. 2N® SIP Mic checks the firmware file and prevents you from uploading a wrong or corrupt file.