3.1 Configuration
Configure 2N® SIP Mic via a PC equipped with any internet browser:
Launch your internet browser (Internet Explorer, Firefox, etc.).
- Enter the 2N® SIP Mic IP address (e.g. http://192.168.1.100/).
- Enter the username Admin and password 2n to log in.
2N® SIP Mic requires a password change upon the first login. Strong passwords are only accepted: eight characters at least including one capital letter, one small letter and one digit.
You have to know the device IP address to log in to the integrated web server. By default, 2N® SIP Mic is set to the dynamic IP address mode: the IP address is acquired automatically if a properly configured DHCP server is available in the LAN. Where the DCHP server is unavailable, 2N® SIP Mic can work in the static IP address mode. Refer to the Configuration section for 2N® SIP Mic configuration details.
Should the device be still unavailable (forgotten IP address, LAN configuration change, etc.), find the IP address using a device button.
IP Address Lookup
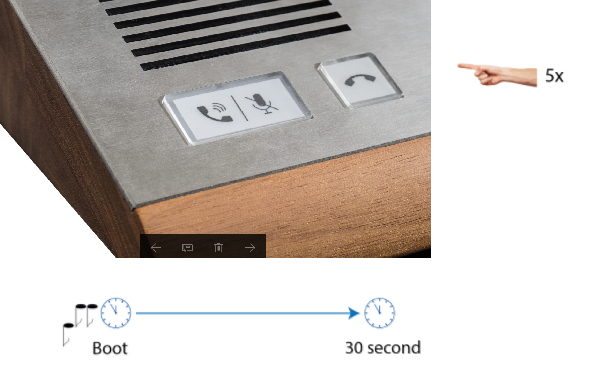
Do the following to find the 2N® SIP Mic IP address:
- Connect 2N® SIP Mic to a power supply (or disconnect and reconnect it if already supplied).
- Wait for the sound signal
 .
. - Press the hang-up button on the device five times.
- 2N® SIP Mic signals the DHCP server state with a blue/green colour and reads its IP address.
- If the button is green, the address is 0.0.0.0, which means that 2N® SIP Mic has not obtained the IP address from the DHCP server. Contact your network administrator or set DHCP OFF and use the fixed IP address. See below.
- To change the settings, switch off DHCP and switch on 2N® SIP Mic again.
- Press the call end button 10 times within the first 10 s to switch the DHCP state from ON to OFF and vice versa.
 |
Change of the DHCP server status
Upon the system start, press the Call hangup button to read the IP address or change the DHCP state.
- Press the button five times to read the set IP address.
- Press the button ten times to switch DHCP ON/OFF.
When you have pressed the button five times, the button turns blue/green to indicate the DCHP setting.
- Blue – DHCP OFF
- Green – DHCP ON
Note
- Be sure to enter the button sequence within 10 seconds after the sound signal activation for security reasons. The button press timeout is 2 s.
DHCP is active after factory reset and the device obtains the IP address automatically. If you switch DHCP off, the default IP address, subnet mask and DNS server are configured as mentioned below.
Warning
Default network settings:
- IP address 192.168.1.100
- Mask 255.255.255.0
- DNS 1 192.168.1.1
Description of 2N® IP Network Scanner
The purpose of this application is to find the dynamic 2N® SIP Mic IP address in the local IP network. Download the application from www.2n.cz.
- Run the 2N® IP Network Scanner installer.
- The installation Wizard guides you through the installation.
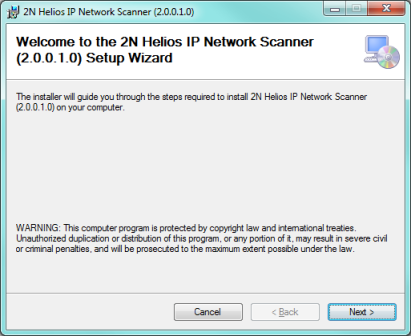 |
2N® IP Network Scanner Installation Wizard
- After installing the 2N® IP Network Scanner application, run the application using the Start menu of the Microsoft Windows operating system.
Upon launch, the application starts searching the LAN automatically for all
2N® SIP Mic with an assigned or statically set IP address. The devices are then listed in a table.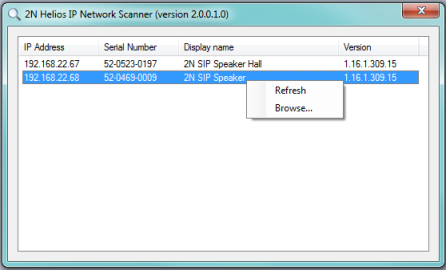
2N® IP Network Scanner Window
- Select the 2N® SIP Mic to be configured. Click on it with the right-hand mouse button and select Browse... to open the web browser window, log in to
2N® SIP Mic and start configuring as described in the Login subsection below.
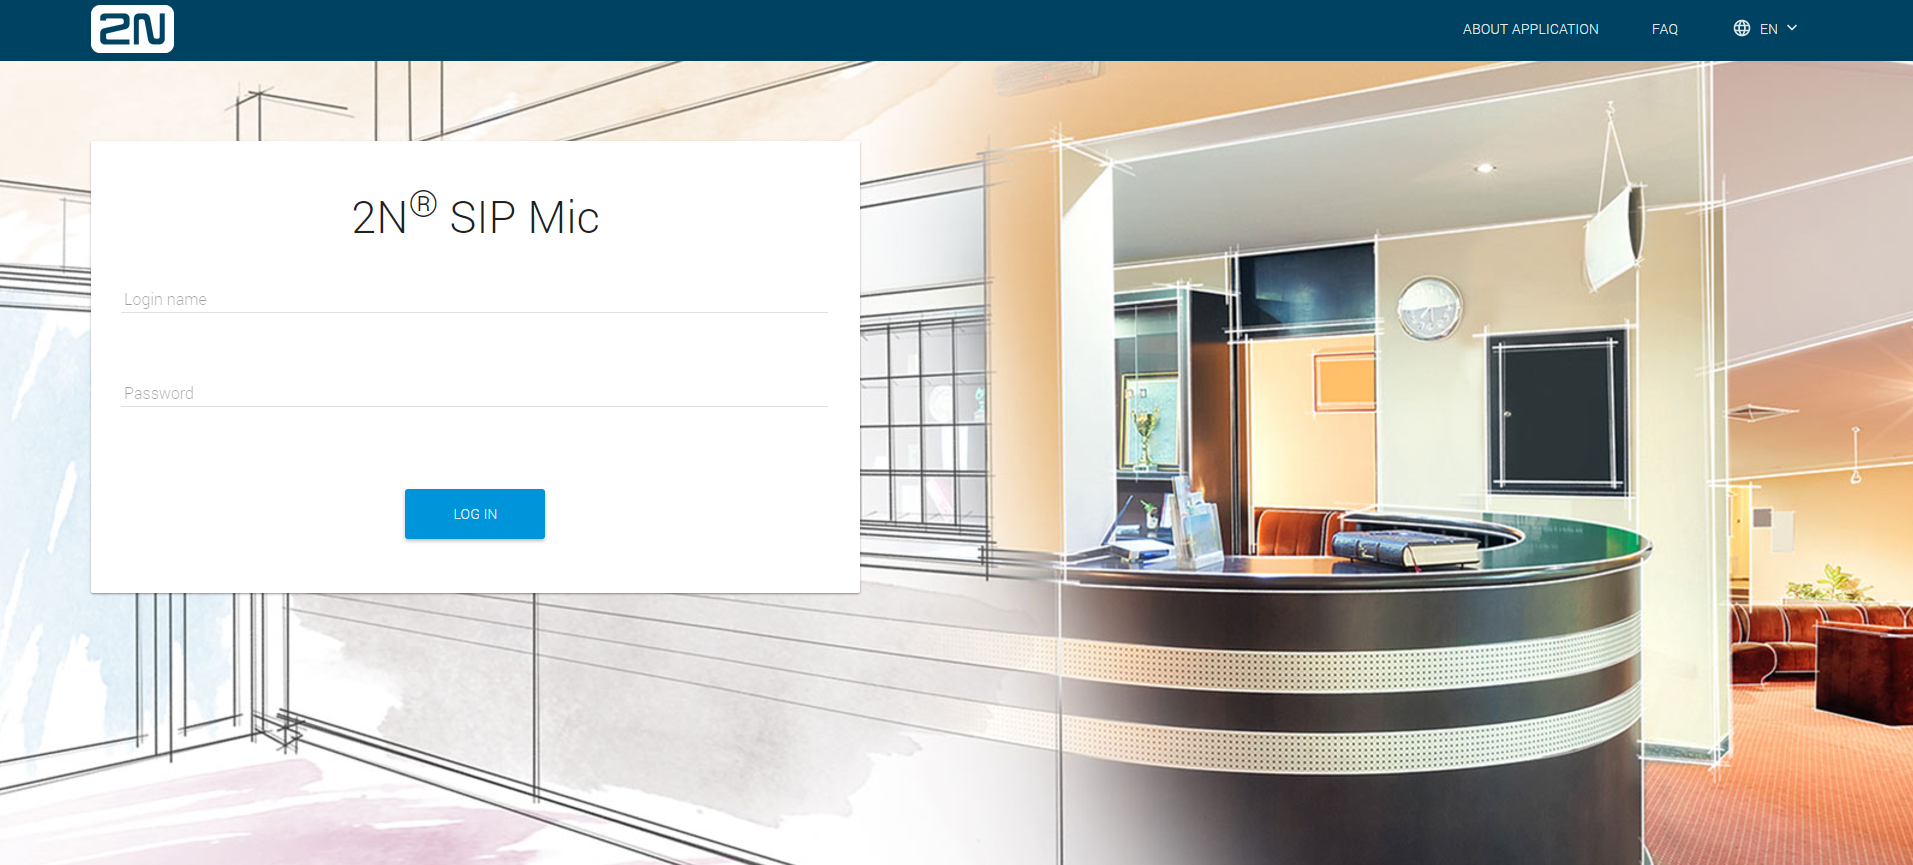
Login
In the web browser enter the IP address of 2N® SIP Mic. Subsequently, a login screen will be displayed. The default login username and password are as follows:
- Username: Admin
- Password: 2n
 |
If the login screen does not appear, an incorrect IP address was entered into the web browser or the 2N® SIP Mic administration web server was turned off. If you are not sure of the IP address of 2N® SIP Mic, use the 2N® IP Network Scanner application as described in the Description of 2N® IP Network Scanner subsection. If the idle time is, typically, longer than 10 minutes, the user is logged off automatically.
Language Selection
You can select the language using the tag menu in the right-hand upper corner as shown in Figure below.
 |
Language selection
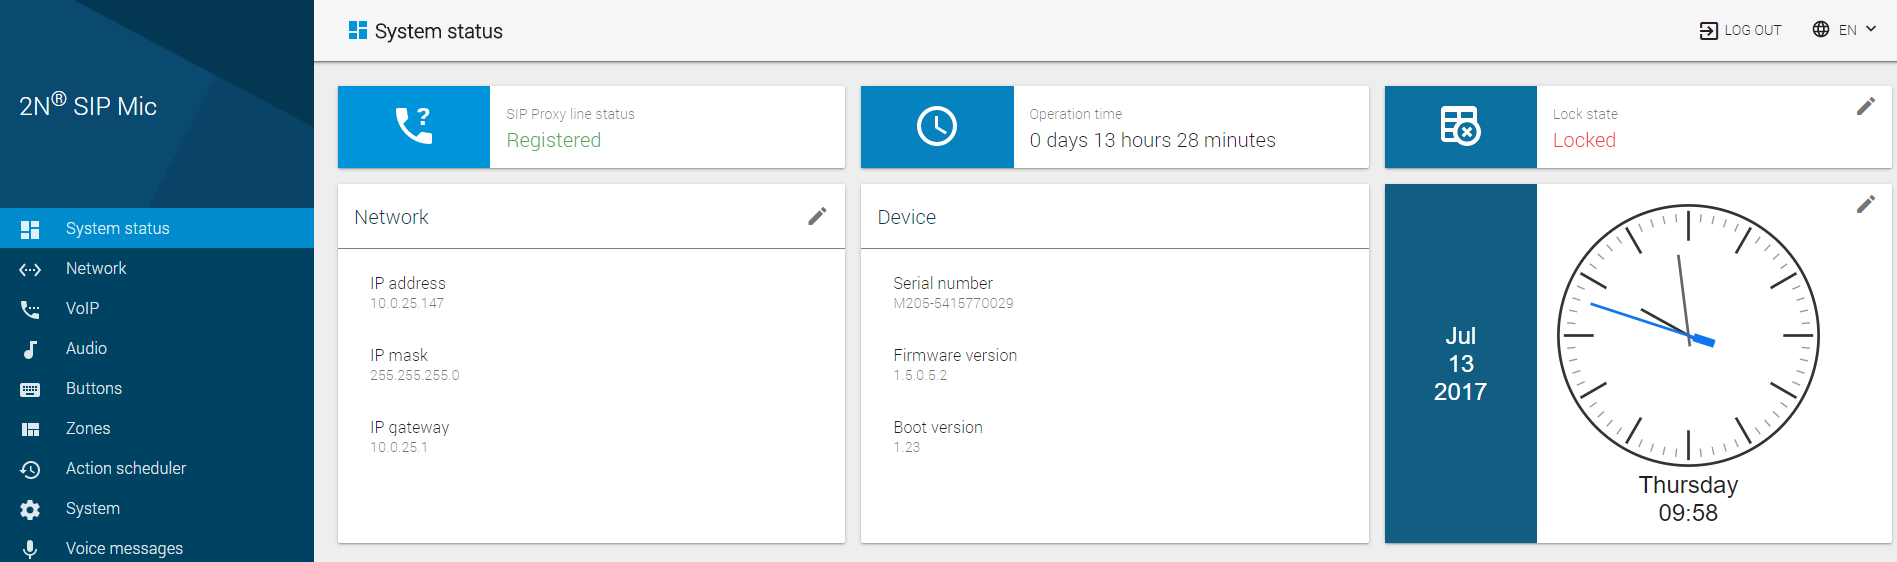
Start Screen
The start screen is displayed whenever you log in to the 2N® SIP Mic web interface. Use the System status menu in the left-hand upper corner of the navigation bar to return to the start screen any time. Choose the web interface language to the right. Click the Log out button in the right-hand upper corner of the screen to quit 2N® SIP Mic.
 |
Configuration Menu
2N® SIP Mic configuration consists of 9 main menus – System status, Network, VoIP, Audio, Buttons, Zones, Action scheduler, System and Voice messages, each of which is divided into submenus; see the survey below.
System Status
- SIP Proxy line status – line state info
- Operation time – 2N® SIP Mic operation time
- Lock state – lock state
- Network – LAN connection settings
- Device – device info
Date and time – real time and time zone settings
Network
- LAN – LAN connection settings
VoIP
Settings – SIP proxy, codecs, etc. settings
- Common – second call settings
- Status – line state info
Audio
- Settings – ringing volume and key beep settings
Buttons
- button action settings
Zones
- zone parameter settings
Action scheduler
- action settings
System
- Configuration – user parameters, date and time
- Maintenance – configuration backup and reset, firmware upgrade, reboot, factory default
Voice messages
- voice and system message settings and upload
- 3.1.1 System Status
- 3.1.2 Network
- 3.1.3 VoIP
- 3.1.4 Audio
- 3.1.5 Buttons
- 3.1.6 Zones
- 3.1.7 Action Scheduler
- 3.1.8 System
- 3.1.9 Voice Messages