2.7 Retrieval of 2N® LiftGate in Network by 2N® Network Scanner
Use the administration web server to configure 2N® LiftGate. Connect 2N® LiftGate to a PC using a LAN cable making sure that the device is being powered.
2N® Network Scanner Description
The application helps find the IP addresses of all 2N® LiftGate devices in the LAN. Download the application from the 2N web sites (www.2n.com). Make sure that Microsoft .NET Framework 2.0 has been installed before installation.
- Run the 2N® Network Scanner installer.
Use the Setup Wizard for successful installation.
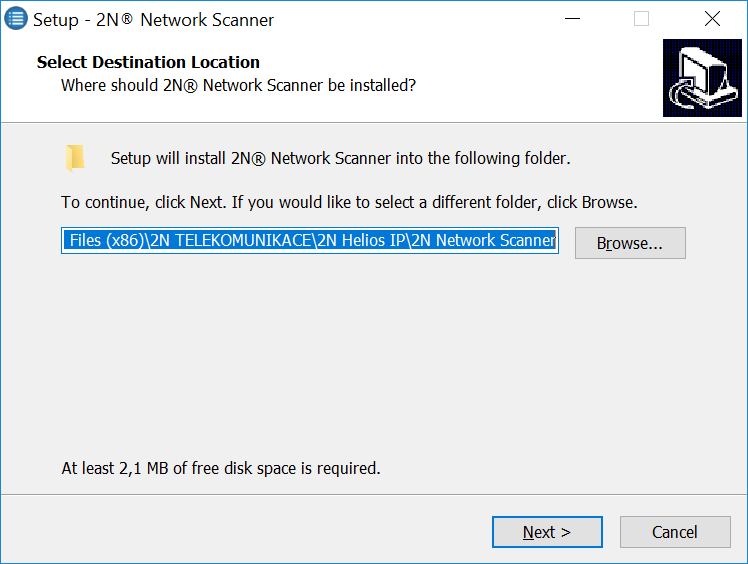
Setup Wizard of 2N® Network Scanner
- Having installed 2N® Network Scanner, start the application using the Microsoft Windows Start menu.
Once started, the application begins to automatically search for all the 2N devices in the LAN including their smart extensions which are DHCP/statically assigned IP addresses. All the devices are then displayed in a table.
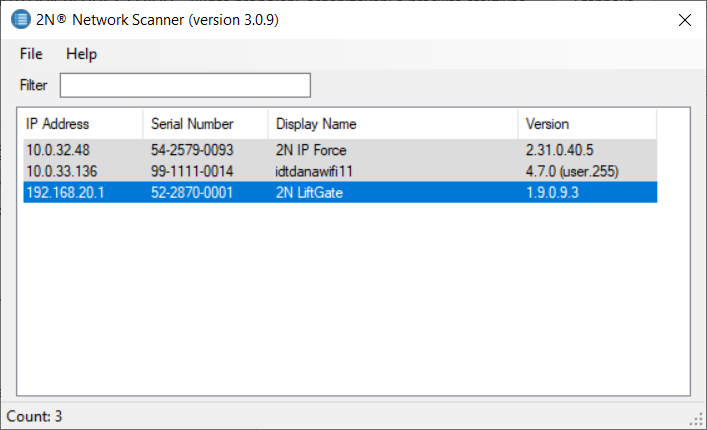
Window of 2N® Network Scanner
Select the 2N® LiftGate device to be configured from the list and right-click it. Select Browse... to open the 2N® LiftGate administration web interface login window for configuration. To change the device IP address, select Config and enter the required static IP address or activate DHCP. Remember to confirm the setting change with a password. If the default password has been changed (upon web interface login), use the current password; otherwise the default password is 2n. If the found device is grey highlighted, its IP address cannot be configured using this application. In that case, click Refresh to find the device again and check whether multicast is enabled in your network.
 |
Change of Device IP Address in 2N® Network Scanner