3.1 Installation and Login
After the application is launched, the installation program will scan your PC for another 2N® Call Center – Control Panel version and ask you to uninstall the currently available version if identical with the new one. Use the system Control Panel Add or Remove programs to uninstall the existing product version for reinstallation or reconfiguration. If the versions are not identical, the original version will be uninstalled and a new application version will be installed. Then you will also be asked whether the configuration files should be removed or the whole application with a new, empty database should be installed.
Now the 2N® Call Center – Control Panel Setup Wizard has been launched. Follow the wizard instructions. Then select the installation location for the 2N® Call Center – Control Panel. C:\Program Files (x86)\2N TELEKOMUNIKACE\2N Lift8\ is used by default. Now the application will ask you to enable transmission of system data and software use surveys to help the 2N TELEKOMUNIKACE a.s. company improve the software quality, availability and performance. No confidential data shall be sent. You can participate in this effort voluntarily and cancel sending statistic data any time. Confirm or decline this cooperation and click Next to continue.
Select whether the application should be installed for the currently logged-in user or all the PC users. The wizard is ready to install the 2N® Call Center – Control Panel. Confirm user account administration notification to the Windows system if necessary. Another Start item and the application shortcut icon will be added automatically. Once installed, the application will start automatically.
Alternatively, use the command line for installation: select the installer file and define the manner and location parameters. See below for command explanation.
| Command | Description |
|---|---|
| /VERYSILENT | Installation runs on the background, no installer is open to the user. |
| /DIR="C:\..." | Set the installation location. |
| /LOG=file_name.txt | Create an installation course log to be displayed in the installer directory. |
 |
Application Installation Command
Caution
- Make sure that the command line is started by admin. If it is started by a user, the editor authenticating window will pop up.
Warning
- There is an installer change in version 2.2.0. The installer is unable to remove the original application versions (up to 2.1.x) correctly and an installation error may occur. To avoid this, remove the original applications manually if you use versions lower than 2.2.0.
- Use the Start/Control panels/Programs/Uninstall program Windows menu to remove the application. Select the application to be removed and click the right button to uninstall the program from your PC. Finally, you will be asked whether you really want to delete the existing configuration files. If you click NO, your configuration will be preserved.
Note
- The 2N® Call Center – Control Panel installation requires 650 MB of free disk space at least.
Now the 2N® Call Center – Control Panel is ready for use. Click on the shortcut item on the desktop (see the figure below) or select the Start item to start the application.
 |
2N® Call Center – Control Panel Icon
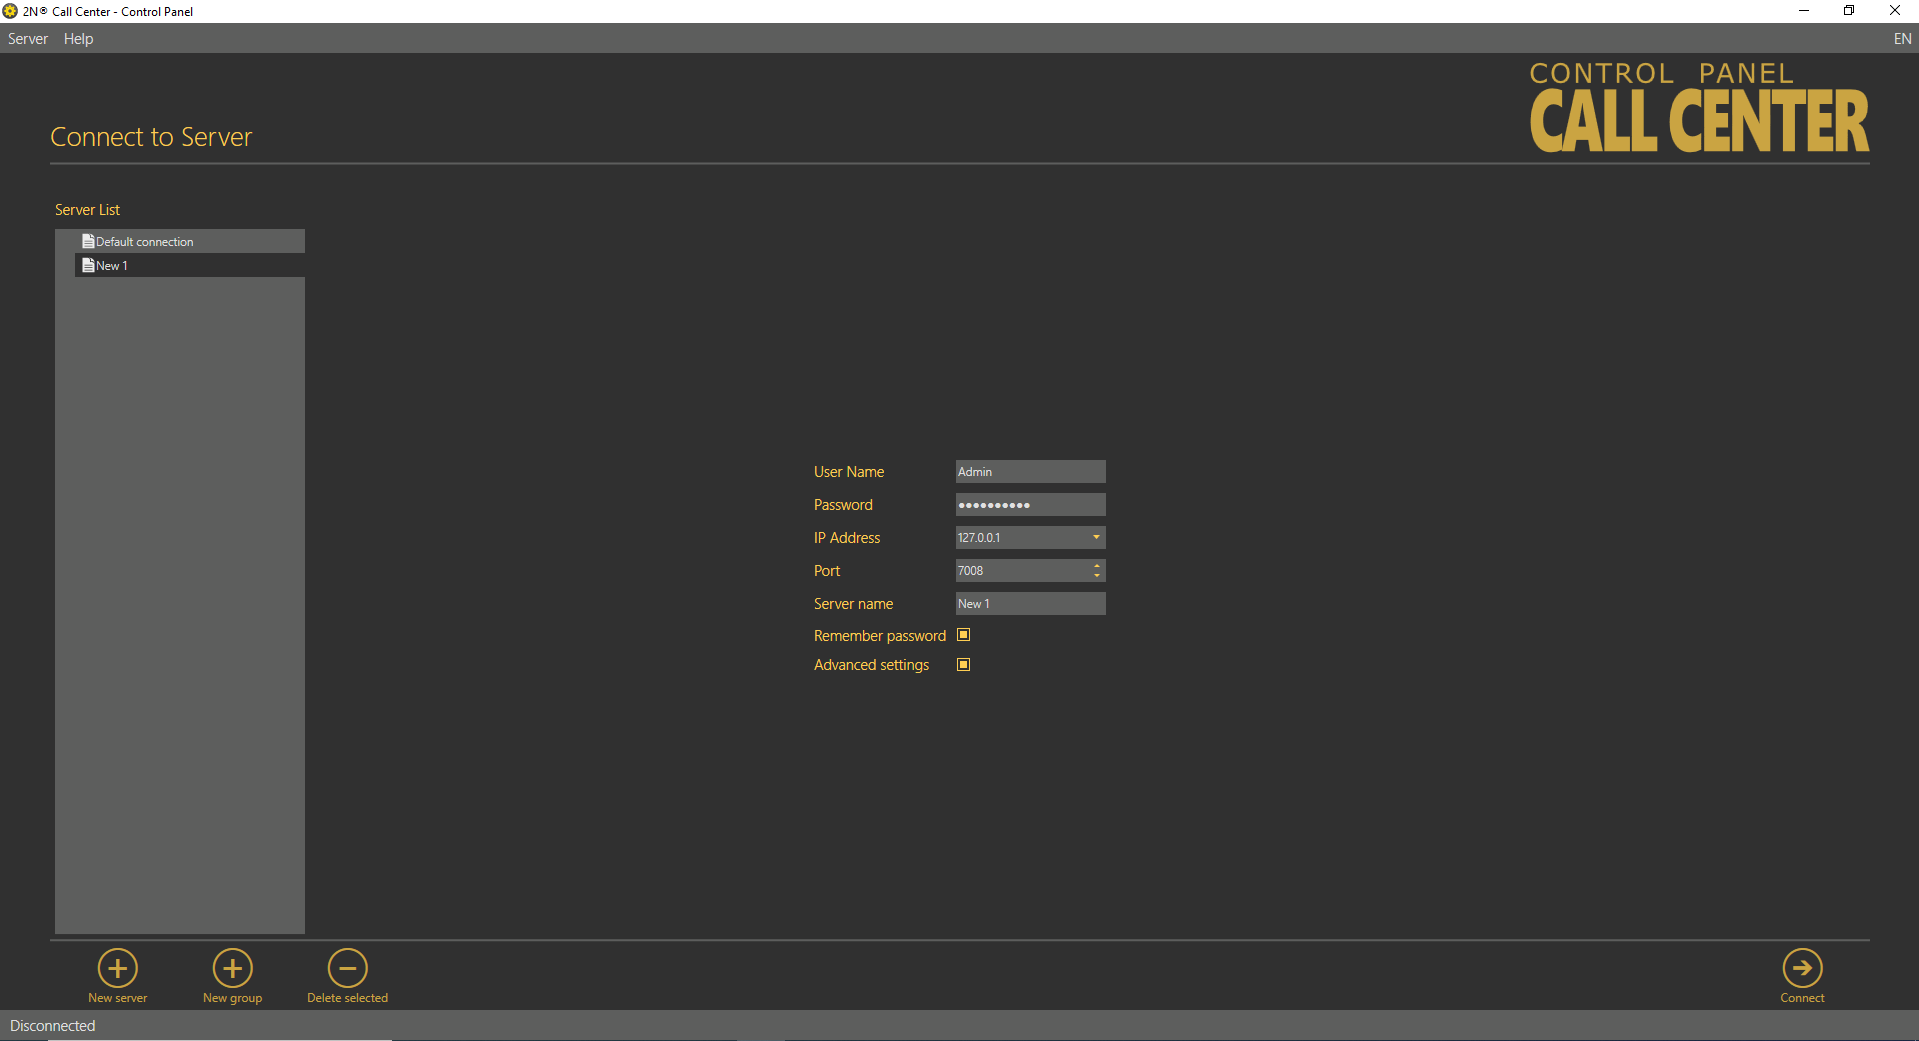 |
Server Connection Screen
Now select the server connection and press Connect or double-click the selected server with the left button. The application will execute login to the 2N® Call Center – Server.
Tip
- Server login may take some time if you have an extensive database as the application has to download all the current tables. Be patient please and wait for completion.
Note
- Recommended hardware requirements
| OS | Microsoft Windows 10 |
|---|---|
| CPU | Equivalent Intel Quad Core i7 3.4 GHz |
| RAM | 16 GB |
| HDD | 500 GB |
| LAN | Gigabit Ethernet (GLAN) |
| Other |
|
Caution
- Important! A default user with administrator login is created during the 2N® Call Center – Server installation to get connected to the server and configure the other users. The default user uses the following login data:
- Name: Admin
- Password: 2n
- Port: 7008
Warning
- In case the incompatible .NET version message is displayed after the installer launch, use the current redistribution of .NETFX4.7.2. Web with a download link for .NET Framework here. We recommend that you download the Runtime version from the web and use the Web Installer or Offline Installer as the need may be.
Minimum operating system requirements: Windows 8