2. 2N® Contact Centre Solution Configuration
First Login
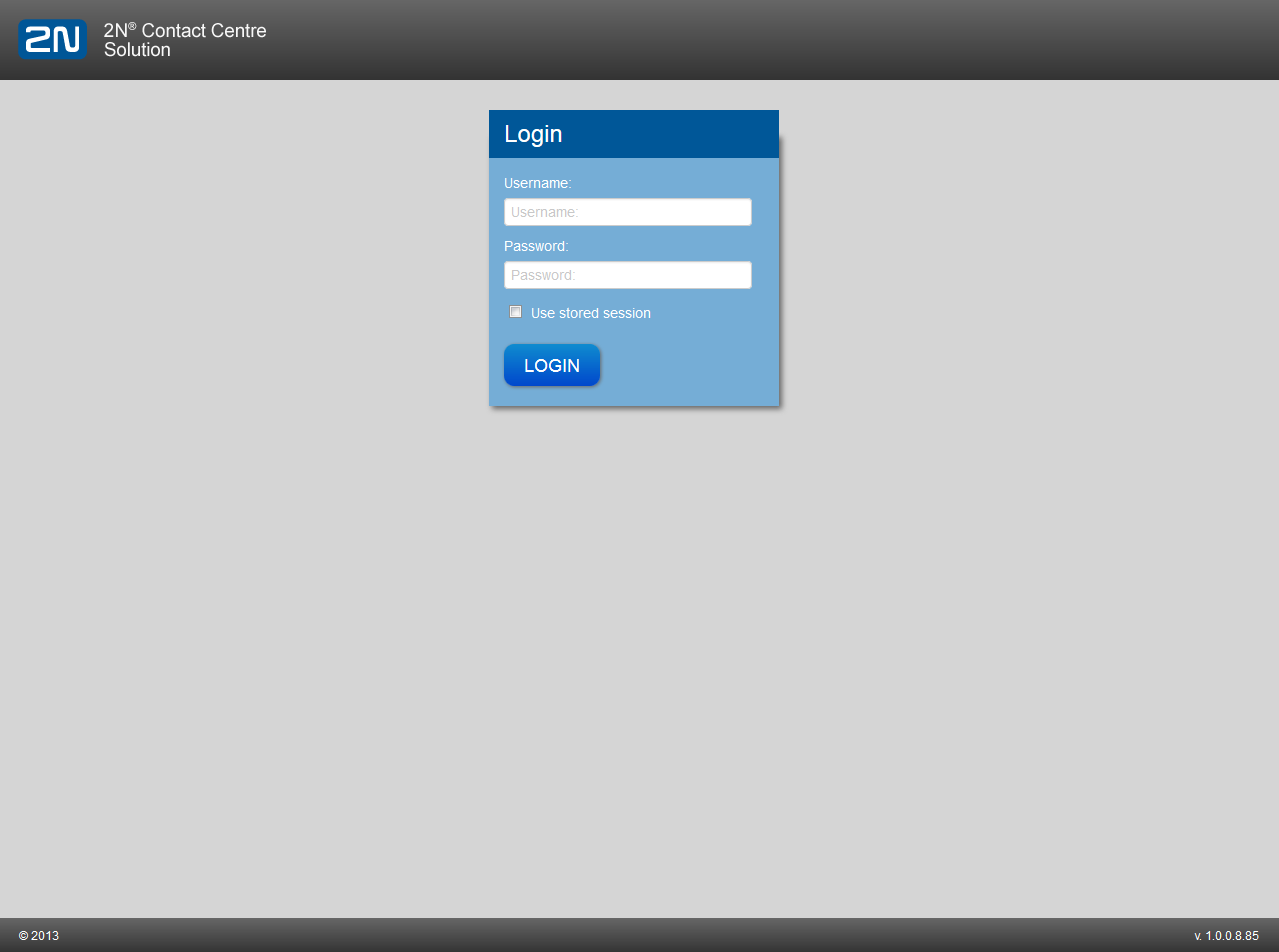
Having completed installation, enter the 2N® Contact Centre Solution server IP address or domain name into your Internet browser.
Note
- It is recommended to use Internet Explorer 10 and higher, Mozilla Firefox 31 and higher or Google Chrome 31 and higher for your web login.
For the first login, use the 2N® Contact Centre Solution server Superadmin account - name: superadmin and password: 2n. Click the logged-in user name in the right-hand upper screen corner to change the Superadmin password after login if necessary.
 |
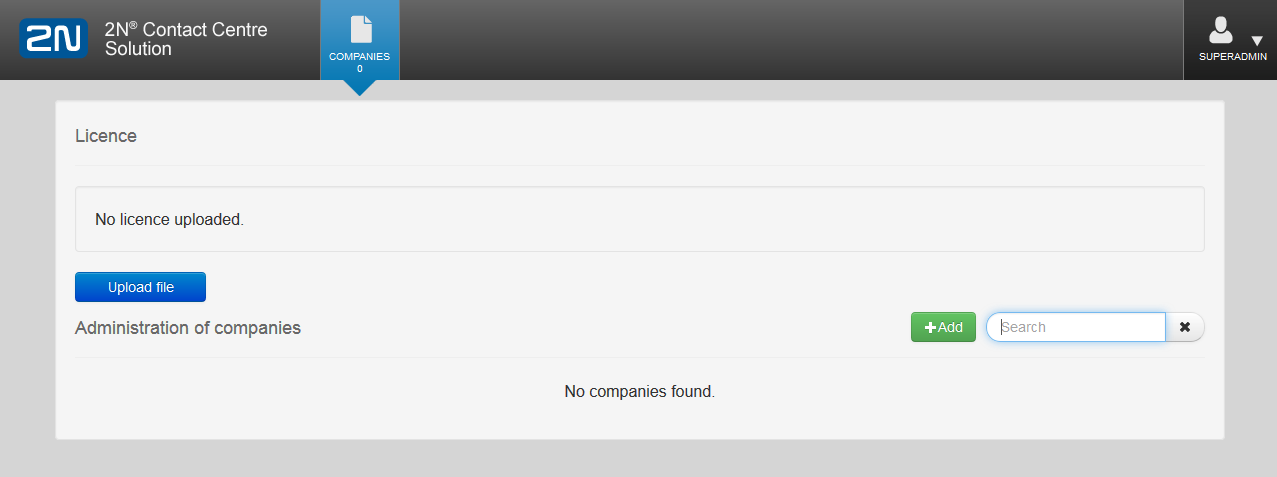
The start screen is displayed after a successful login.
 |
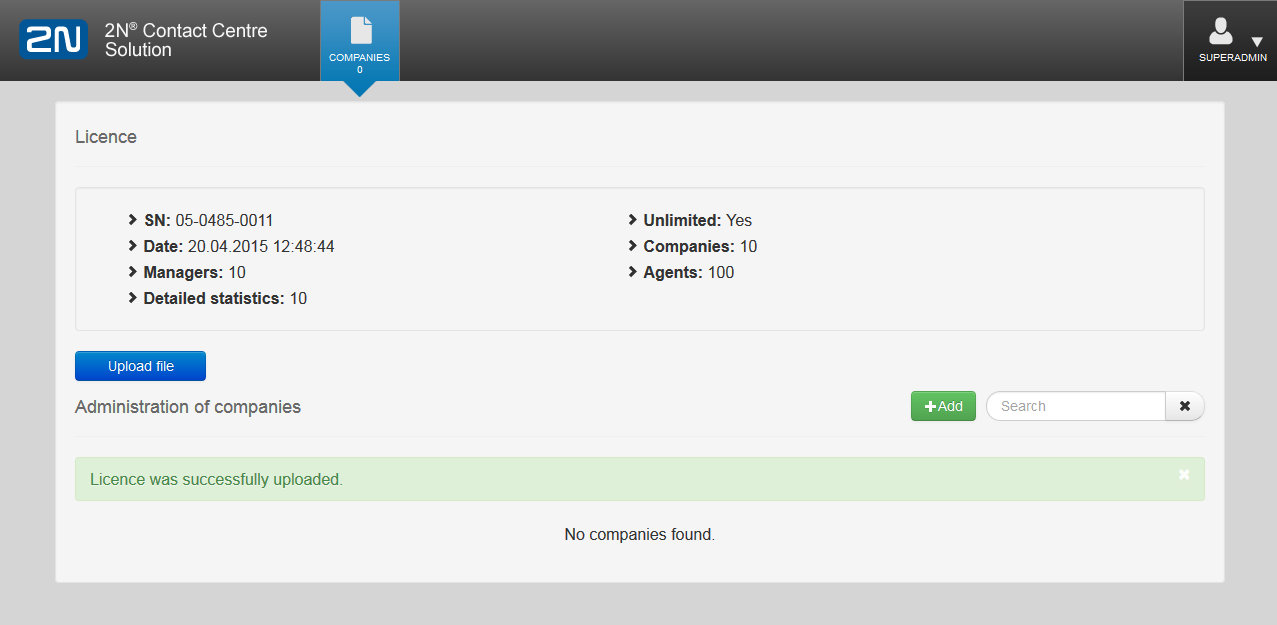
The following data are displayed after licence upload:
- SN - 2N® NetStar serial number
- Date - last licence verification date
- Managers - count of Manager users
- Detailed statistics - count of project statistics
- Unlimited - licence time validity
- Companies - count of available companies
Agents - count of Agents
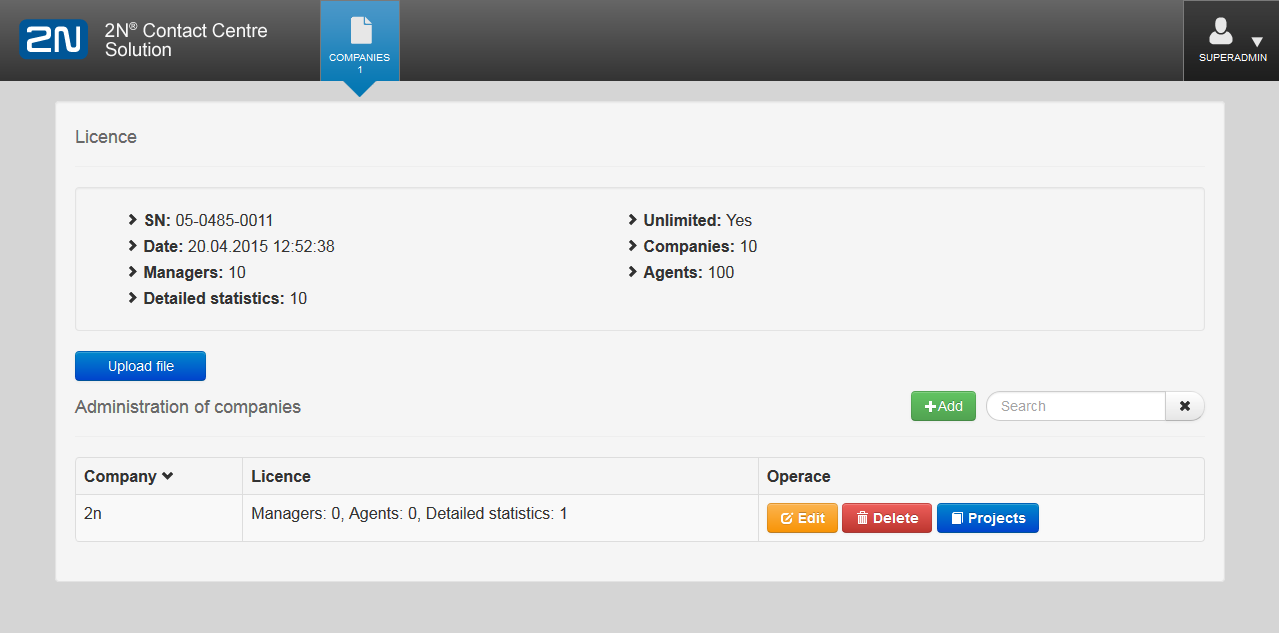
Company Creation
Click Add to display the following company parameters.
General
Company - set the name of the company that operates the Contact Centre.
Opening time - set the Contact Centre working time beginning. Combine this parameter and the Working time (minutes) parameter to create a virtual Working time value. All incoming calls before or after the working time are automatically routed to the default destination defined in 2N® NetStar. The working time also affects daily statistics displayed in the Agent/Project or Status screens. The calls made before or after the working time are not included in the daily statistics.
working time in minutes. Combine this parameter and the Opening time parameter to create a virtual Working time value. All incoming calls before or after the working time are automatically routed to the default destination defined in 2N® NetStar. The working time also affects daily statistics displayed in the Agent/Project or Status screens. The calls made before or after the working time are not included in the daily statistics.
Position range to - set the highest possible position to which a user can log in. Combine this parameter and the Position range from parameter to define a range of positions, which is used for graphical depiction of the current user location only.
Statistics - select this option to make detailed statistics accessible and allocate one Detailed Statistics licence to a selected company. Detailed statistics are accessible to Managers and Admin users only.
Active - check off this option to make a company or project active. If a company/project is active, project synchronisation will be made from the 2N® Contact Centre Solution to the Contact Centre routing object in 2N® NetStar. Set the routing rules to call the project.
.
Router
select the allocation strategy to define the incoming project call distribution between Agents.
- Linear - an incoming project call is routed to Agents in the sequence in which the users are assigned to the project.
- Cyclic - an incoming call is routed to the Agent following the Agent that was the last to process a call.
- All - an incoming call is routed to all the logged-in Agents at the same time.
NetStar. If this option is unselected and no Agent is logged in to answer the call, the call is automatically routed to the Default destination specified in 2N® NetStar.
Inform about queue position
CallBack
- the CallBack function asks for activation. When the calling user requests CallBack activation (by playing a tone), enters the correct CallBack code (refer to DTMF CallBack code) and hangs up, the CallBack service will be enabled for this user. The calling user will be dialled by the according to the parameters defined below: First interval after CallBack after, Interval between CallBack and Number of CallBacks.
DTMF CallBack code - set the DTMF code to be entered for confirmation of the CallBack activation request. When the calling user enters the correct code and hangs up, the CallBack service will be enabled for this user.
Duration of DTMF detection - set a time in seconds after which the DTMF detector will be connected into the call to detect and recognise the DTMF characters sent. When this time period elapses, the DTMF detector will be deallocated and no DTMF characters will be recognised any more.
Interval between CallBacks - if the calling user did not answer the preceding CallBack, the next CallBack attempt will be made after this interval elapses. Set the interval in minutes.
Tones
Normal - progress tone - the calling user hears this tone when the call is routed to an Agent and is ringing.
Infinite loop - select this parameter to define that tone playing is controlled by 2N® NetStar and the application is not responsible for repeated tone playing.
Queued - progress tone - the calling user hears this tone while queuing. It is mostly a supplementary tone without any information value, such as music on hold, for example.
Infinite loop - select this parameter to define that tone playing is controlled by 2N® NetStar and the application is not responsible for repeated tone playing.
set a value in seconds after which the calling user will be asked about CallBack activation again unless done so in the preceding request.
Company Options
The following options are available:
- Edit - edit a company.
- Delete - delete a company.
- Projects - display an overview of projects assigned to a company.
 |
With Edit, the following tabs are available:
- Company - modify the company data.
- Users - add and edit users and their roles.
- User States - set the 2N® Contact Centre Solution user states. You can add states of your own to the pre-defined state categories if necessary and set the required display colour. Having logged in, the 2N® Contact Centre Solution user is in the Ready state and can receive calls. You can switch all the defined states via a web interface except for the Busy state, into which the user gets during ringing or active call only. Agents may modify their states only, while Managers and Admins are authorised to modify states of other users too.
Caution
- Calls are only routed to the users that are in the Ready state.
- VIP - create a list of VIP numbers to be preferred in the queue while calling the 2N® Contact Centre Solution. Adding the VIP numbers you can also set a priority (numeric value 1 and higher) to give selected VIP numbers even higher priorities. The priority 1 VIP numbers have the highest priority. You can create several separate lists within a company to be assigned to individual or all projects in the project settings.
Caution
VIP list can be imported using .csv file, which must have the following format:
name,number,priority
Jonathan Smith,+420251271276,1
George Burton,+420251271288,1
- SLA colours - set colours for each SLA level in percent for quick SLA evaluation in the project list on the Projects tab.
Remember to add users to a company by clicking the Edit button on the Users tab if you are logged in as Superadmin.
 |
Now assign the users to a company and define their roles. If no users are displayed, refresh the list.
User roles:
- Admin - is authorised to create and modify projects and create statistics (a company may be created by Superadmin only).
- Manager - may log in even without a station and may create statistics.
- Agent - processes incoming and missed calls.
- Technician - is a consultant without the right to join a project. Used for statistic purposes only.
Project Creation
Copy the project parameters from a superior company to create a project. The project parameters can be changed any time and project settings have a higher priority if the project and company parameters are different. Set the following project parameters:
Abbreviation - a five-letter/digit project abbreviation, used for incoming call display and user assignments to projects.
Project - any project name, which characterises the project/campaign/incoming queue purpose.
SLA - set a time value. Any incoming call that is answered after this time or missed does not satisfy the SLA condition. The SLA value is then lowered (in per cent) by the unsatisfactory call.
Project Options
The following options are available:
- Edit - edit a project.
- Delete - delete a project.
 |
Click Edit and select the Users tab to add users to projects. First add the project users to a superior company to display them in the project user list. Agents and Managers are only displayed. If a role is changed for a user, the change will be made within the company too.
On the VIP tab, enable a project VIP number list defined within a company or define a VIP number list of your own for your project.
Completion
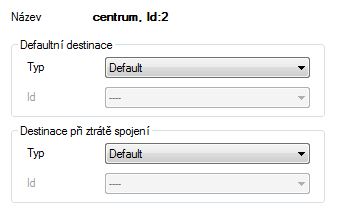
View all the objects in the Routing - Routing Objects - Contact Centres in the 2N® NetStar configuration tool. Assign the Default destination (for calls off the Contact Centre working time) and Connectivity loss destination to each project.
 |
Caution
Manage (rename, delete) the Contact Centres only via the 2N® Contact Centre Solution server web interface. Do not remove or rename the Contact Centres (projects) using the 2N® NetStar configuration tool.