5.1 Tray Launcher Installation
An option called Tray launcher is available in all basic menus below the Homepage option. This item is used for downloading and installation of the 2N® Netstar Assistant launching program.
 |
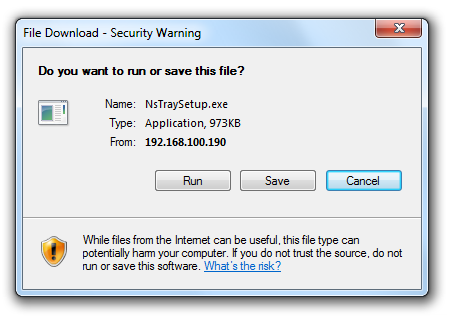 |
The system security window can be displayed depending on your PC settings. Do not hesitate to push the Run button to launch the installation wizard. You will be asked to select the installation wizard language, which does not affect the selection of the 2N® Netstar Assistant language.
Now you are advised to check the 2N® Netstar Assistant version in the following window for compliance with your PBX firmware as communicated by your PBX administrator. Otherwise, your application will not work. The installation wizard will ask for agreement with the licence terms and conditions. Please read the terms and conditions and select Agree... and then click on Next
The wizard will ask you to complete your personal data in the following window. They are mostly pre-entered and so click on Next to continue.
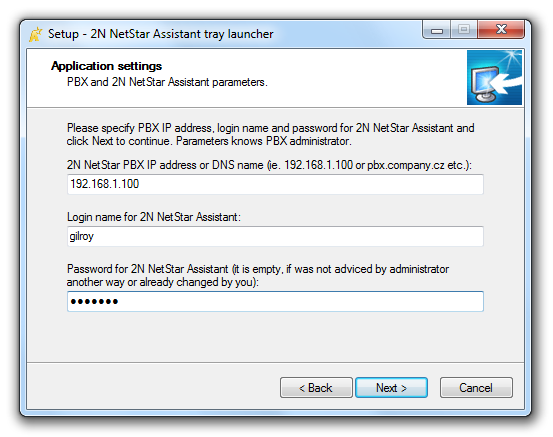
The most important step is to set the IP address of the PBX on which the 2N® Netstar Assistant application is running and other account parameters such as your login name and password as usually entered for the 2N® NetStar Assistant web interface. See the figure below.
 |
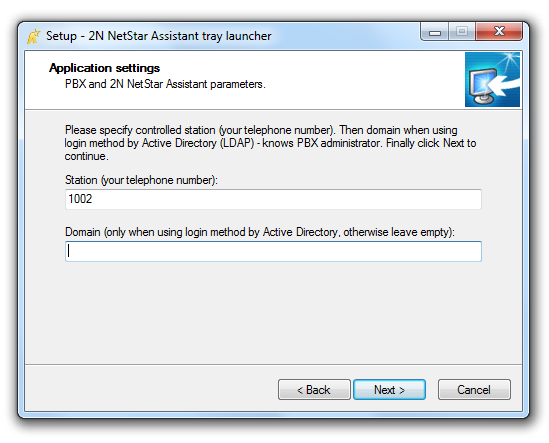 |
Now you will be asked whether the KeepAlive packets should be sent. If you have instructions from the PBX administrator, modify this entry. If not, leave the field unchanged and push Next to continue. You will be asked about the installation disk location for the 2N® NetStar Assistant Server.
Caution
- The installation requires 2.8 MB of free disk space at least.
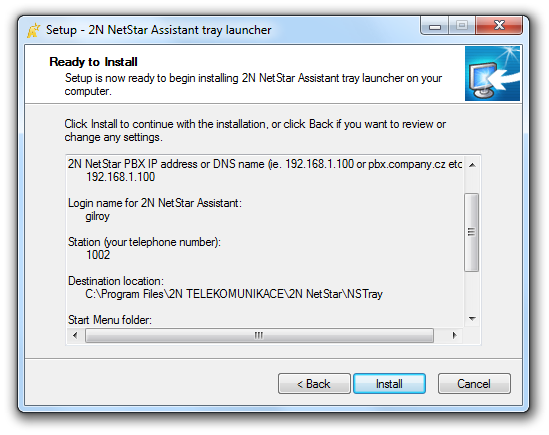
The wizard will ask you for location of the application shortcut icon in the Start menu and on the desktop as required. Now the wizard is ready to install the 2N® NetStar Assistant Server and displays a list of set parameters.
 |
Note
- Should there be a need to change the Tray launcher later, you can modify all the parameters using the Settings menu in the application.
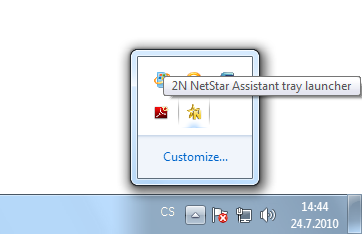
An icon will be displayed on the main panel upon installation, which will enable the 2N® NetStar Assistant application to be launched without entering the IP address into your web browser. Click on the icon with the left mouse button to launch the application.
 |