2.3 2N® NetStar Assistant Server Installation
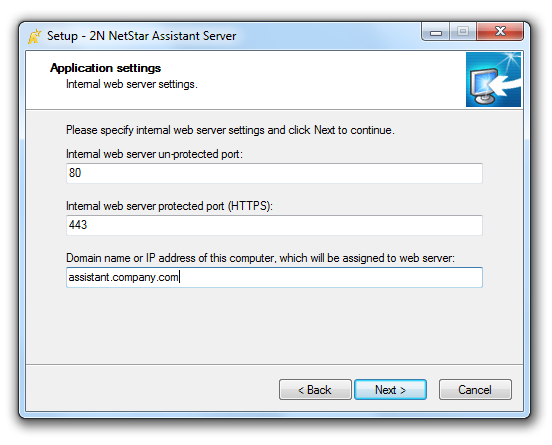
The following window displays pre-defined basic port settings as used by the 2N® Netstar Assistant Server and the currently used PC domain name. If the PC you are currently using for installation contains another application that uses the same ports (Microsoft IIS, e.g.), modify the ports to avoid collision. Remember to enter the server address with the correct port in that case. If there is no port collision, leave the pre-defined values unchanged and click on Next to continue.
To be used efficiently, the 2N® NetStar Assistant Server has to be installed on a pre-prepared server or server PC. Refer to the2N® NetStar Administrator installation directory for 2N® NetStar Assistant Server installation. The benefits of the use of the 2N® NetStar Assistant Server include a higher number of concurrent connections to 2N® NetStar Assistant and secured https:// connection.
2N® NetStar Assistant Server Installation
Having started the application, select a language for installator communication. This selection does not affect the resultant language of the web application, which is set in the connected PBX. Check the 2N® Netstar Assistant version in the next window for compliance with your PBX firmware or ask your PBX administrator if necessary. Otherwise, your application will not work. The installation wizard will ask for agreement with the licence terms and conditions. Please read the terms and conditions and select Agree... and then click on Next.
Enter your name and company in the Personal data window and push Next to continue.
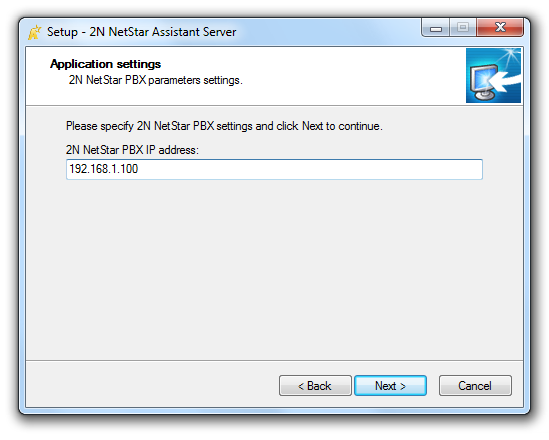
Now enter your 2N® Netstar PBX IP address as communicated by your administrator.
 |
 |
The installation wizard will ask you for installation location for the 2N® NetStar Assistant Server.
Caution
- The installation requires 13.4 MB of free disk space at least.
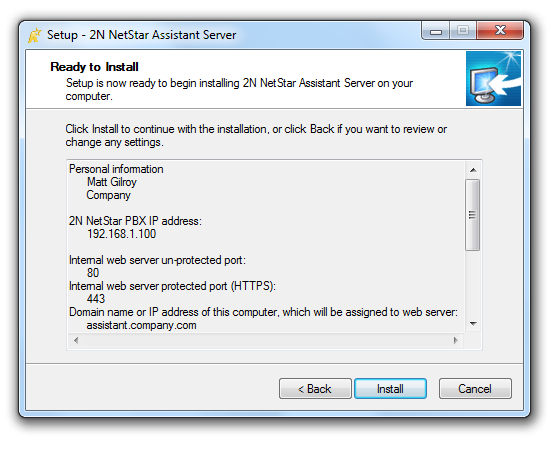
It will ask you for location of the application shortcut icon in the Start menu and on the desktop as required. Now the wizard is ready to install the 2N® NetStar Assistant Server and displays a list of set parameters.
 |
The 2N® NetStar Assistant webserver service with the appropriate IP address is launched automatically upon installation. If the automatic launch failed for some reason, start the service manually. Now the 2N® NetStar Assistant Server is ready for use.
2N® NetStar Assistant Server Use
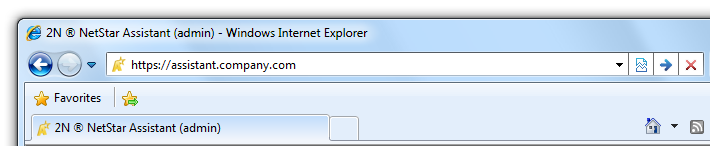
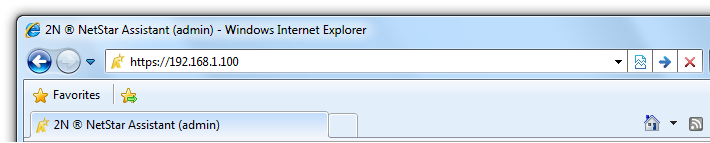
Open the web browser to be used. The optimum option is Microsoft Internet Explorer for the 2N® NetStar Assistant Server. Enter the IP address or the active PC domain name into the URL row. For example:
 |
 |
Single PC Launch of Multiple 2N® NetStar Assistant Servers
This setting is not recommended but may be used if the following conditions are met:
The 2N® NetStar Assistant Servers may not be installed in identical directories!
The 2N® NetStar Assistant Servers may not use identical TCP ports!
Warning!
If you install another 2N® NetStar Assistant Server with a different IP address into a directory with your current 2N® NetStar Assistant Server, the Apache web server function may be blocked and none of the servers can probably work or be uninstalled. In that case, contact your PBX administrator. Refer to faq.2n.cz for frequently asked questions or contact the 2N Telekomunikace a.s. Technical Support department.