4.2.1 Device
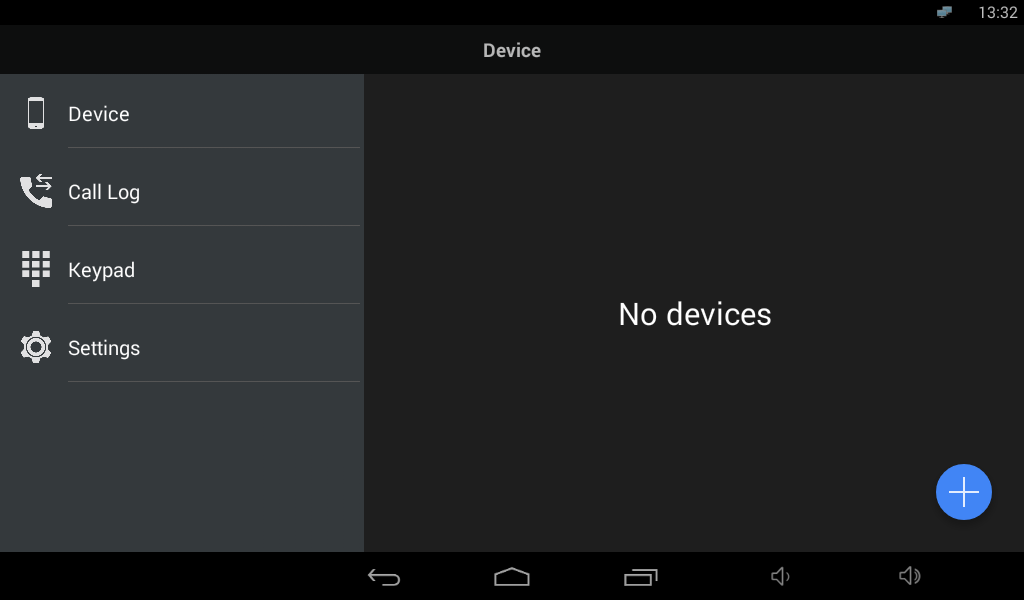
The Device section helps you add the 2N IP intercoms, 2N® Indoor Touch 2.0 devices, 2N® Mobile Video devices and devices registered with the same SIP Proxy server. The 2N IP intercoms and 2N® Indoor Touch devices are detected in the LAN automatically via 2N® IP Mobile. The devices that are connected to another LAN need a SIP Proxy server and have to be added manually. You can combine adding devices from groups (LAN / Proxy / My2N).
Note
- The application does not provide simultaneous SIP Proxy server and 2N® Mobile Video connections. Therefore, the added devices are switched too. The SIP Proxy account connection, SIP Proxy device creation and device adding make these devices saved. Once connected to 2N® Mobile Video, the application remembers these devices and adds them to the device list after SIP Proxy reconnection. The added LAN devices are always visible in the Device menu.
Device Adding
Click the ![]() icon in the right-hand bottom corner of the Device main window to enter the device adding menu.
icon in the right-hand bottom corner of the Device main window to enter the device adding menu.
 |
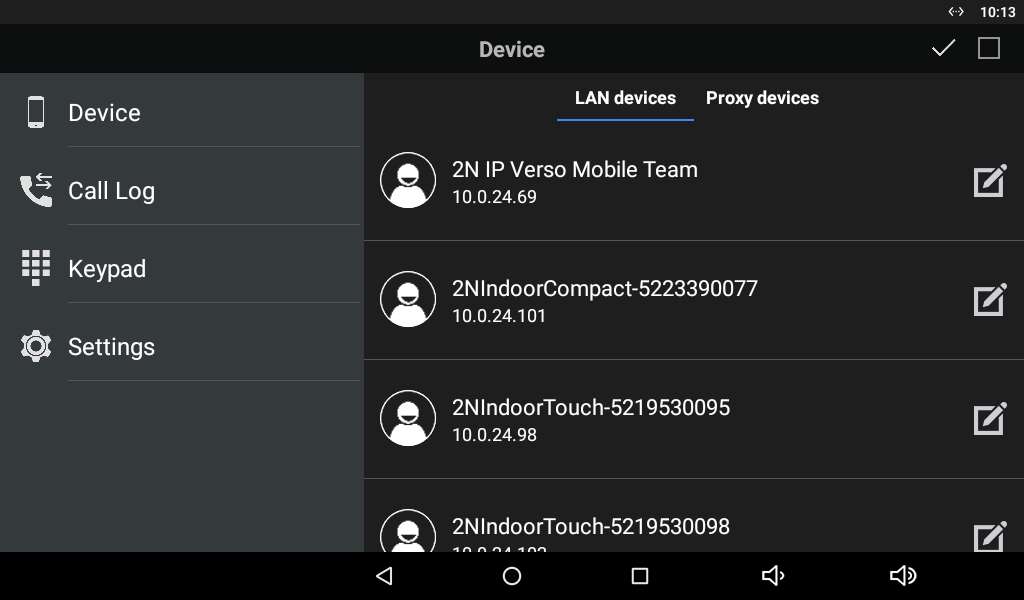
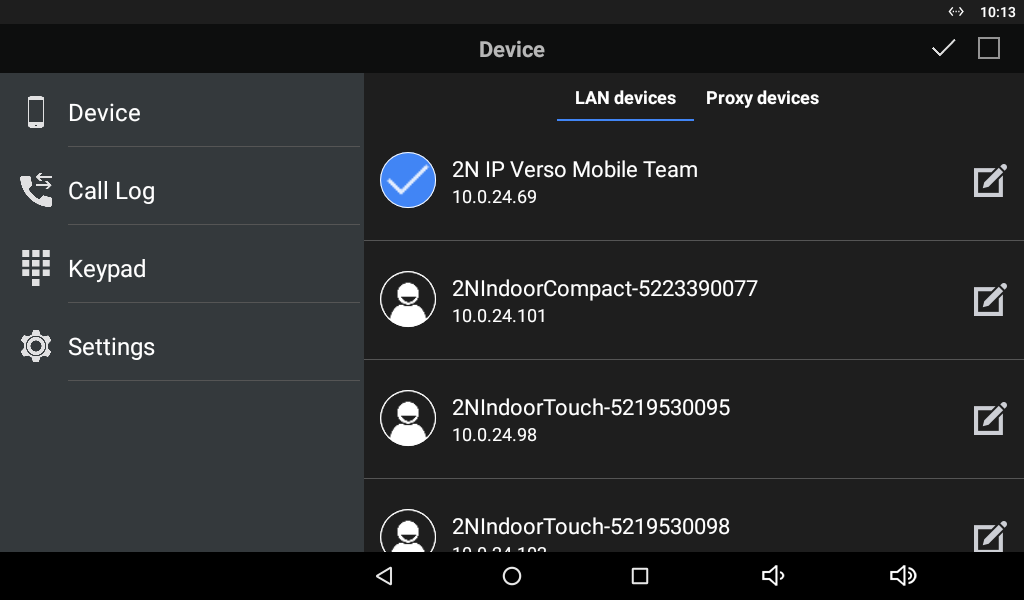
LAN Devices
All the 2N IP intercoms and 2N® Indoor Touch 2.0 devices detected automatically in the same LAN are displayed in the Device/LAN main window. Click a row to remove the selected device. Each device is identified by a name and IP address. The selected device is marked ![]() . Press
. Press ![]() to the right in the application upper toolbar to select all the devices listed. Click
to the right in the application upper toolbar to select all the devices listed. Click ![]() to edit the device name.
to edit the device name.
 |
Click ![]() to edit the device name.
to edit the device name.
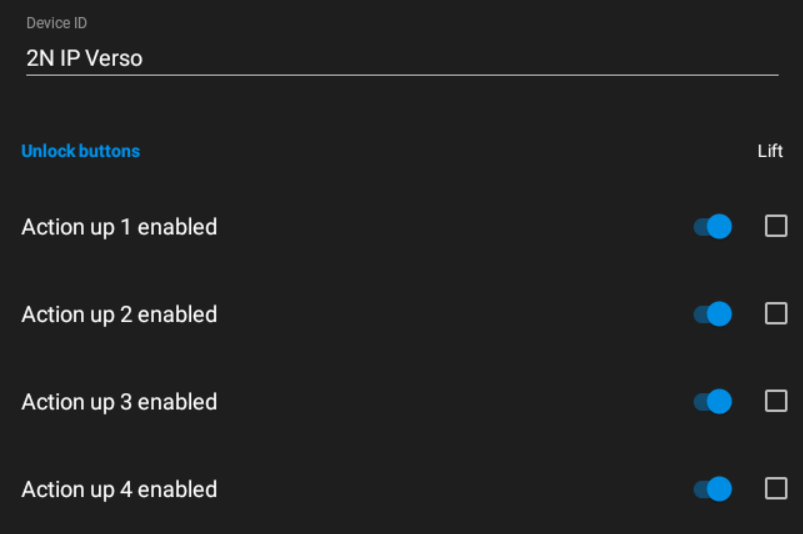 |
- Device ID – device identification.
- Unlock buttons – list of device buttons.
- Action up 1–4 enabled – define the button(s) to be displayed.
- Lift – select this option to display the selected button only during the call as a lift icon.
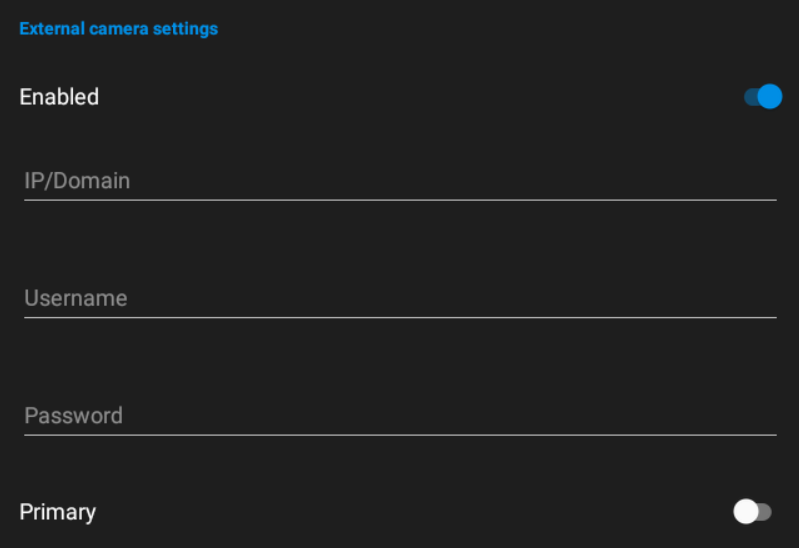 |
External camera settings – enter the parameters for external Axis camera connection.
- Enabled – enable the external camera settings.
- IP/Domain – set the Axis camera IP address/domain name.
- Username – set the Axis camera video stream login username.
- Password – set the Axis camera video stream login password.
- Primary – select the primary display: external camera or default video stream.
 |
- HTTP Protocol / HTTPS Protocol – set the authorisation protocol.
Click ![]() to the right in the upper panel to save the selected LAN devices. The application moves back to the Device menu to display the selected devices.
to the right in the upper panel to save the selected LAN devices. The application moves back to the Device menu to display the selected devices.
 |
Proxy Devices
To become a SIP Proxy device, the device has to be registered with a SIP Proxy server.
Note
- The application does not allow you to add, create or edit a SIP Proxy device unless correctly connected to a SIP Proxy server.
Proxy Registration
2N® IP Mobile and SIP supporting devices can communicate with each other only if registered with the same SIP Proxy server.
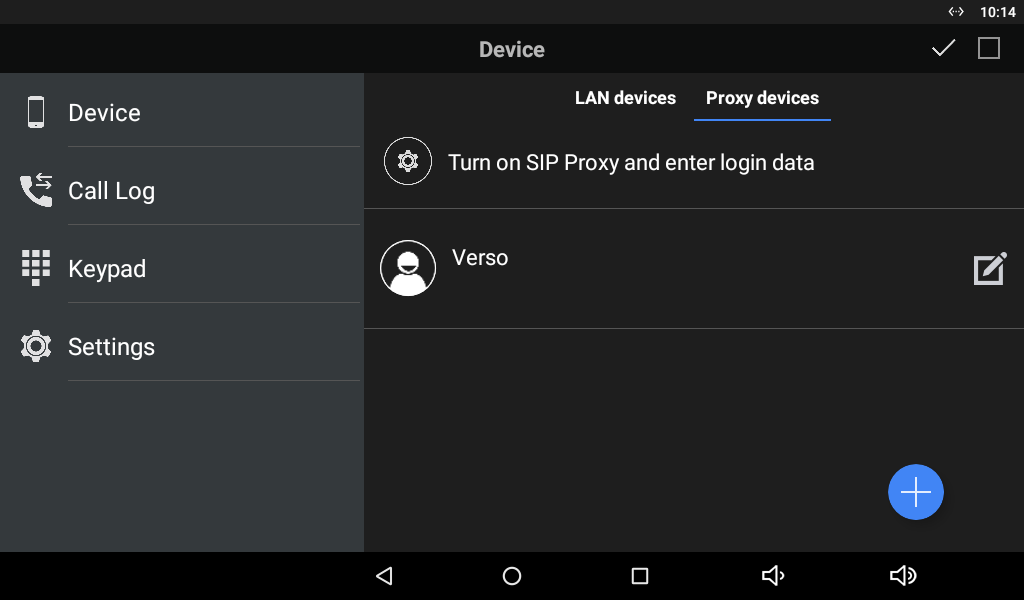 |
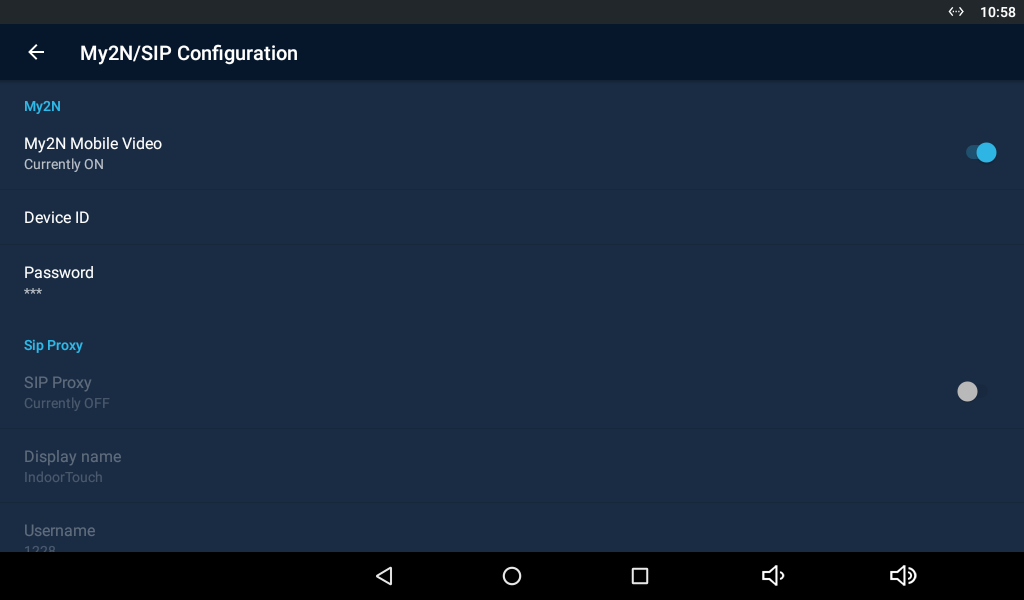
Click the row marked with ![]() to redirect the application to the My2N/SIP configuration menu. Set the SIP Proxy state to ON and edit the SIP Proxy server connecting parameters. Refer to 4.2.2 SIP Proxy Server Calls for details.
to redirect the application to the My2N/SIP configuration menu. Set the SIP Proxy state to ON and edit the SIP Proxy server connecting parameters. Refer to 4.2.2 SIP Proxy Server Calls for details.
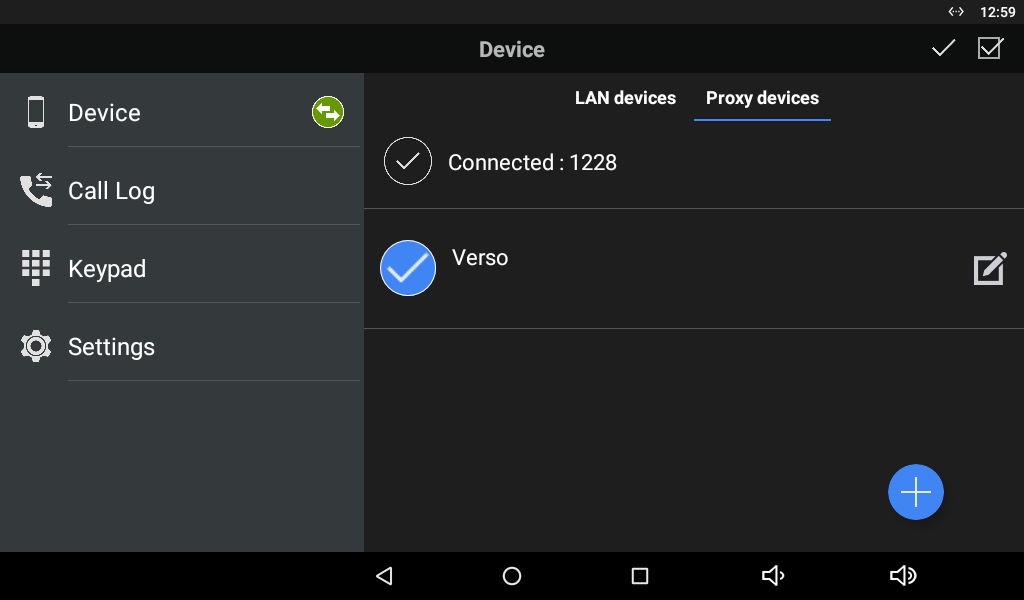
Set the parameters correctly to complete the 2N® IP Mobile registration with a SIP Proxy server. Check the notification icon in the Device main menu for the registration status:
 – The application has been successfully registered with a SIP Proxy server.
 – The application is trying to register itself with a SIP Proxy server, yet unsuccessfully so far.
 – The SIP Proxy server registration is inactive due to the SIP Proxy server rejection or unavailability.
Caution
- The 2N® IP Mobile application requires 60 s as the minimum registration expiry time. If the expiry time is shorter, the application may keep disconnecting from the SIP Proxy server.
Proxy Device Adding
Once 2N® IP Mobile is successfully connected to and registered with the SIP Proxy server, you can add SIP Proxy devices to the list manually. Again, click ![]() in the right-hand bottom corner of the Device main window to enter the device adding mode. Then use the tab below the application title row to switch the window to Proxy devices.
in the right-hand bottom corner of the Device main window to enter the device adding mode. Then use the tab below the application title row to switch the window to Proxy devices.
The selected device is marked ![]() . Click
. Click ![]() to the right in the application upper toolbar to select all the devices listed. Click
to the right in the application upper toolbar to select all the devices listed. Click ![]() to edit the device name. Click
to edit the device name. Click ![]() to save the selected Proxy devices. The application moves to the Device menu to display the selected devices.
to save the selected Proxy devices. The application moves to the Device menu to display the selected devices.
 |
Click ![]() to add a SIP Proxy device.
to add a SIP Proxy device.
- Device name – set the device name for identification in 2N® IP Mobile. Used for application only.
- SIP line – set the line to be dialled by 2N® IP Mobile for an outgoing call.
- DTMF1–4 – set the DTMF to be sent when lock 1-4 is pressed. Used primarily for DTMF sending to the 2N IP intercoms and unlocking.
- External camera settings – enter the parameters for external Axis camera connection:
- Enabled/Disabled
- IP/domain – set the Axis camera IP address/domain name.
- Username – set the Axis camera video stream login username.
- Password – set the Axis camera video stream login password.
- Primary – select the primary display: external camera or default video stream.
- HTTP/HTTPS Protocol – select the communication protocol.
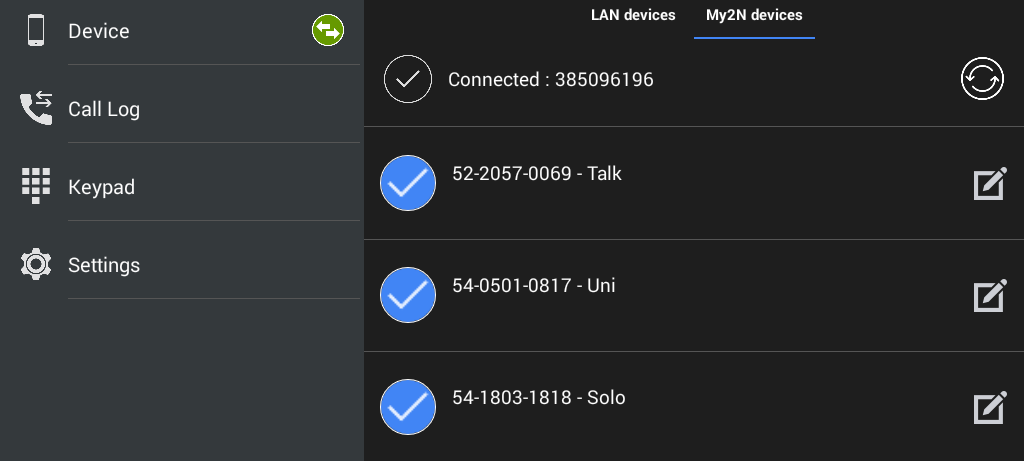
My2N Devices
The My2N devices are devices from 2N® Mobile Video. Like the SIP Proxy devices, the My2N devices cannot be added to the device list until the application is connected to the cloud at www.my2n.com.
Caution
- Make sure that a web account and one 2N® Indoor Touch 2.0 device at least have been created to make use of the 2N® Mobile Video functions. Refer to faq.2n.cz for more details.
Warning
- When the 30-day Trial licence expires, purchase a licence corresponding to the count of created devices. If you fail to do so, you will not be able to log in to 2N® Mobile Video and use cloud calls.
Connection to Service
Use the application settings for 2N® Mobile Video connection. Find the main menu Settings and turn the switch to Enabled to activate the My2N Mobile Video login row. Refer to 4.2.3 Calls via 2N® Mobile Video for more details.
 |
The application indicates the 2N® Mobile Video server connection using an icon next to the devices tab:
- – The application has successfully downloaded all the data and is registered with a 2N® Mobile Video SIP Proxy server.
- – The application has successfully downloaded all the data and is trying to register itself with a 2N® Mobile Video SIP Proxy server, yet unsuccessfully so far.
- – The application failed to connect to the 2N® Mobile Video servers.
My2N Device Adding
Once 2N® IP Mobile is successfully connected to and registered with 2N® Mobile Video, the Phonebook download is displayed in the Device menu. You can edit the device names or remove a device from display in the Phonebook. Again, click ![]() in the right-hand bottom corner of the Device main window to enter the device adding mode. Then use the tab below the application title row to switch the window to My2N devices.
in the right-hand bottom corner of the Device main window to enter the device adding mode. Then use the tab below the application title row to switch the window to My2N devices.
 |
Info
- You can only edit the My2N device name displayed in the application. The name change does not affect the device name on the service web.