NUUO NVRsolo
Content
About
NVRsolo is NUUO’s answer to hassle free, lightweight NVR system. It is small in size yet able to handle heavy duty tasks. With local HDMI/VGA display and keyboard/mouse input built right into the unit, configuring NVRsolo is easy and simple. Built on solid Linux foundation, we sacrificed nothing except unnecessary bulk to make NVRsolo the award winning standalone NVR solution you have been looking for. NVRsolo's flexibility doesn't end there. For those needing more storage options, we offer 8 bay versions to meet your needs.
http://www.nuuo.com/ProductNode.php?stid=0002&node=13#1
Version 6
Tested Functions
| Nuuo | IP Intercom Version | Scan device | Video from IP Intercom | Audio from IP Intercom | Audio to IP Intercom | Switch control | Events from IP Intercom |
|---|---|---|---|---|---|---|---|
- | N/S | N/S | N/S | N/S |
2N IP Intercom Settings
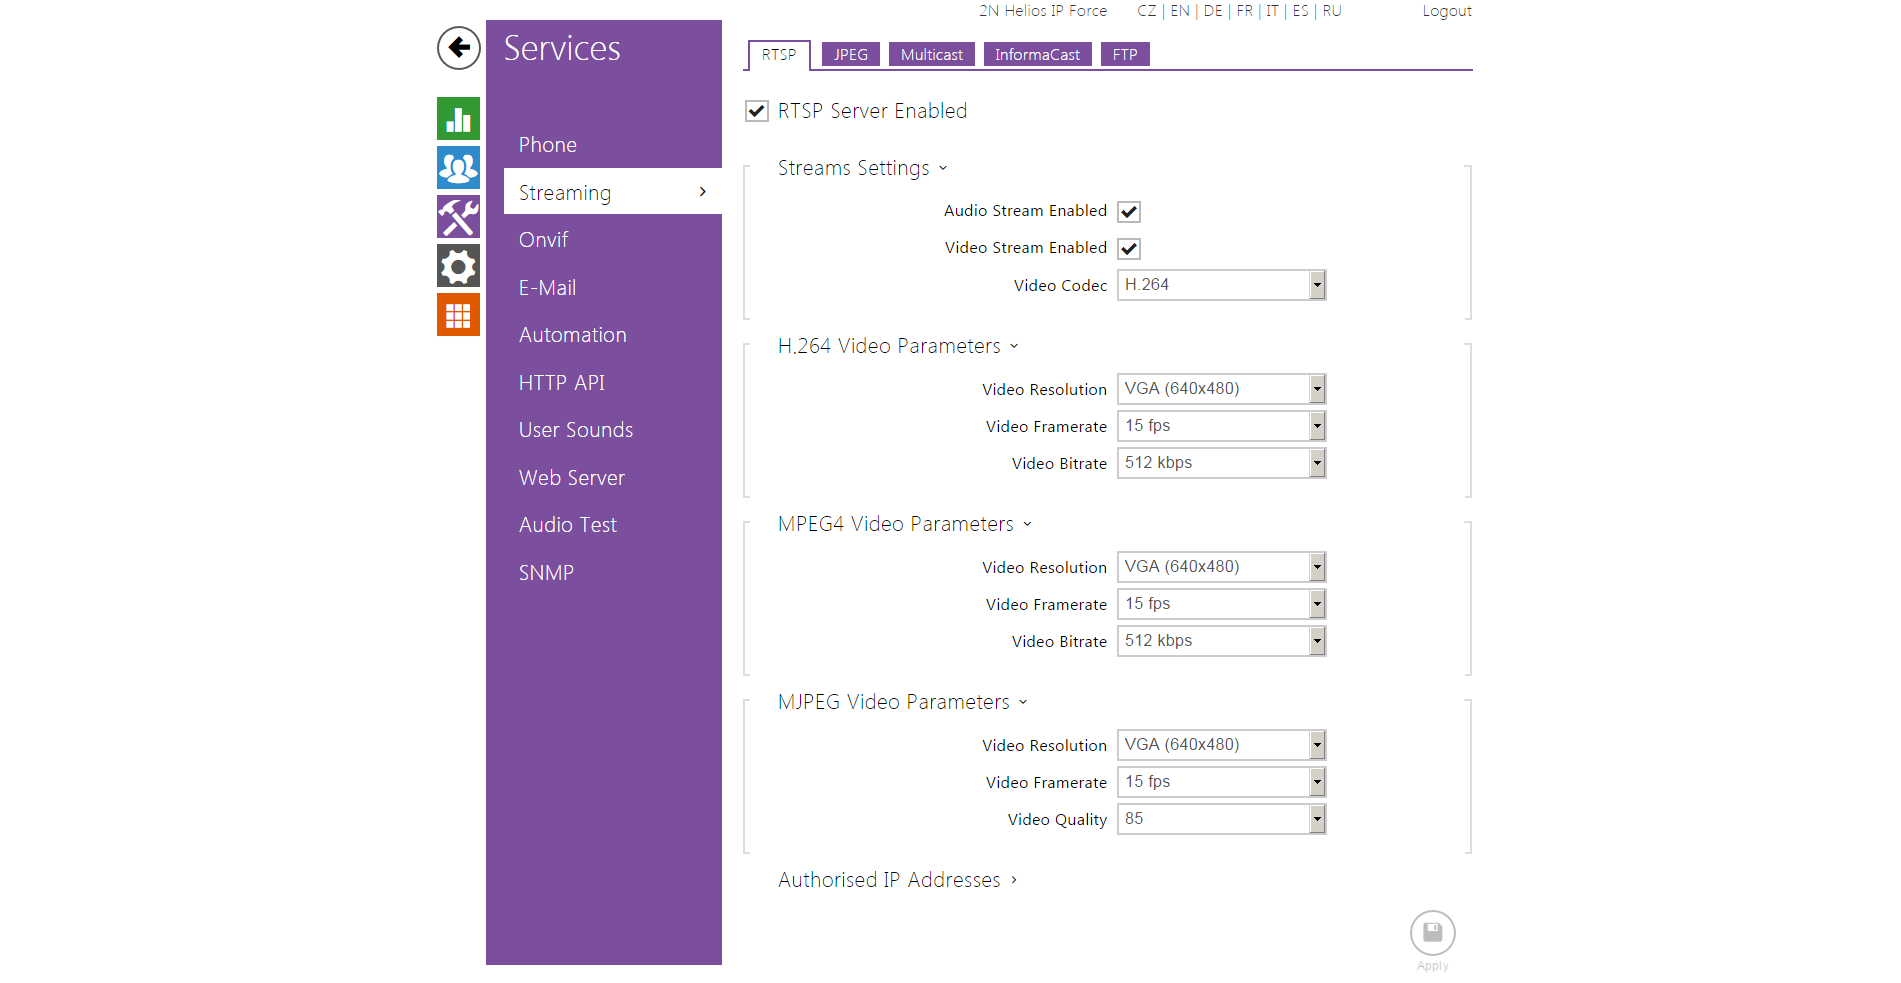
Enable parameter RTSP Server Enabled in menu Services / Streaming.
 |
 |
Tested Features
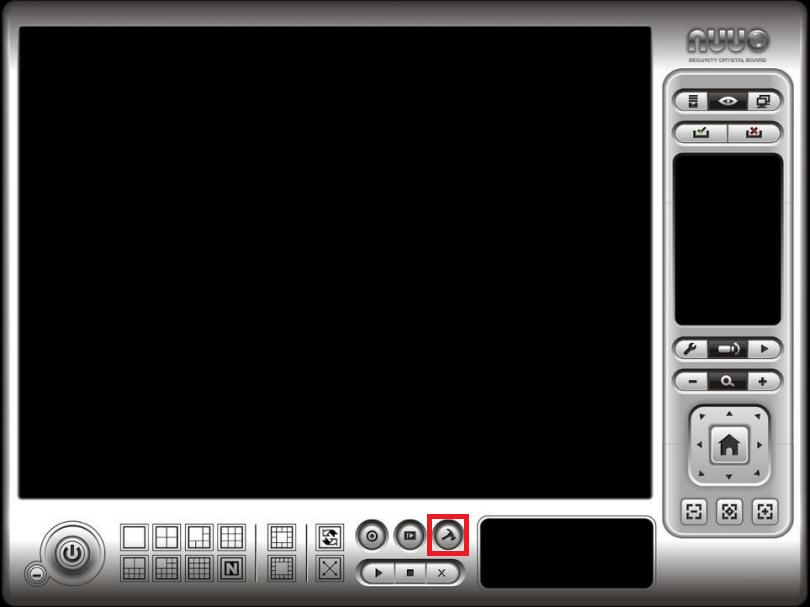
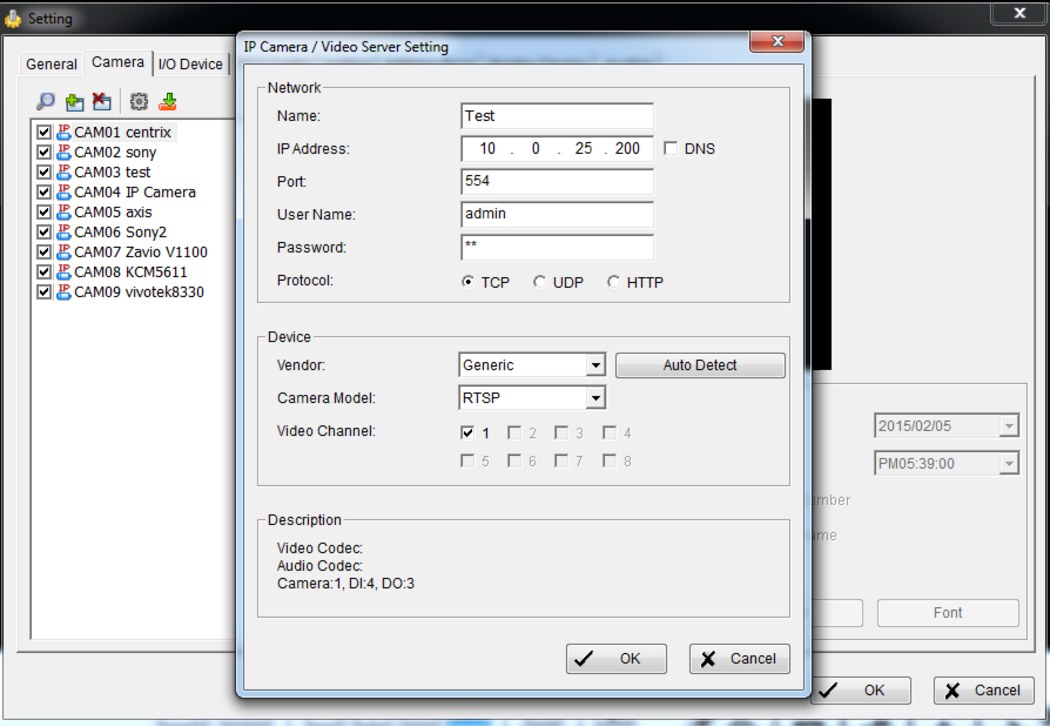
Go to Start > All Programs > IP Surveillance System > Mainconsole to execute Mainconsole. Enter your own password into the edit box and then Click OK. Setup the IP camera(s) by referring to the user manual provided by the IP camera manufacturer. Make sure you can access this camera through web browser. Add the IP camera(s) to the system by following the steps below. Execute Mainconsole. Type in user name and password and log in to the system. In Mainconsole, go to General Setting and select Setting>System Setting to obtain the Setting panel.
 |
|
|
Click General Setting to obtain setting dialog.
|
|
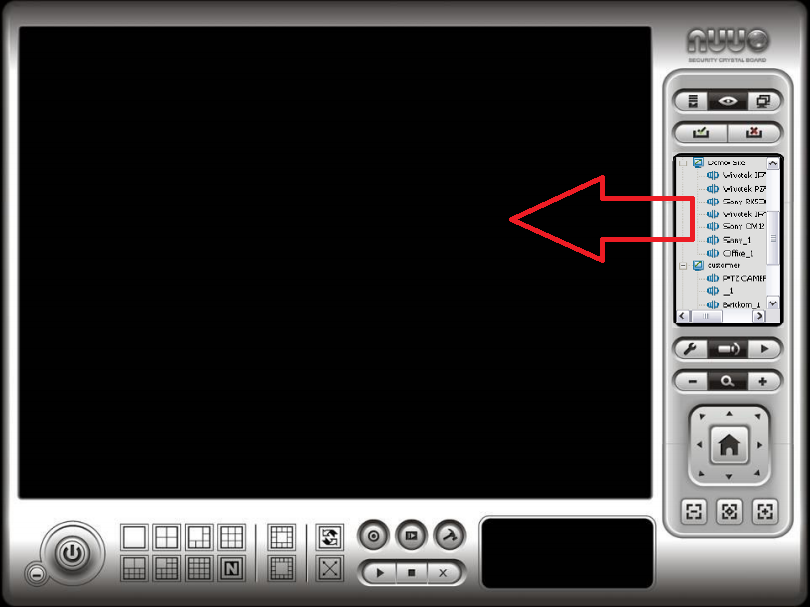
On the server/camera list, select a camera and right click on it to obtain the menu options. Select Duplicate Camera and the duplicate camera with green indicator will display below on camera list. Double click on the duplicated camera to connect and display on screen. With cameras that support audio function, click the Enable Audio function to listen to the current camera’s audio by clicking on the display screen. To cancel this function, right click on the screen and de-select Enable Audio.
Used Symbols
![]() - Compatible
- Compatible
![]() - Work with limitation
- Work with limitation
![]() - Incompatible
- Incompatible