Netavis Observer
Content
About
NETAVIS Observer is the open and strong software platform for professional video management. NETAVIS Observer is highly compliant with CCTV- and IT-standards, has the best performance due to Linux-based technology and unrivaled adaptability to customer requirements.
Available in its 4th generation, it provides a full set of functions for video surveillance projects. NETAVIS Observer is available in four editions ranging from small single-server installations with professional functionalities to complex and large installations with various integrations and optional server andclient modules.
NETAVIS iCAT video analytics provides even more value for each and every video surveillance installation. With NETAVIS's optional own and third party iCAT modules perimeter security, people counting, number plate recognition and much more can be realised easily without extra software, extra hardware nor extra deployment.
http://www.netavis.net/en/products/video-management
Version 4
Tested Functions
| Netavis Observer | IP Intercom Version | Scan device | Video from IP Intercom | Audio from IP Intercom | Audio to IP Intercom | Switch control | Events from IP Intercom |
|---|---|---|---|---|---|---|---|
2.17.0.26.1 | N/S | N/S | N/S | ||||
2.13.0.22.1 | N/S | N/S | N/S |
IP Intercom Settings
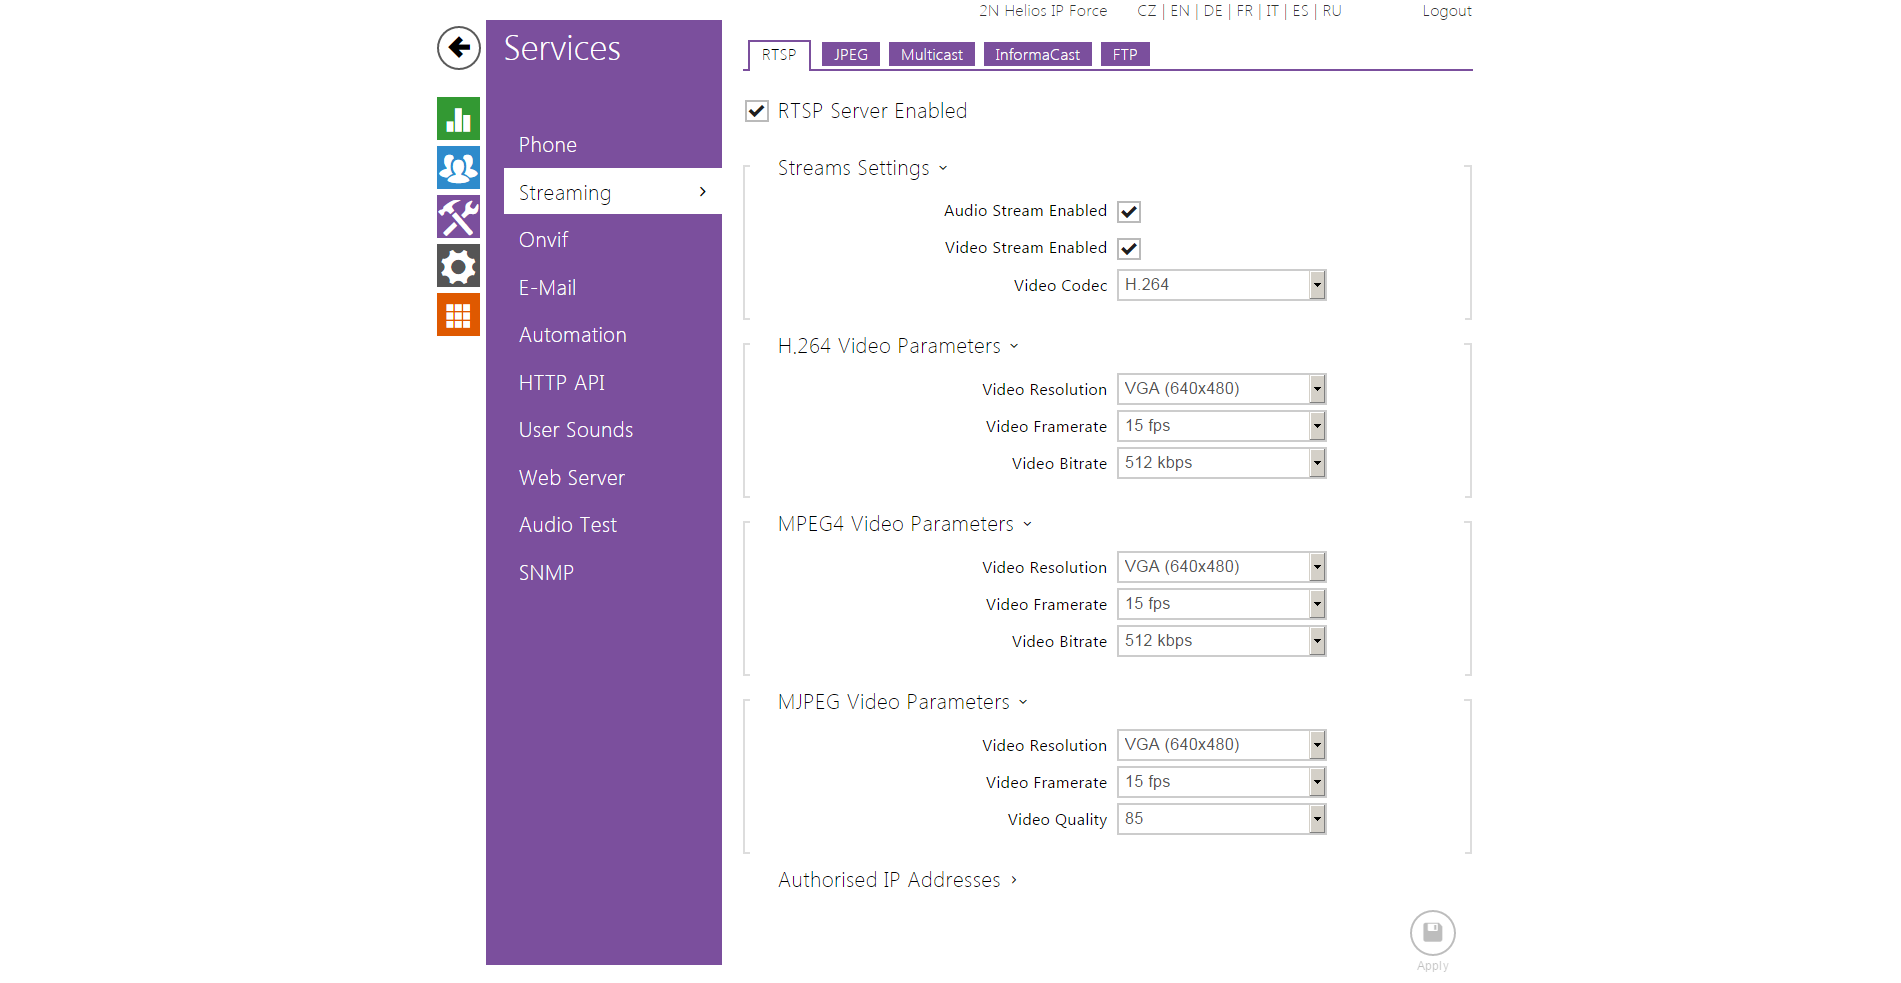
Enable parameter RTSP Server Enabled in menu Services / Streaming.
 |
 |
Tested Features
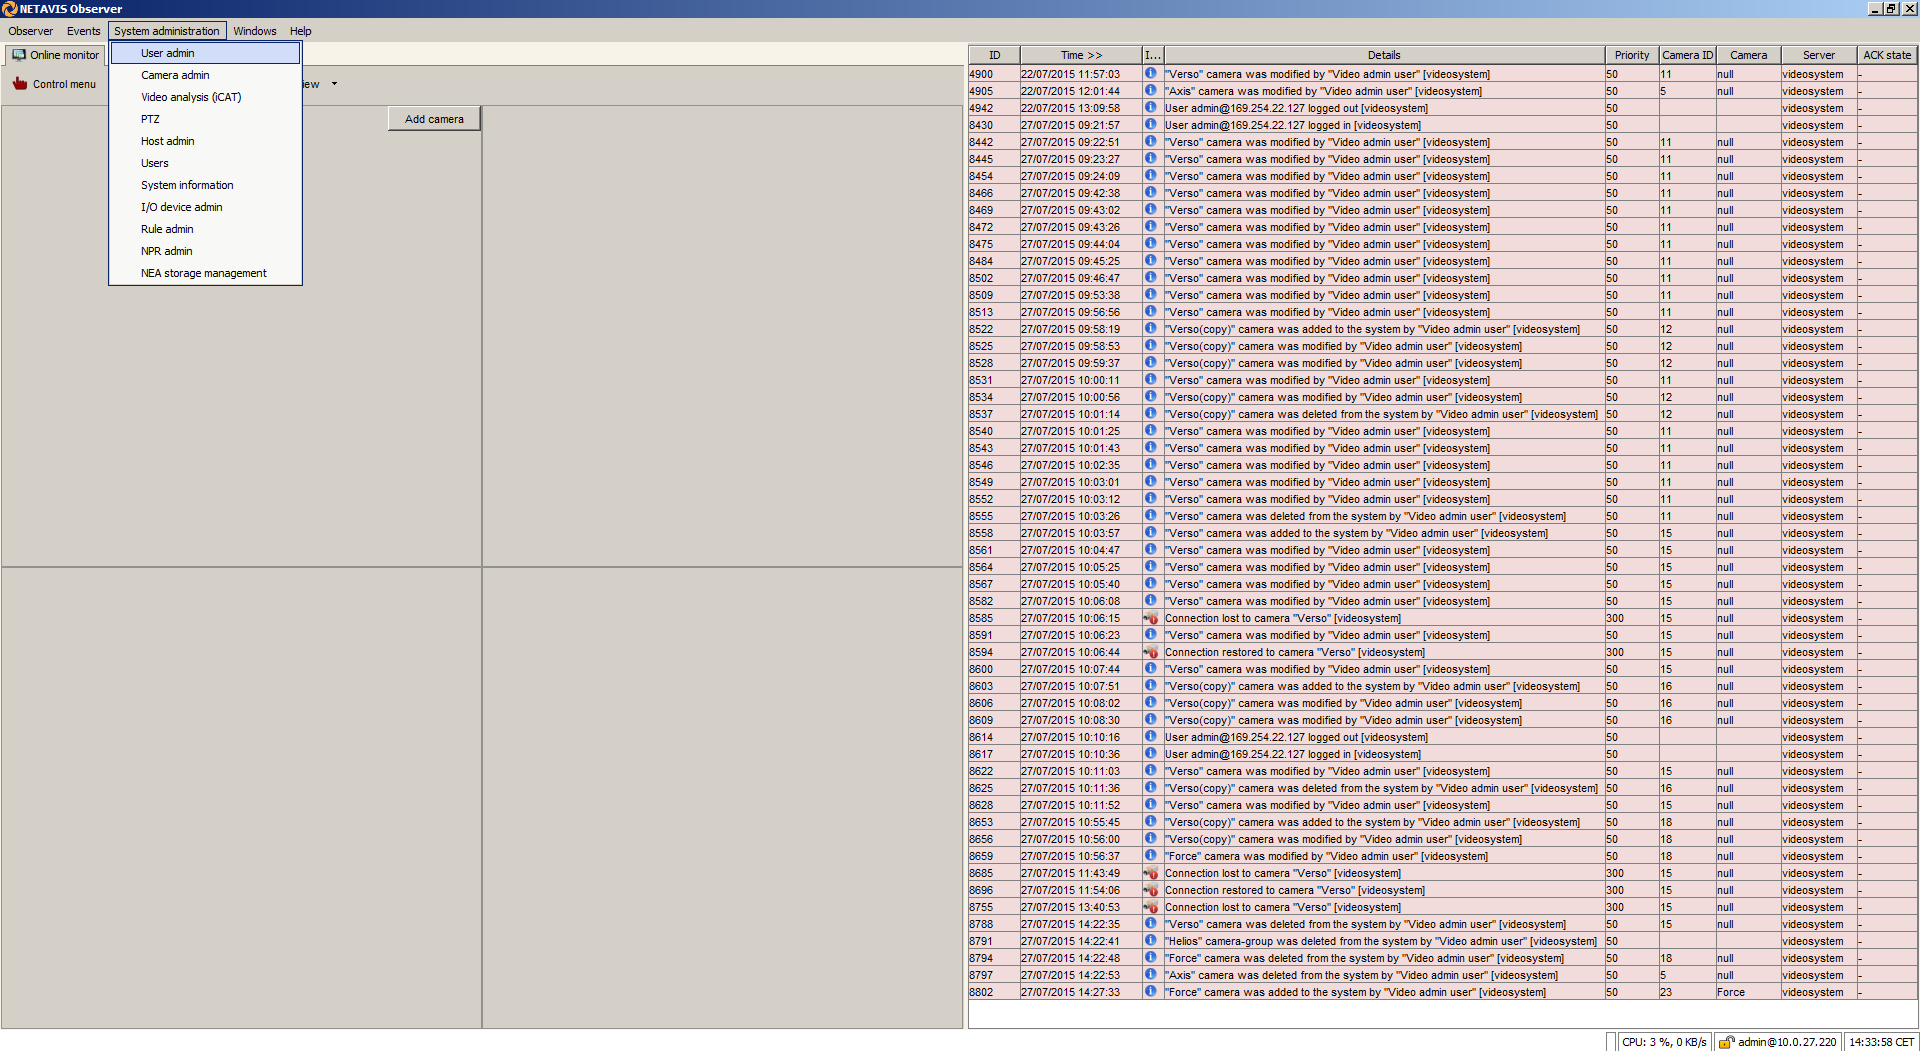
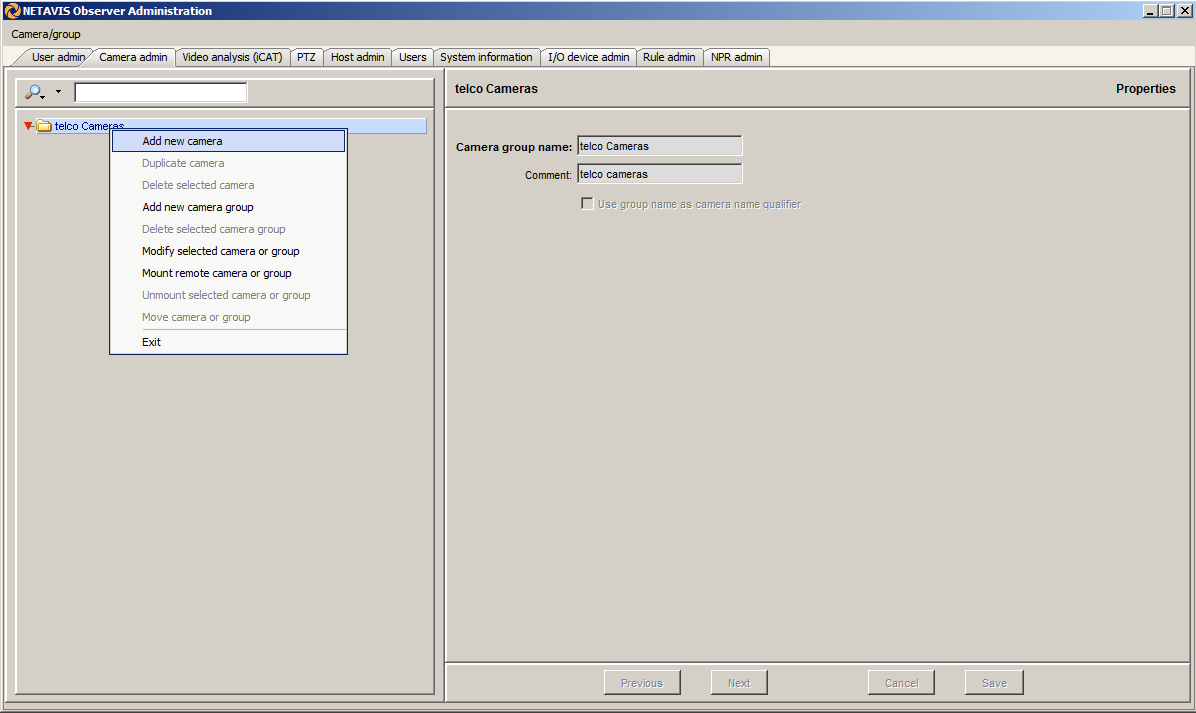
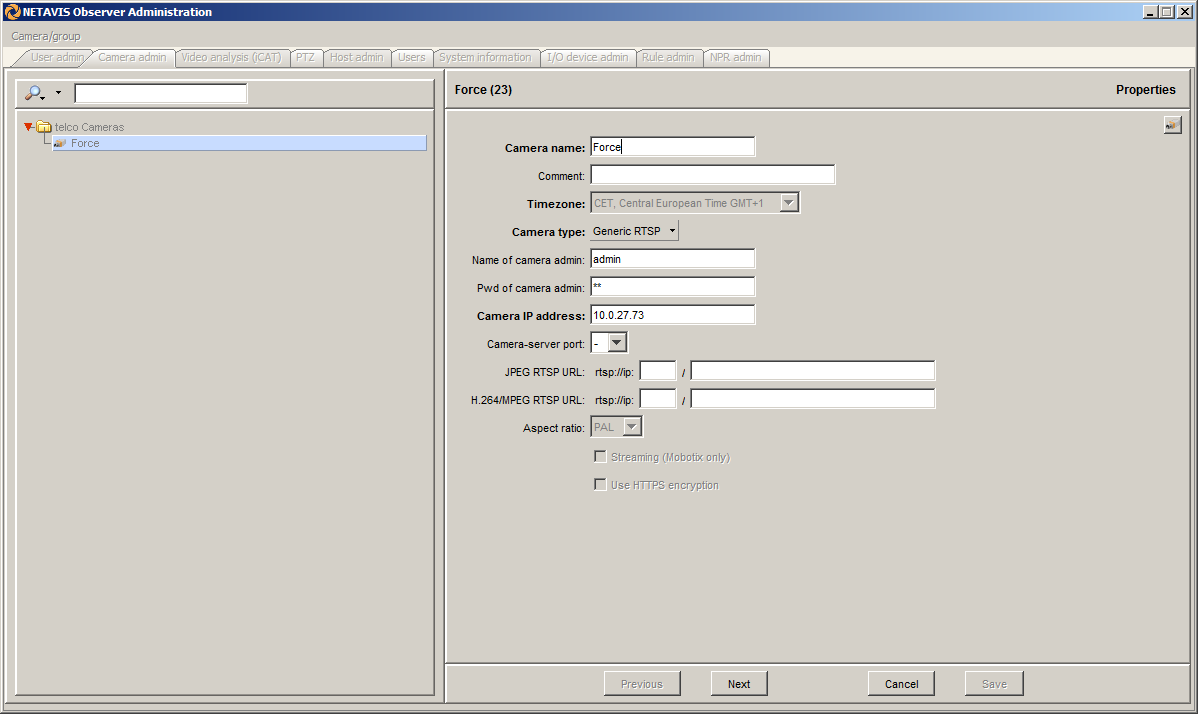
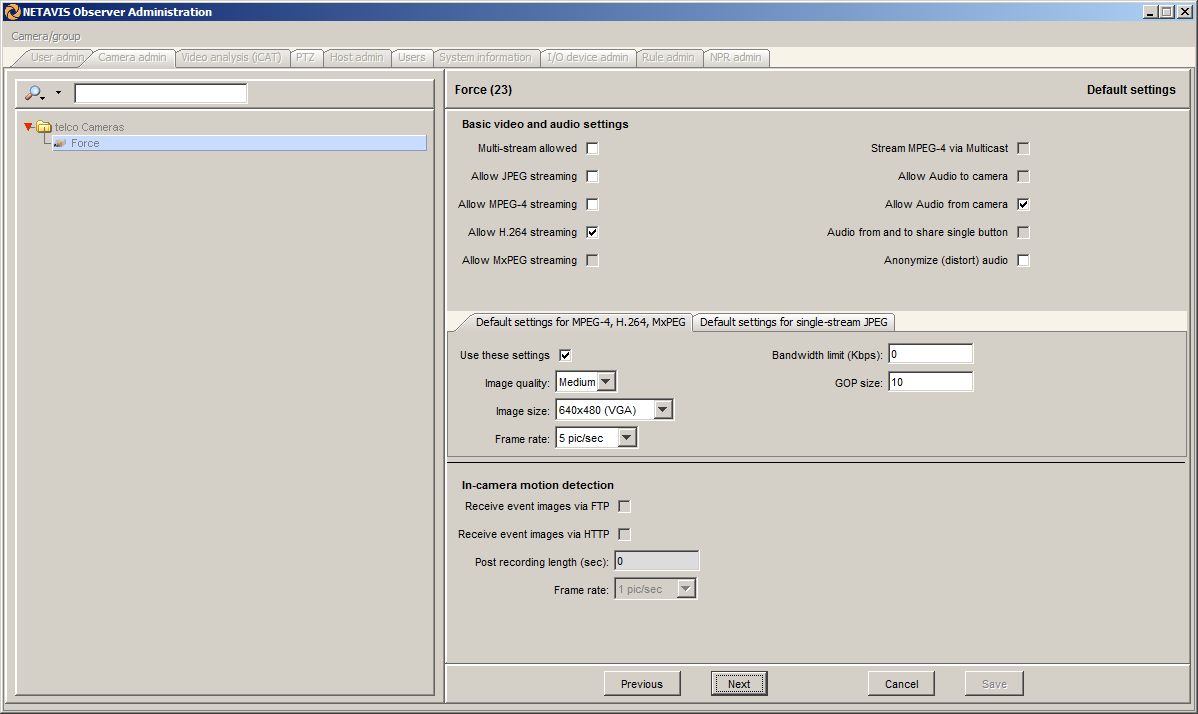
Start the NETAVIS Observer client and connect to your server using the credentials of the client administrator (which is completely separate from the previously discussed server administrator) given to you by your distributor / system integrator or use the default login (username: admin / password: admin). Choose Camera admin from the System administration menu. This opens the Camera admin dialog.
 |
 |
 |
 |
 |
 |
 |
 indicates that audio from the camera is on.
  indicates that audio from the camera is off. A click on the icon turns it on or off.
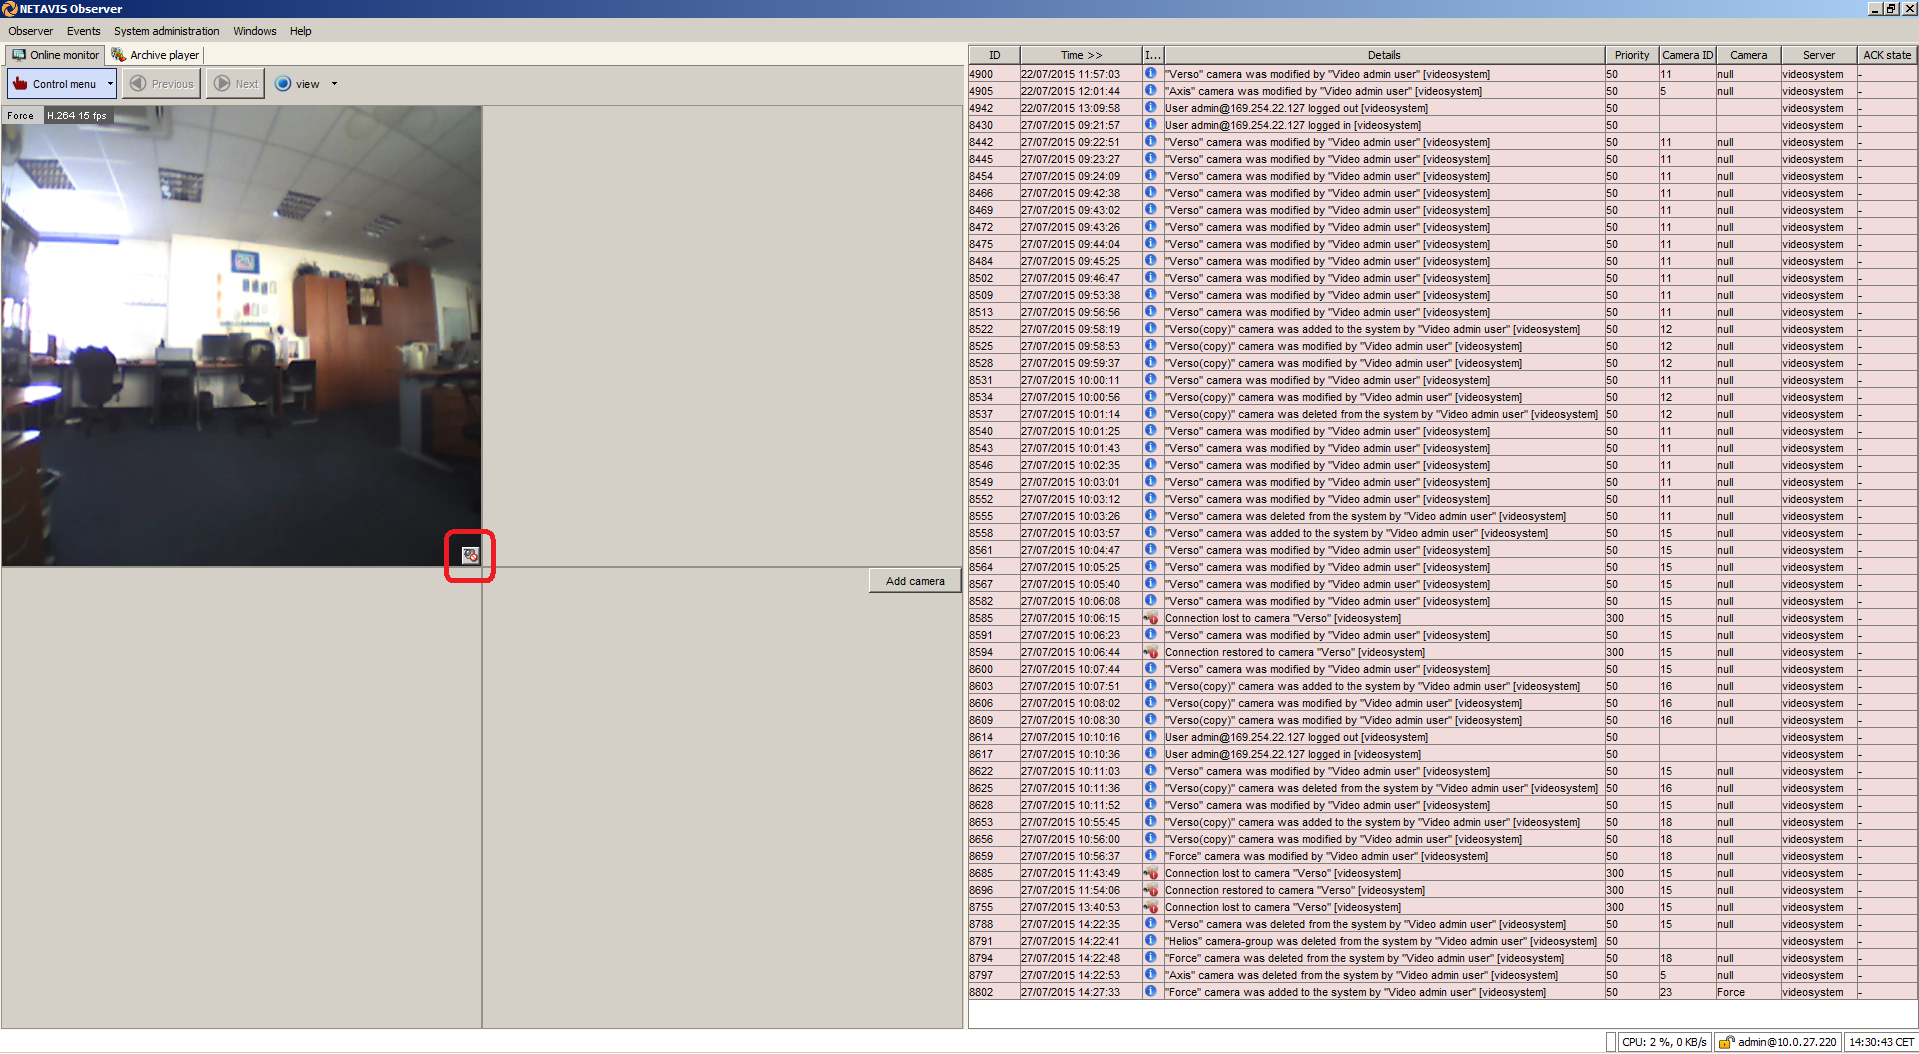 |
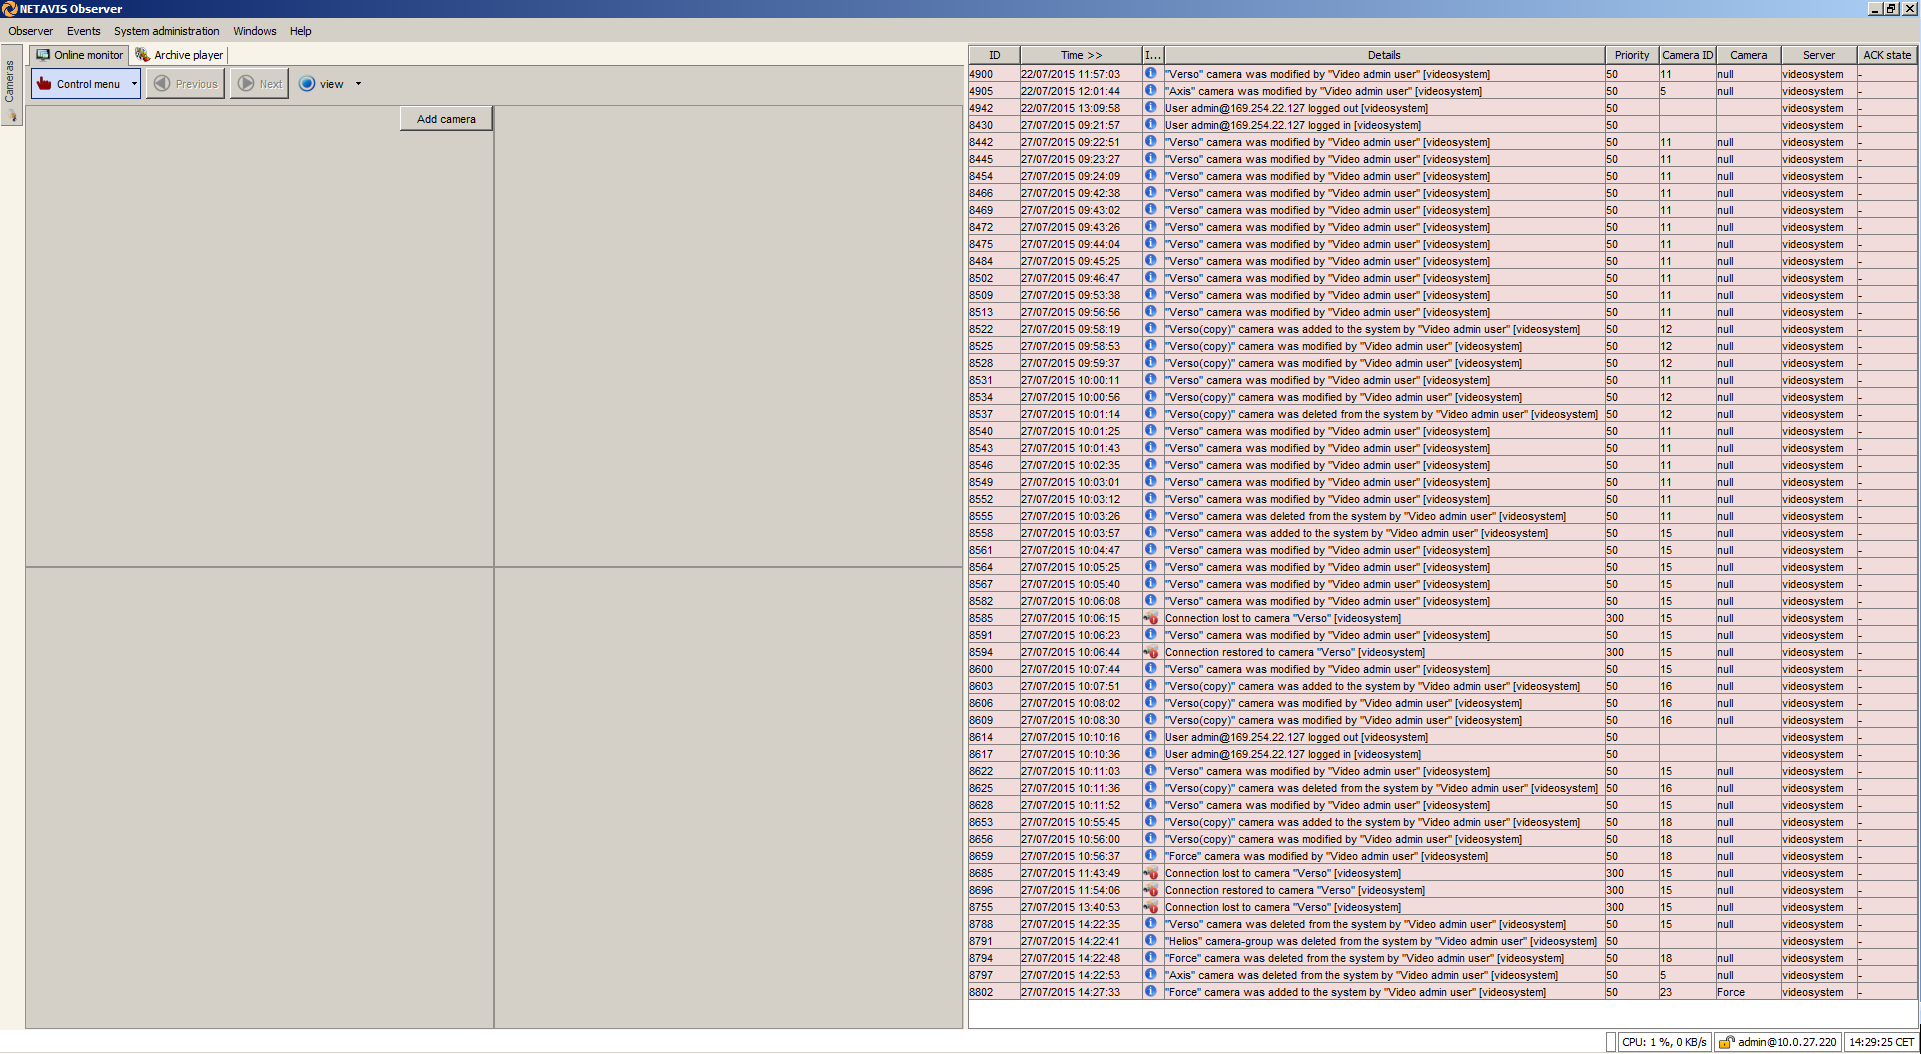
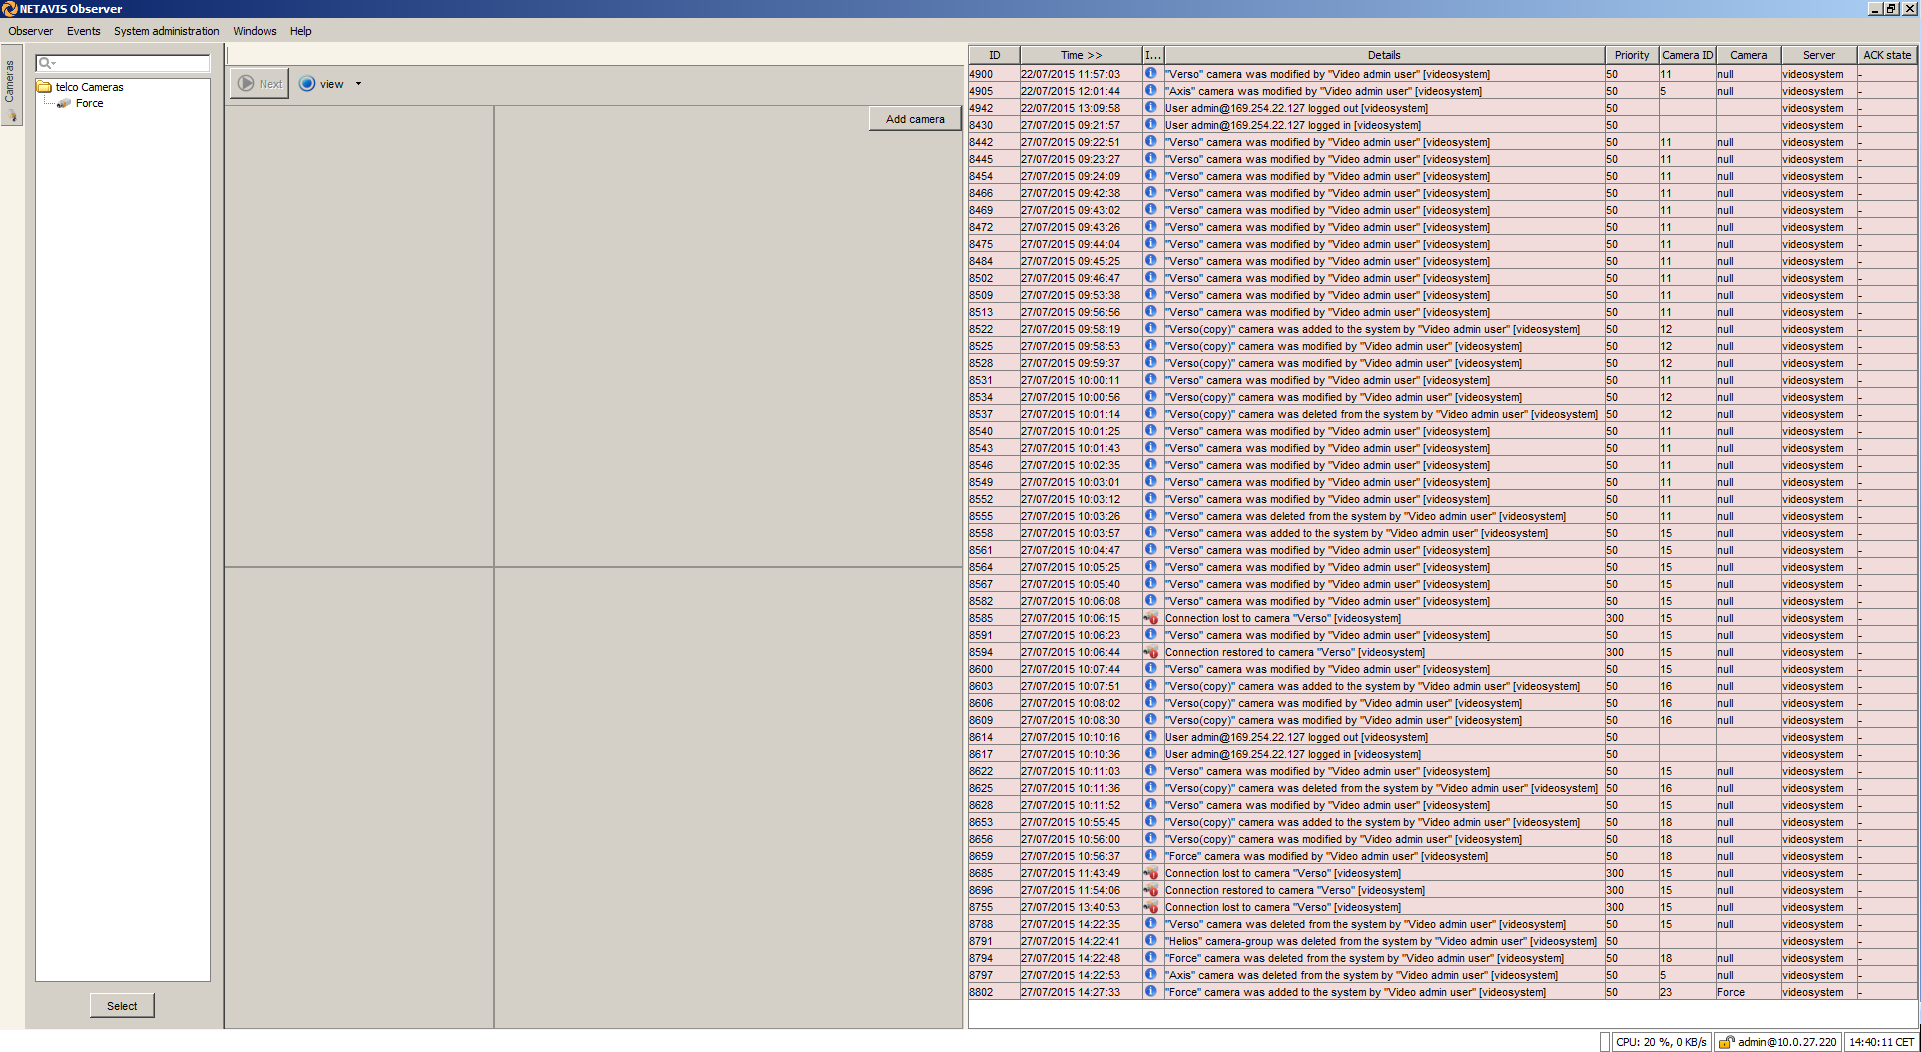
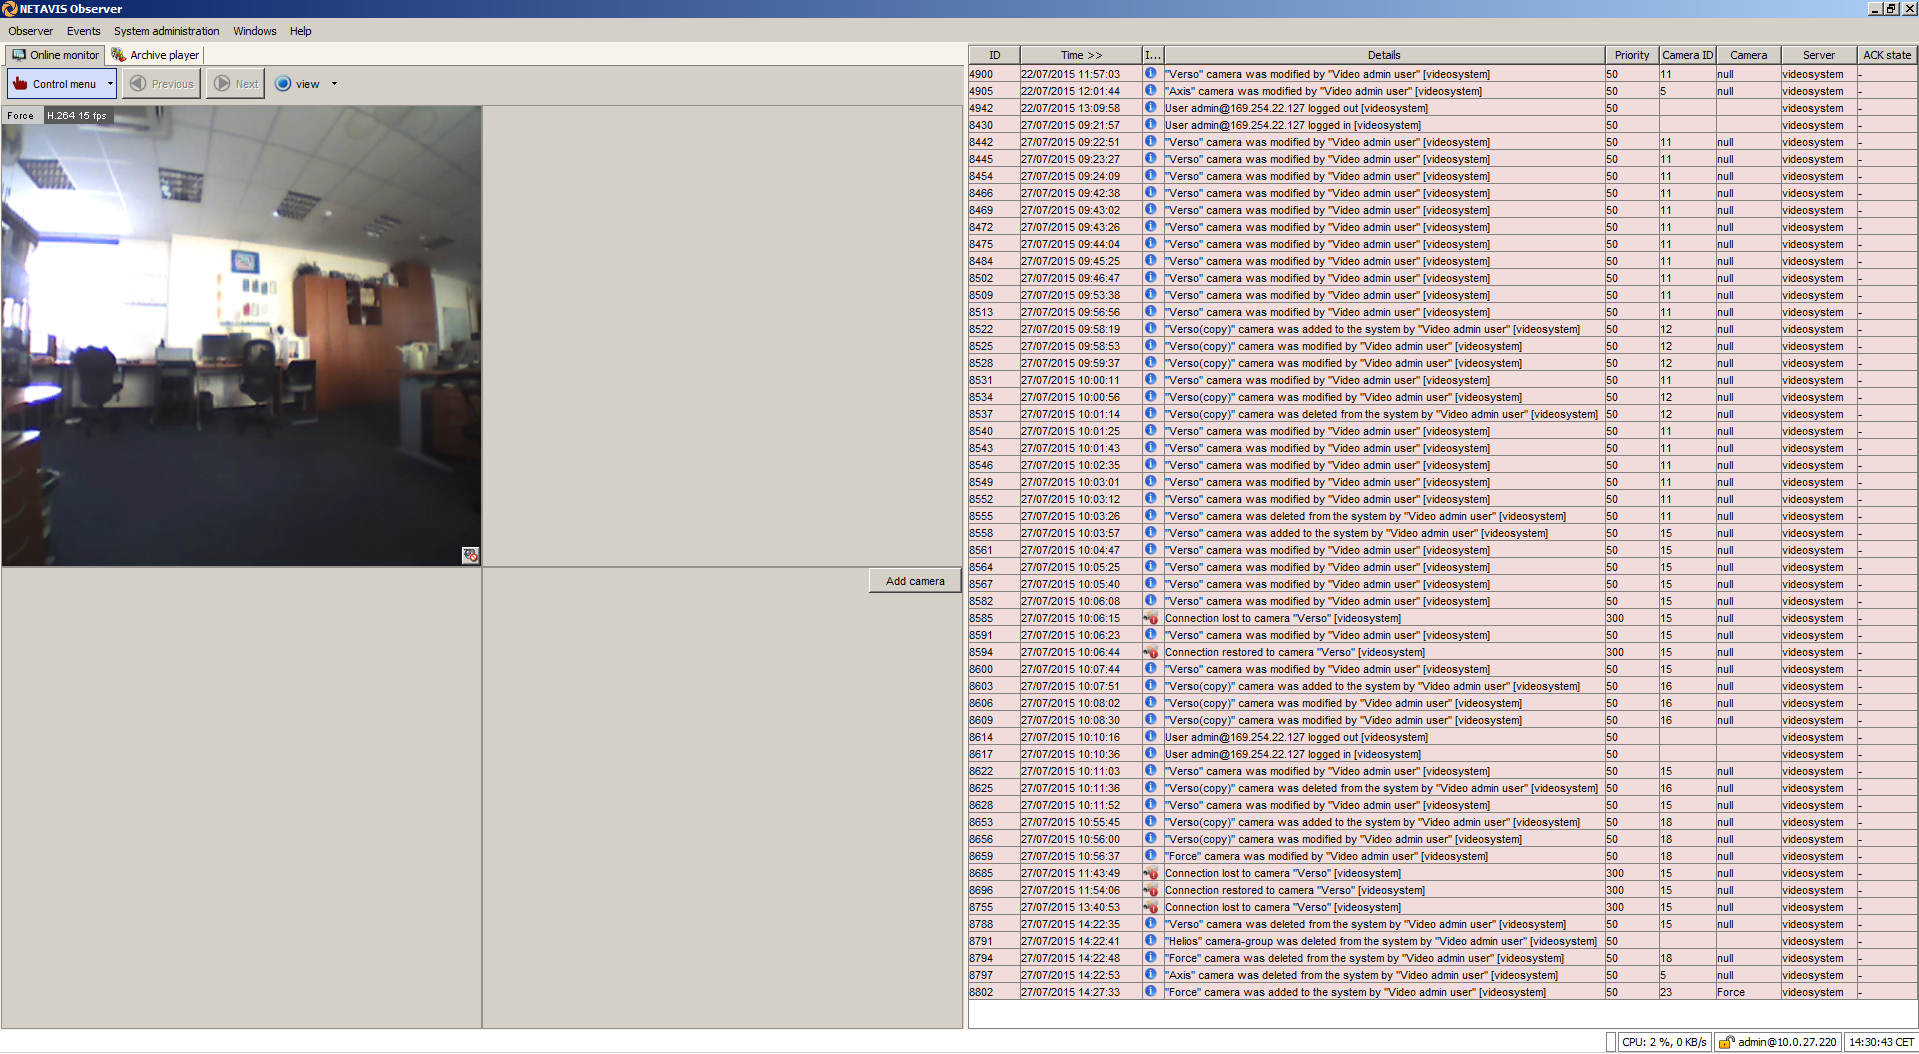
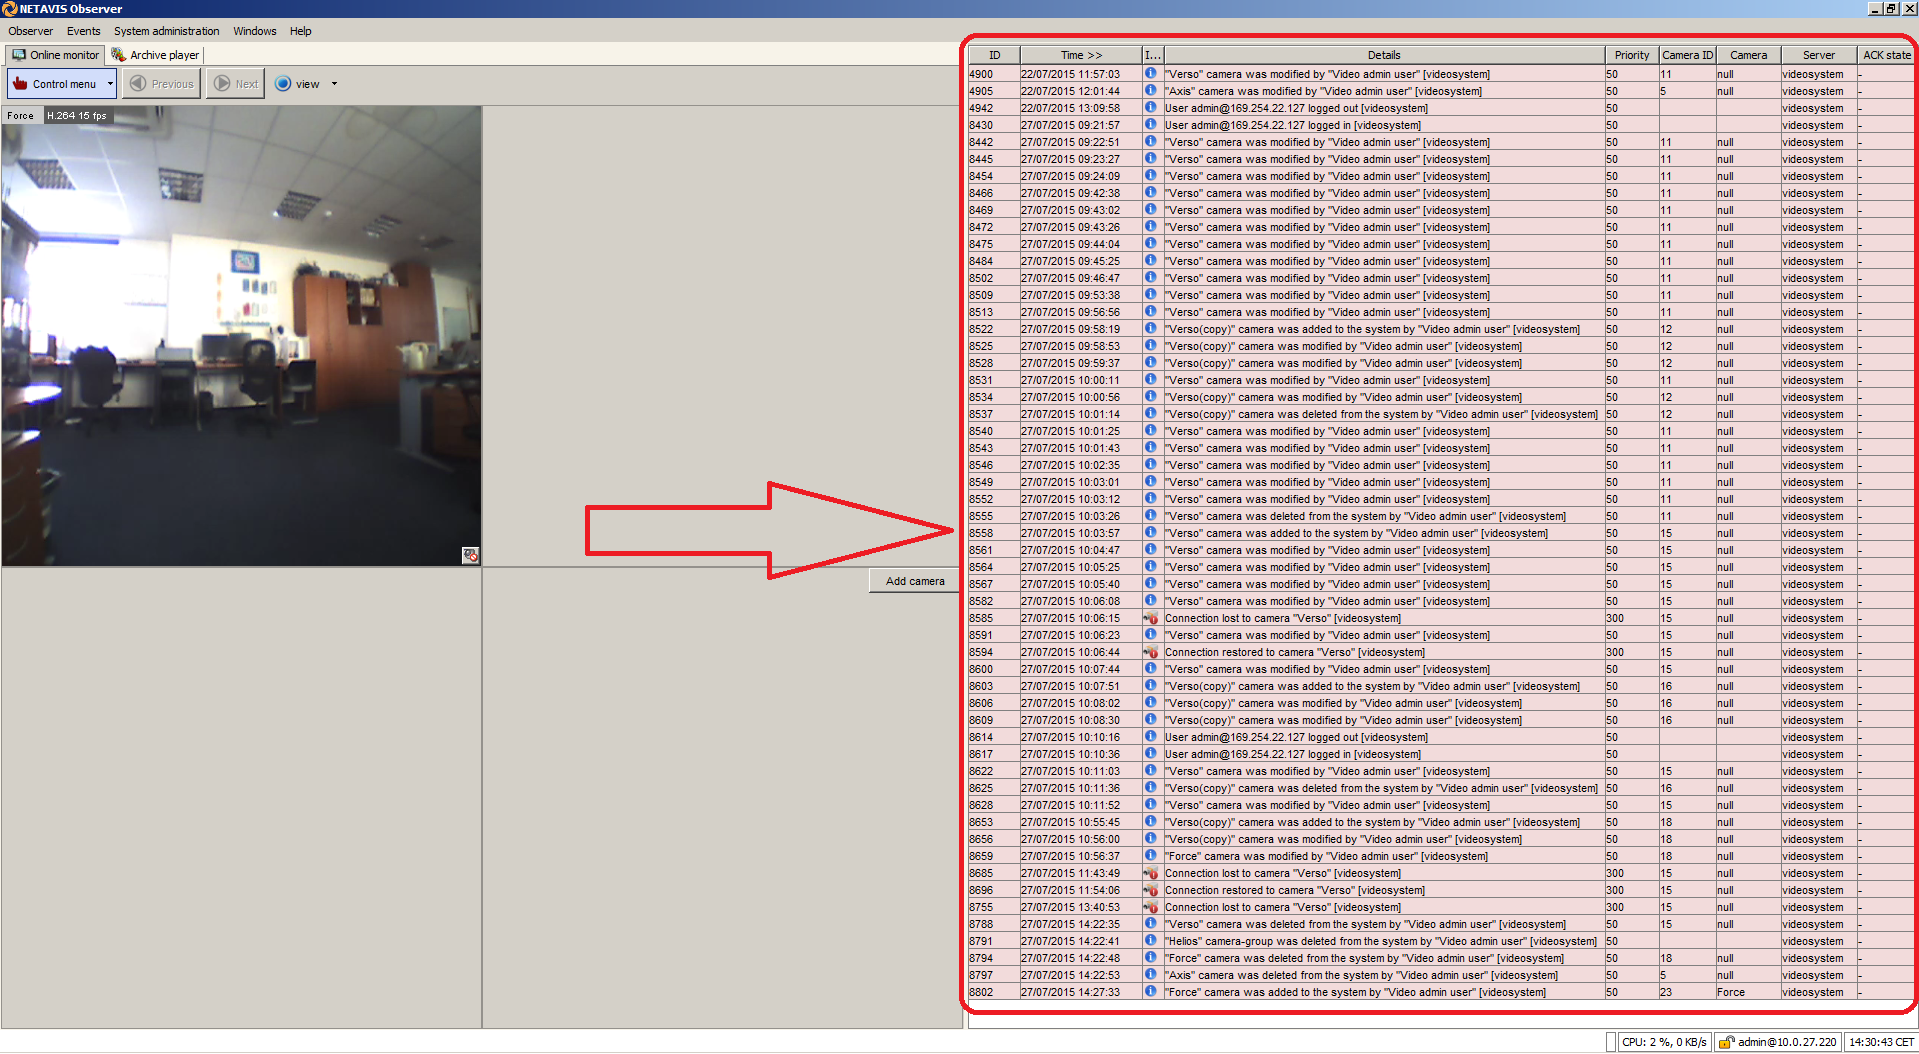
Observer can record and display events of various types. These can be camera-related events like video analytics events, archive access by a user, or camera failures, but also system-related events like user logon and logoff. Events are displayed in Event lists of the client and are stored in the central event database of the server were they can also be queried. They have several properties that depend on the type of the event.
 |
Used Symbols
![]() - Compatible
- Compatible
![]() - Work with limitation
- Work with limitation
![]() - Incompatible
- Incompatible