HSYCO
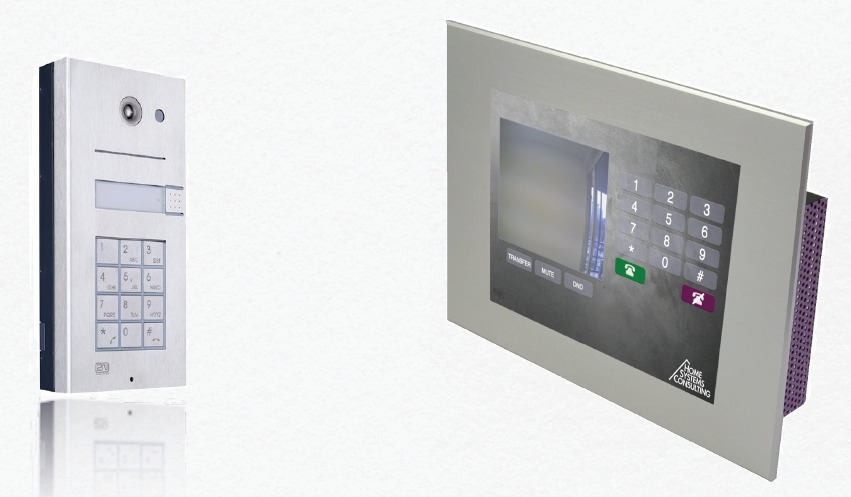
If you want to integrate your 2N IP Intercom with HSYCO home system, you can easily do it by following steps bellow.
 |
Requirements:
Enhanced Video + Enhanced Integration license or Gold license
2N IP Intercom configuration
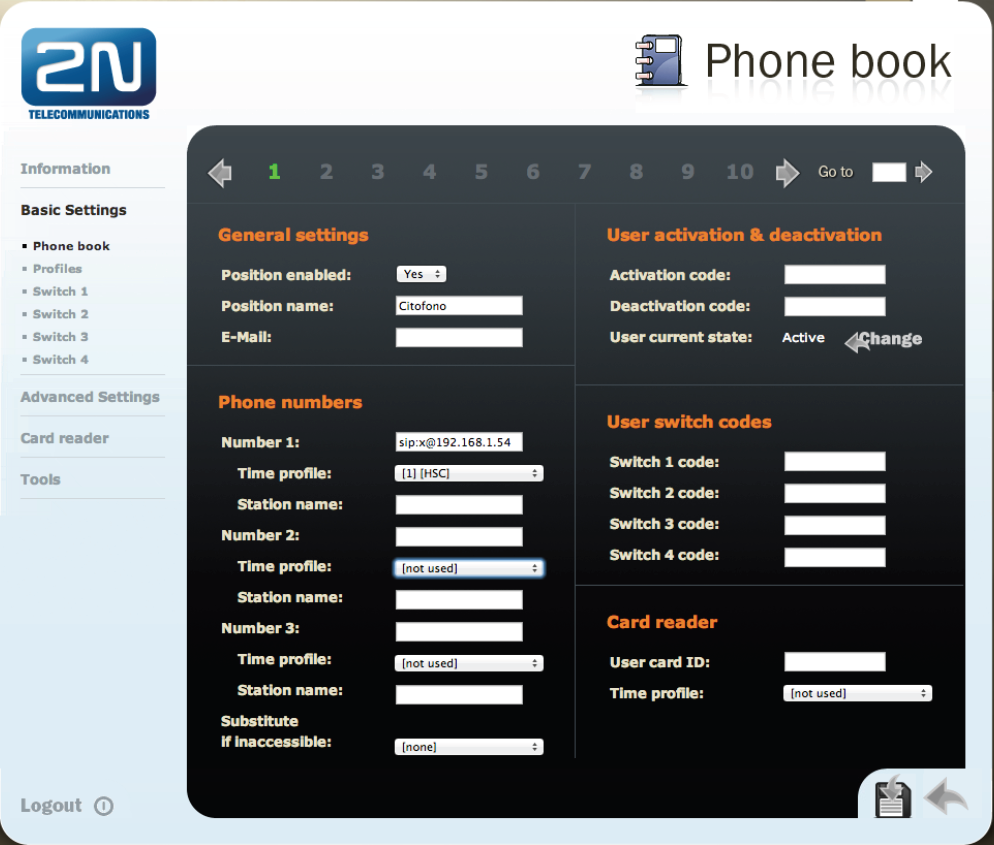
In the first step go to Basic Settings -> Phone book and enable one of the positions. Then specify name of this position and Number 1 in format "sip:x@IP_address". In our example we put to this parameter IP address of HSYCO TOUCH device.
 |
 |
HSYCO has the ability to process call notifications from 2N IP Intercom systems. They should generate HTTP requests to the HSYCO Web Server, using the following formats:
http://192.168.0.50/x/vcall/<from>/<to> or http://192.168.0.50/x/vcall?from=<from>&to=<to>
For example the HTTP request http://192.168.0.50/x/vcall?from=21&to=25 is interpreted as a call notification from internal number 21 to number 25 and causes the execution of the PBXCallEvent() callback method and the PBX event in EVENTS.
In this example the HTTP request http://192.168.1.200/x/vcall/99/99 can be triggered in EVENTS programming through the event PBX 99 = 99 (will be set in HSYCO setting part).
 |
HSYCO configuration
1) Video streaming
In the first step we will add to HSYCO system 2N IP Intercom camera.
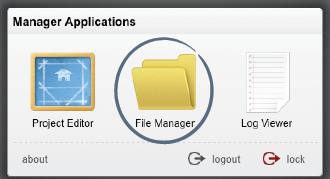
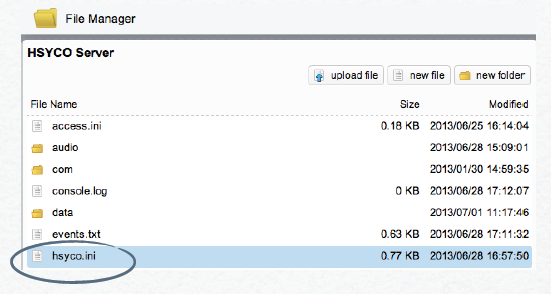
To access the HSYCO Manager Applications, enter the following URL in your Web Browser https://192.168.0.50/hsycoserver/manager and select File Manager.
 |
 |
Camera.pe.URL = http://IP_intercom_address/enu/camera640x480.jpg
Then open the Project Editor and add the camera object.
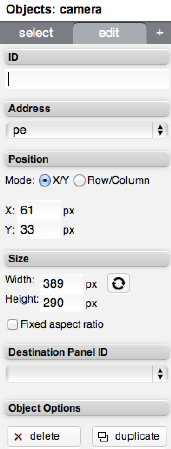 |
Destination Panel ID - select the Destination Panel ID. By clicking on the camera image the camera displayed on the destination camera panel will be changed.
To access the web interface created in this example enter the following URL in your web browser https://192.168.0.50/hsycoserver/test.
2) HTTP control
In 2N IP Intercom settings we set, that for every outgoing call from intercom HTTP command to HSYCO will be sent . Now we can use this command and program some events for it.
Events Programming: open the File Manager and copy the following code in the events.txt file:
pbx 99 = 99 : log = “2N button 1 pressed”
When the 2N button 1 is pressed, the pressure is notified to HSYCO
 |
3) Relay control
If you want to control door lock from your HSYCO system, you can do this by sending HTTP commands to 2N IP Intercom.
For 2N IP Intercom, there is a choice of output relay (max 4) for a particular lock. A relay can be controlled through HTTP requests such as:
http://ip_intercom_address/enu/lockstate.xml.p?lockXstate=Y
where X is the relay number and Y can assume the values: 0 (open the relay), 1 (close the relay), 2 (toggle between open and close states)
Open the Project Editor and add to a generic user object setting the following parameters:
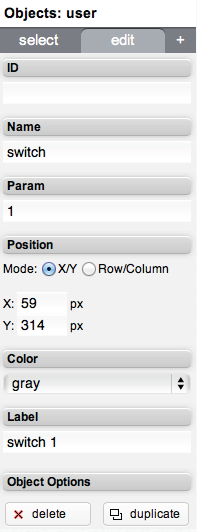 |
Label - text label on the button
Events Programming: open the File Manager and copy the following code in the events.txt file:
user switch = 1 : url get "http://192.168.1.164/enu/lockstate.xml.p?lock1state=1", wait = 5,
url get "http://192.168.1.164/enu/lockstate.xml.p?lock1state=0"
When the user button is pressed, a command is sent to close the first relay and after 5 seconds another command is sent in order to open it again.
4) SIP VoIP client setting
HSYCO TOUCH can be configured in order to be directly called from 2N IP Intercom without any registration to a VoIP PBX system.
Open the File Manager and edit the hsyco.ini file. Add the following lines:
ioServers = sip
ioServersType.sip = SIP
The HSYCO SIP I/O Server allows HSYCO to control standard VoIP client software (also called soft-phones) in order to integrate telephony features in HSYCO applications. After the HSYCO restart, go to the Log Viewer and check if SIP I/O Server is online:
 |