2.6 Buttons Labels - Insertion, Replacement
Instructions
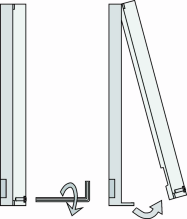
Remove the 2N® Analog Vario metal cover. To do this, use a hexagonal key, unscrew the screw as shown in the figure and take the cover off.
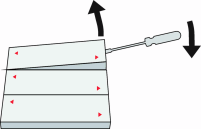
Remove the name plates as shown in the figure using, e.g., a screw driver.
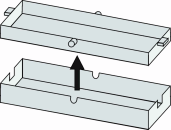
Remove the name plate inserts as shown in the figure.
Insert the labels printed on foil (see later).
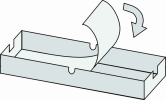
- Replace the name plate inserts.
- Put the name plates back in the depression and click into position. The name plates keep the matt foil steady.
- Replace and screw on the metal cover.
Note
- You can remove the name plates even without removing the metal cover however damage, if any, incurred as result of this, is not covered by the warranty.
Label Material and Printing
Every 2N® Analog Vario delivery includes a sheet of transparent foil that can be easily printed, with a laser printer. Cut the printed foil into pieces and insert the labels into the name plates. Do not use paper to avoid water logging.
Make sure that the text does not cover up the red arrows printed on the name plate, we recommend you to print the foil using a template (MS Word), available at www.2n.cz in section "Downloads", direst link: Template - name tags
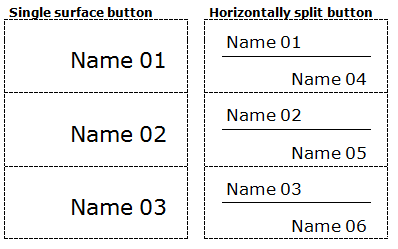 |
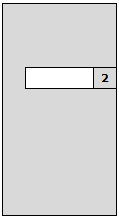
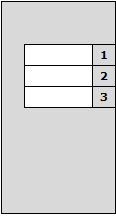
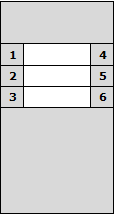
Button numbering
 |
 |
 |