Nx Witness
Content
About
Nx Witness VMS is an open IP video management system(IPVMS) designed to find, view, record, and manage IP video cameras as well as integrate quickly with 3rd party systems and devices.
http://www.networkoptix.com/nxwitness/
Version 4
Tested Functions
| Nx Witness | Version Helios IP | Scan device | Video from HIP | Audio from HIP | Audio to HIP | Switch control | Events from HIP |
|---|---|---|---|---|---|---|---|
| 4.1.0.31.398 | 2.30.0.39.4 | ||||||
4.0.0.29987 | 2.29.0.38.6 |
2N Helios IP Settings
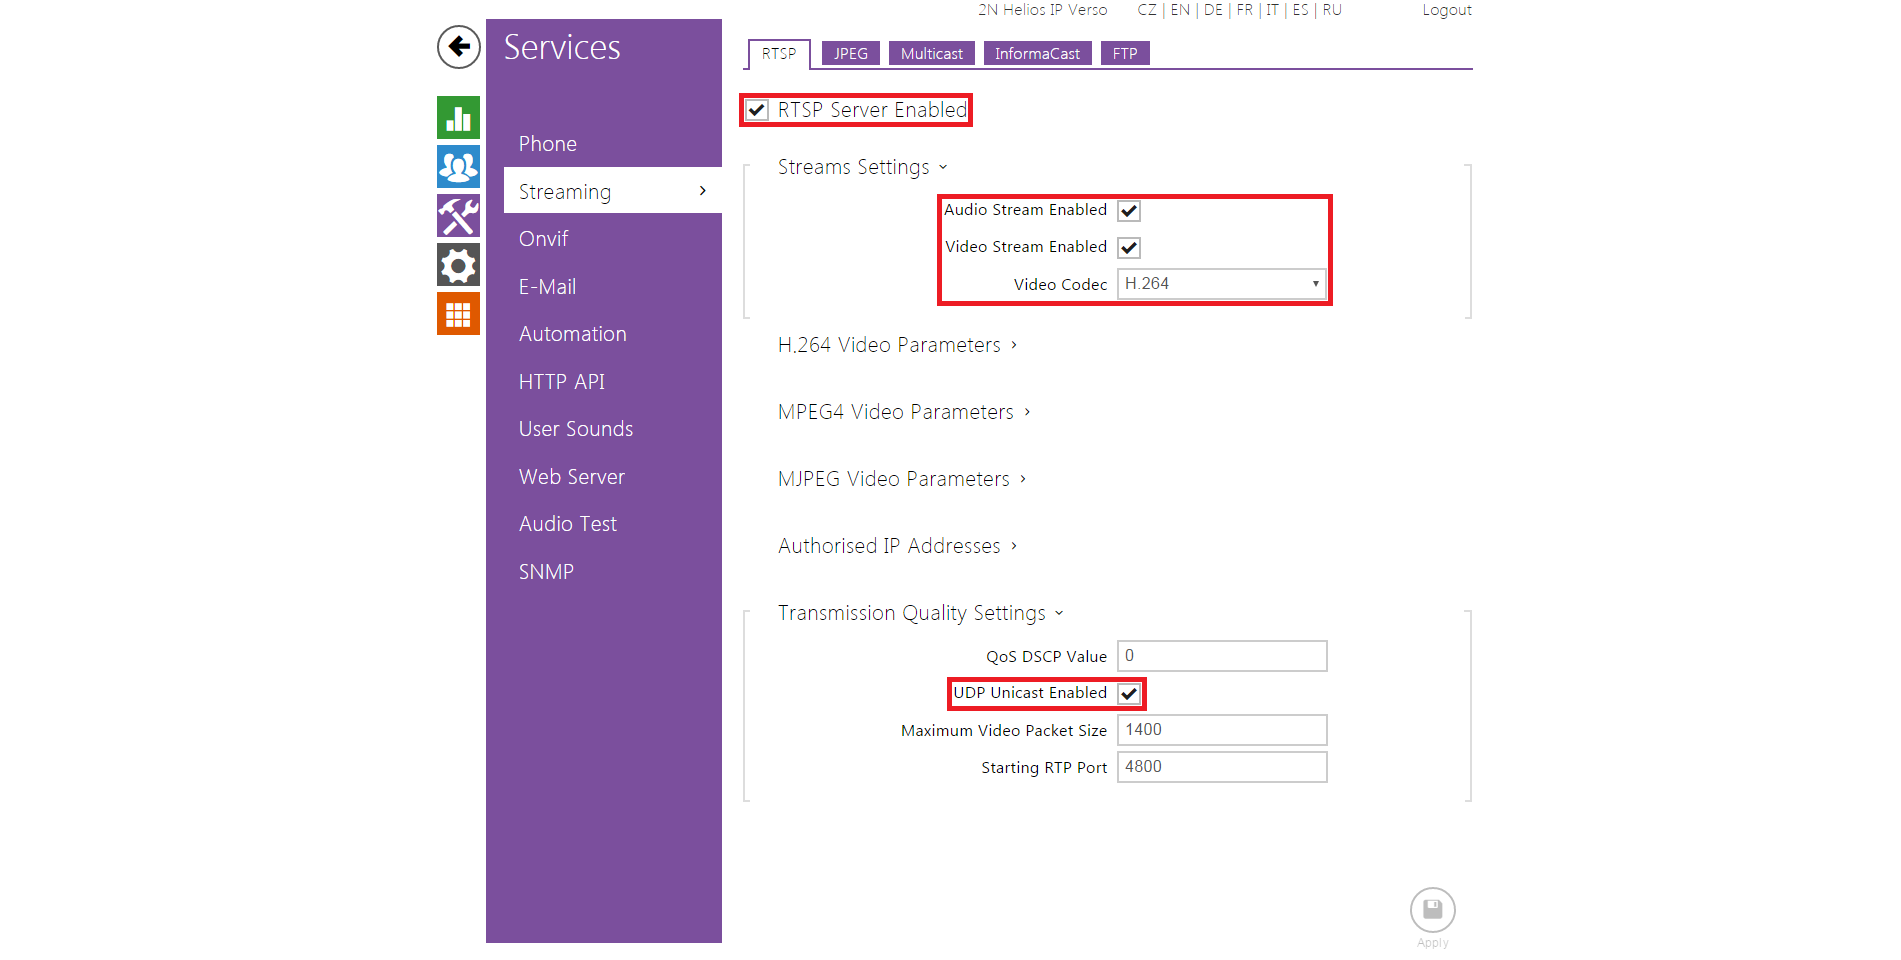
Check the ‘RTSP Server Enabled’ and Audio/Video Streams as below, then choose your preferred Video Codec from the drop down menu, also ensuring that the ‘UDP Unicast Enabled’ box is checked.
 |
 |
 |
Tested Features
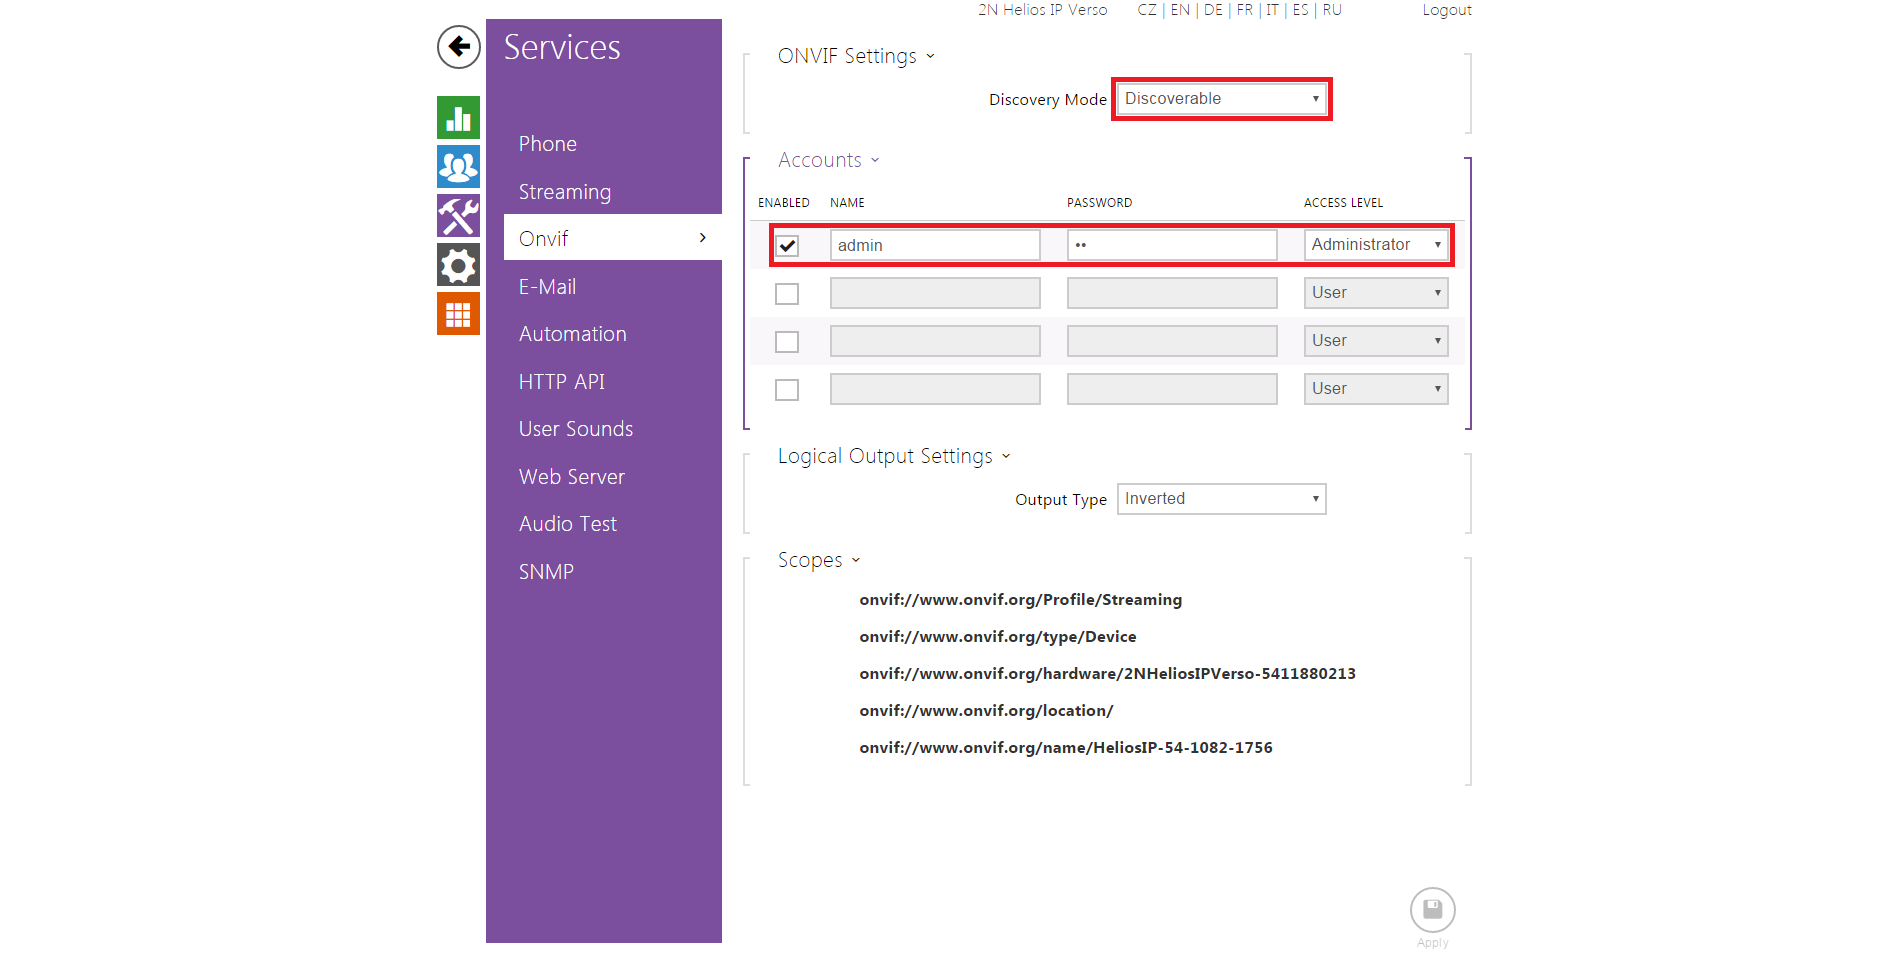
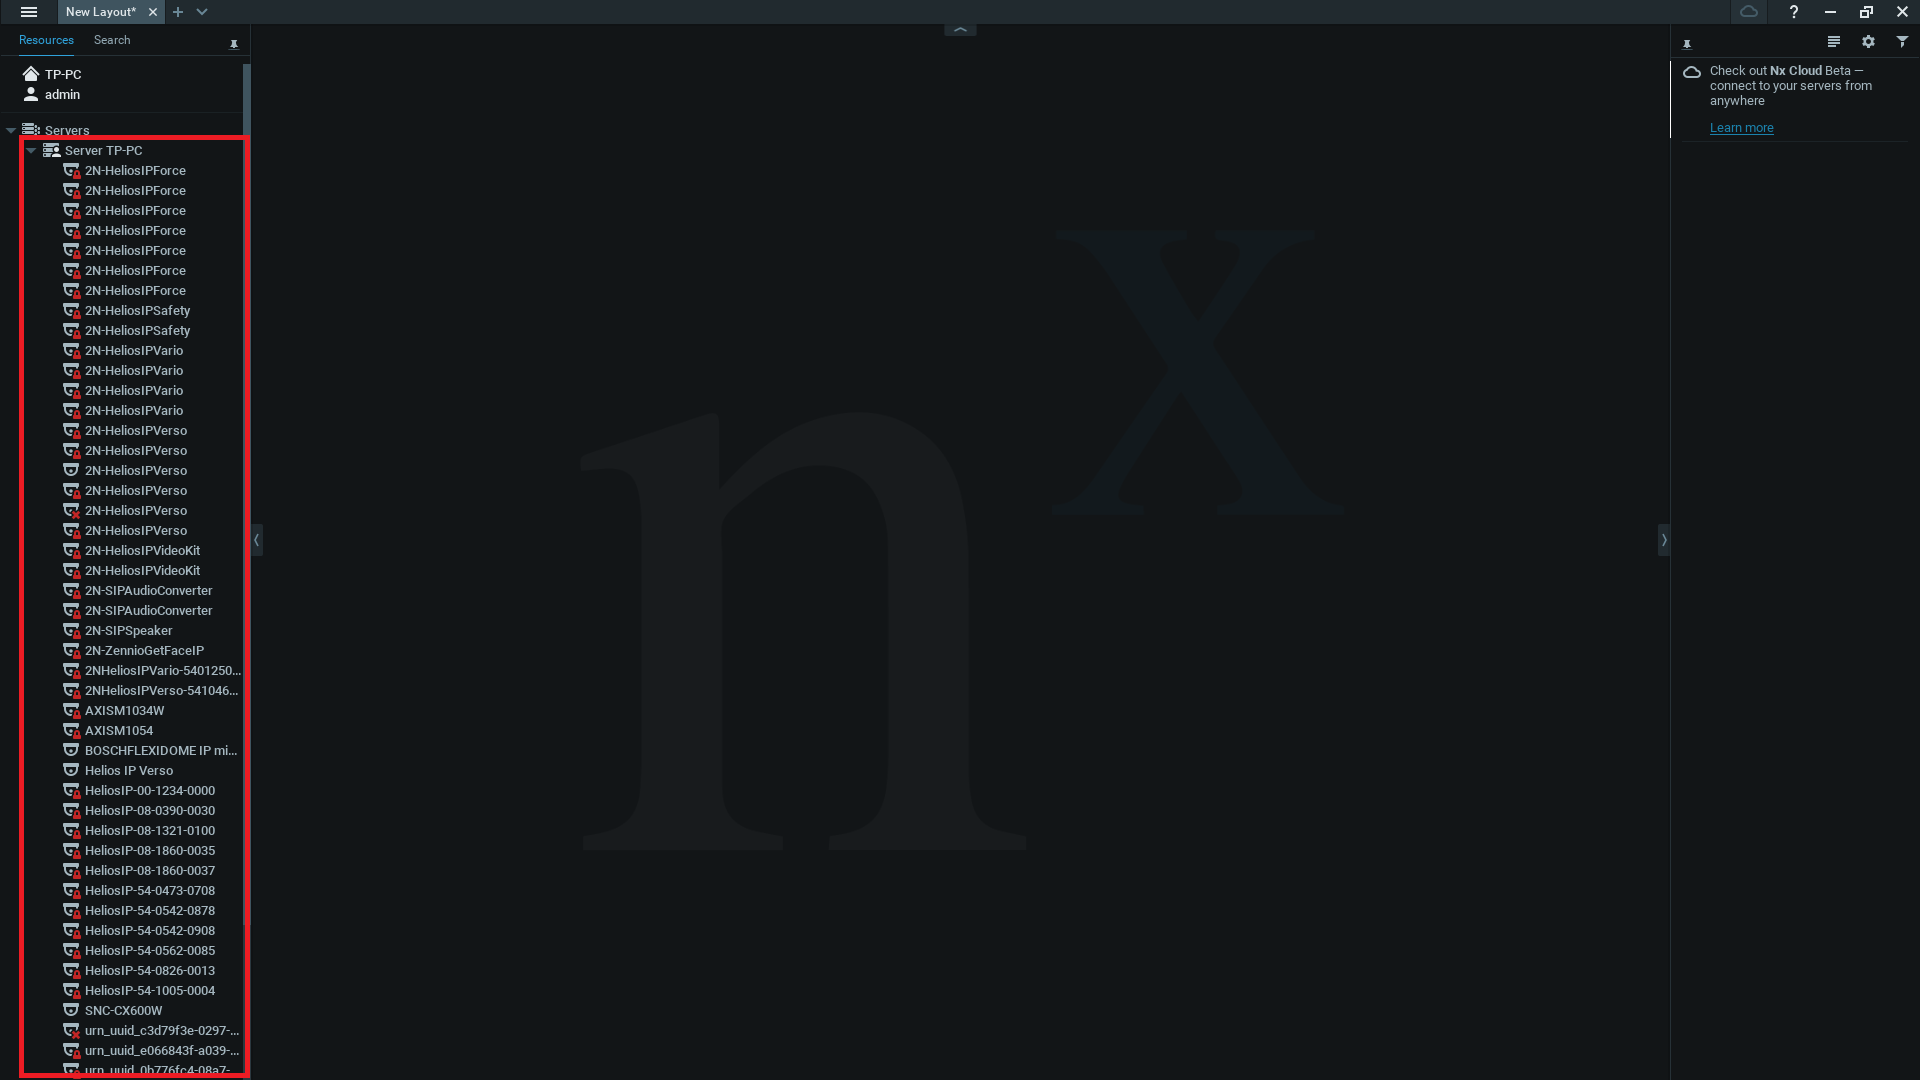
The intercom should now be visible in the available cameras list, thanks to ONVIF discovery. Locate the intercom that you wish to add to the layout.
 |
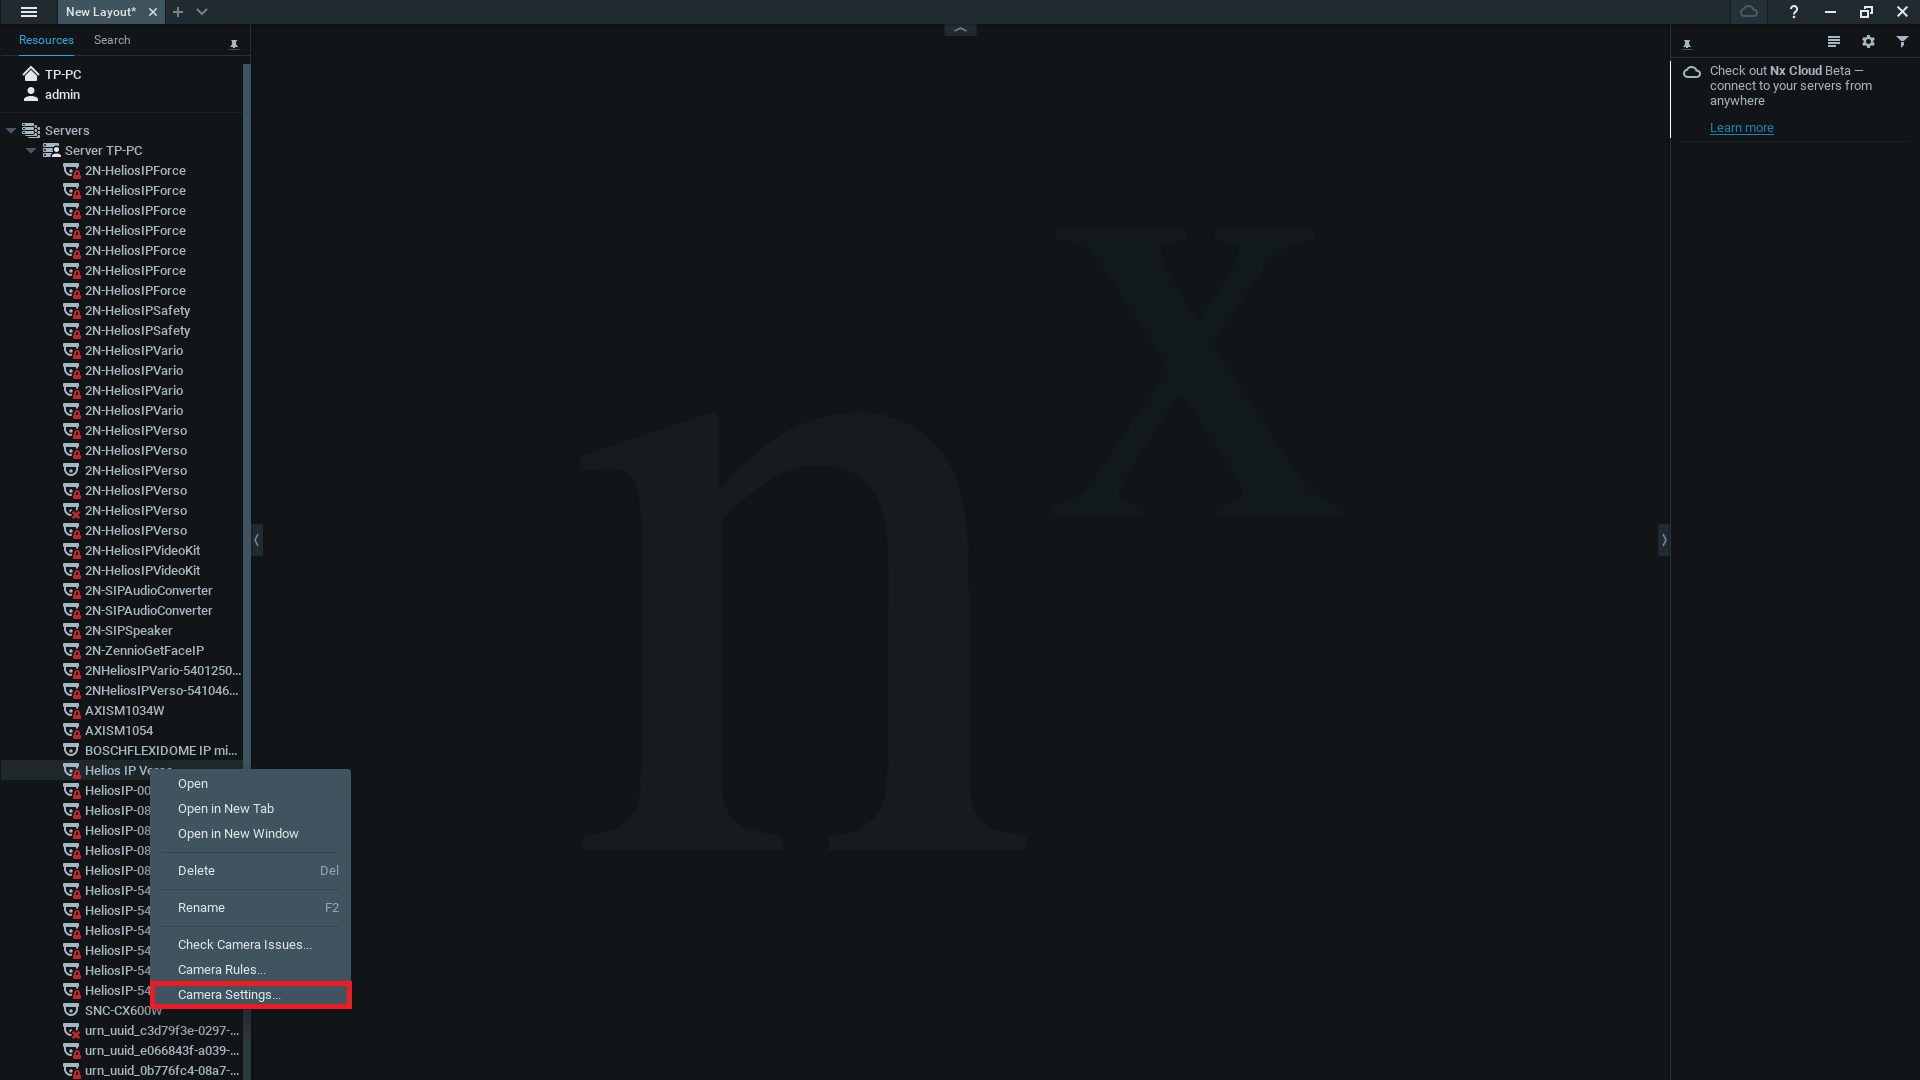
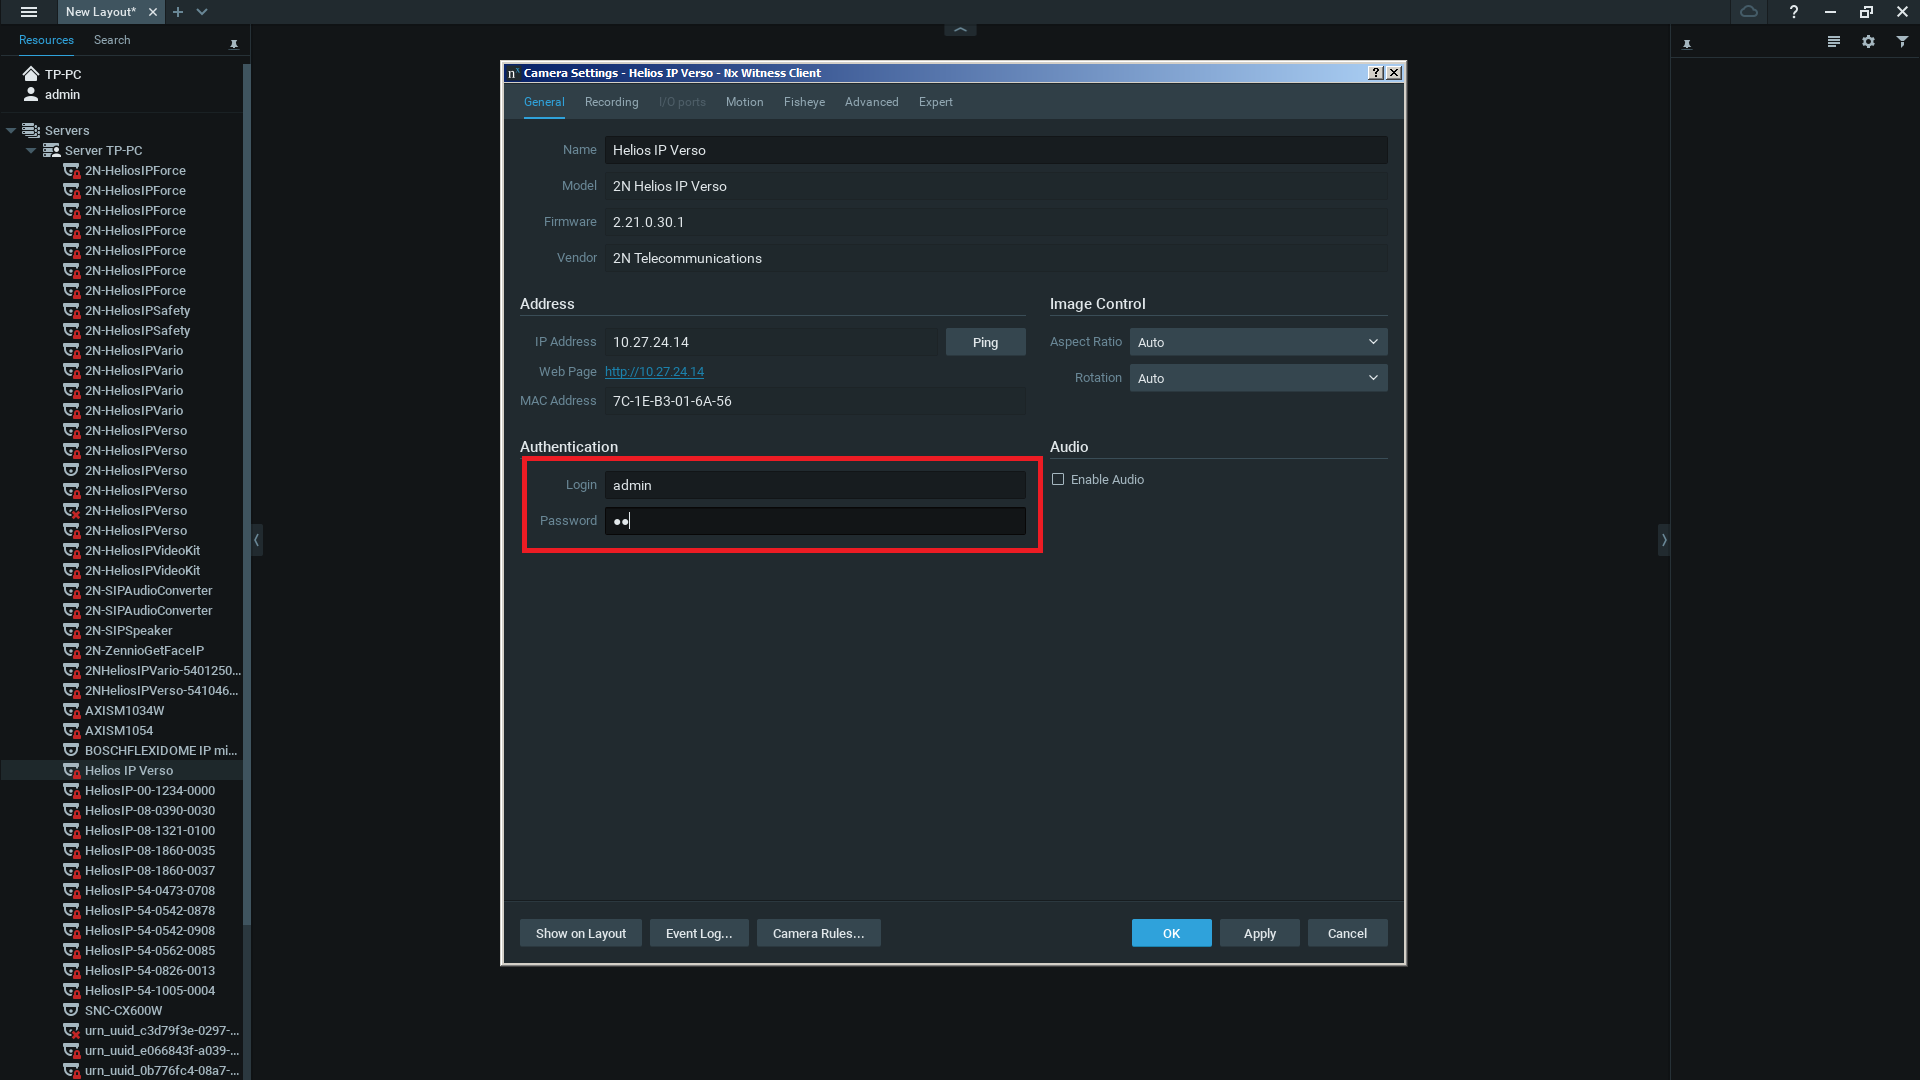
Right click on your camera and select ‘Camera Settings’ to configure.
 |
 |
 |
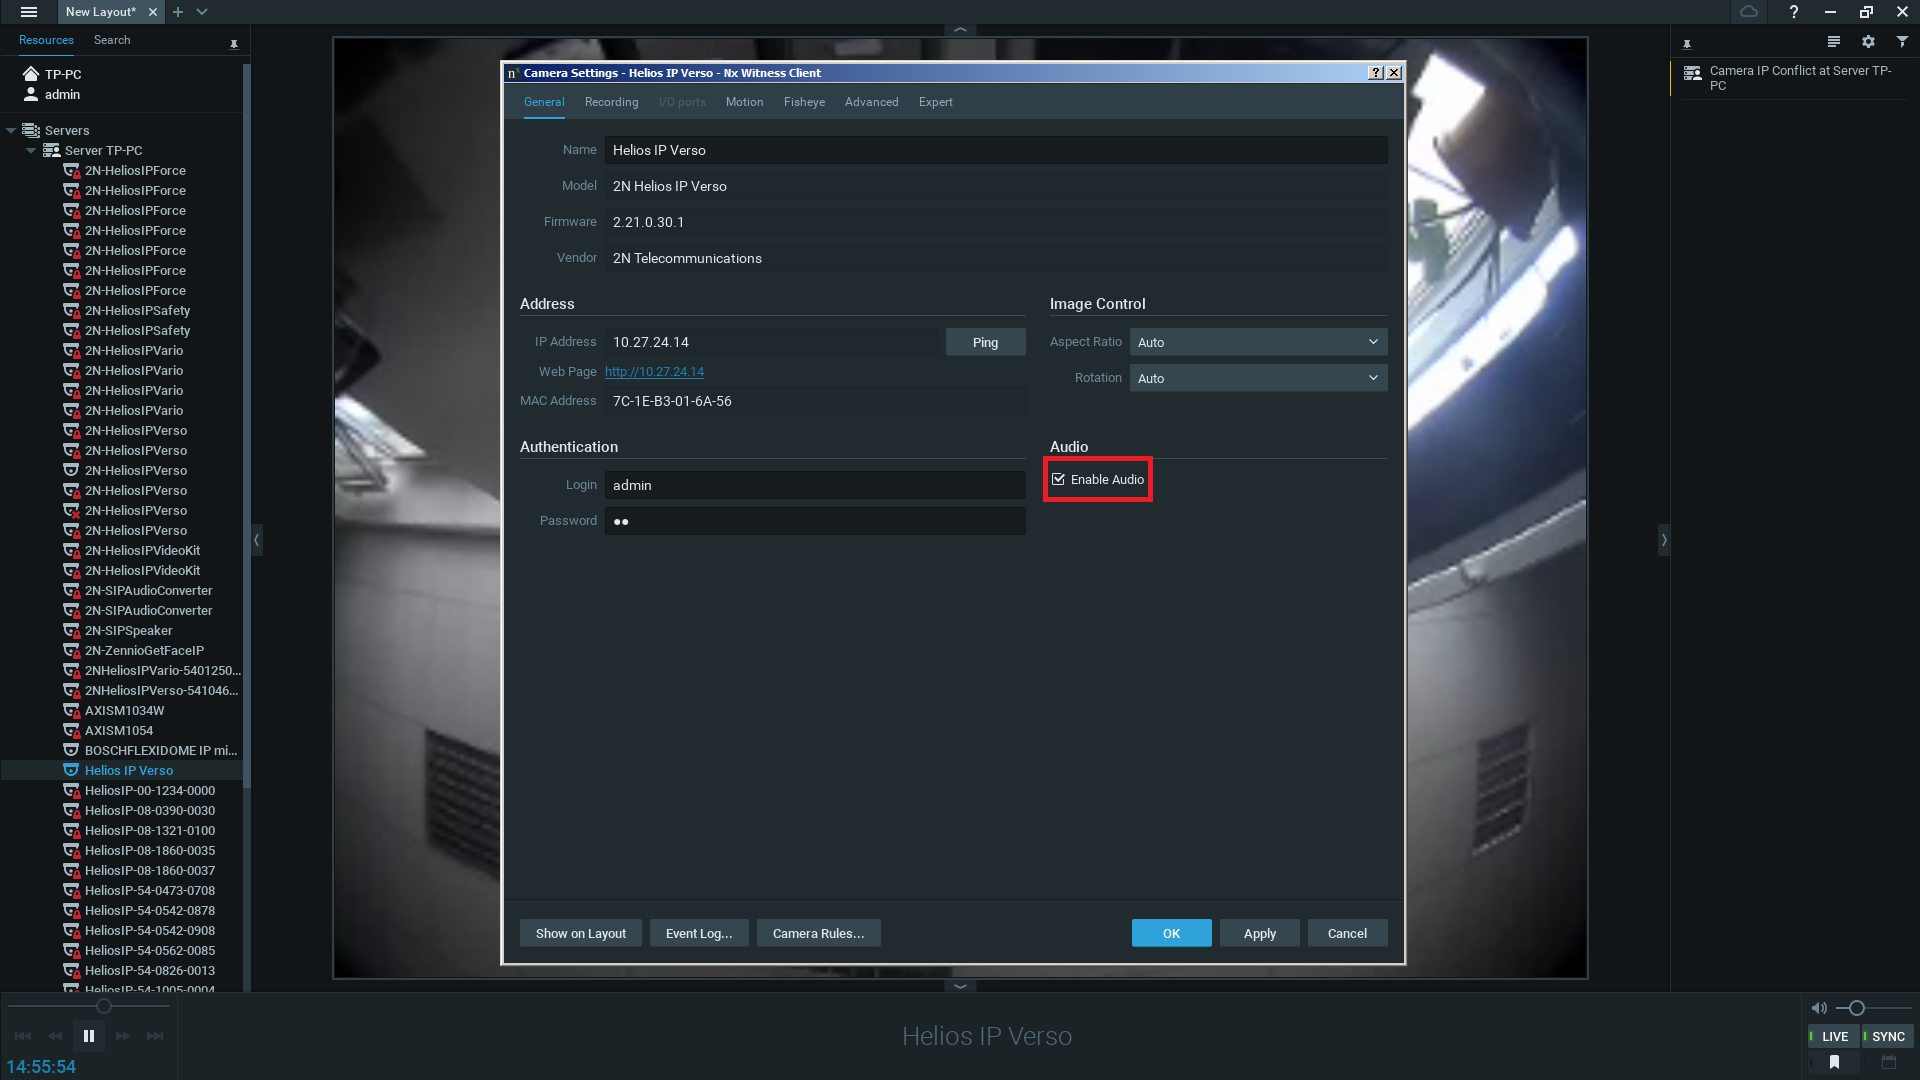
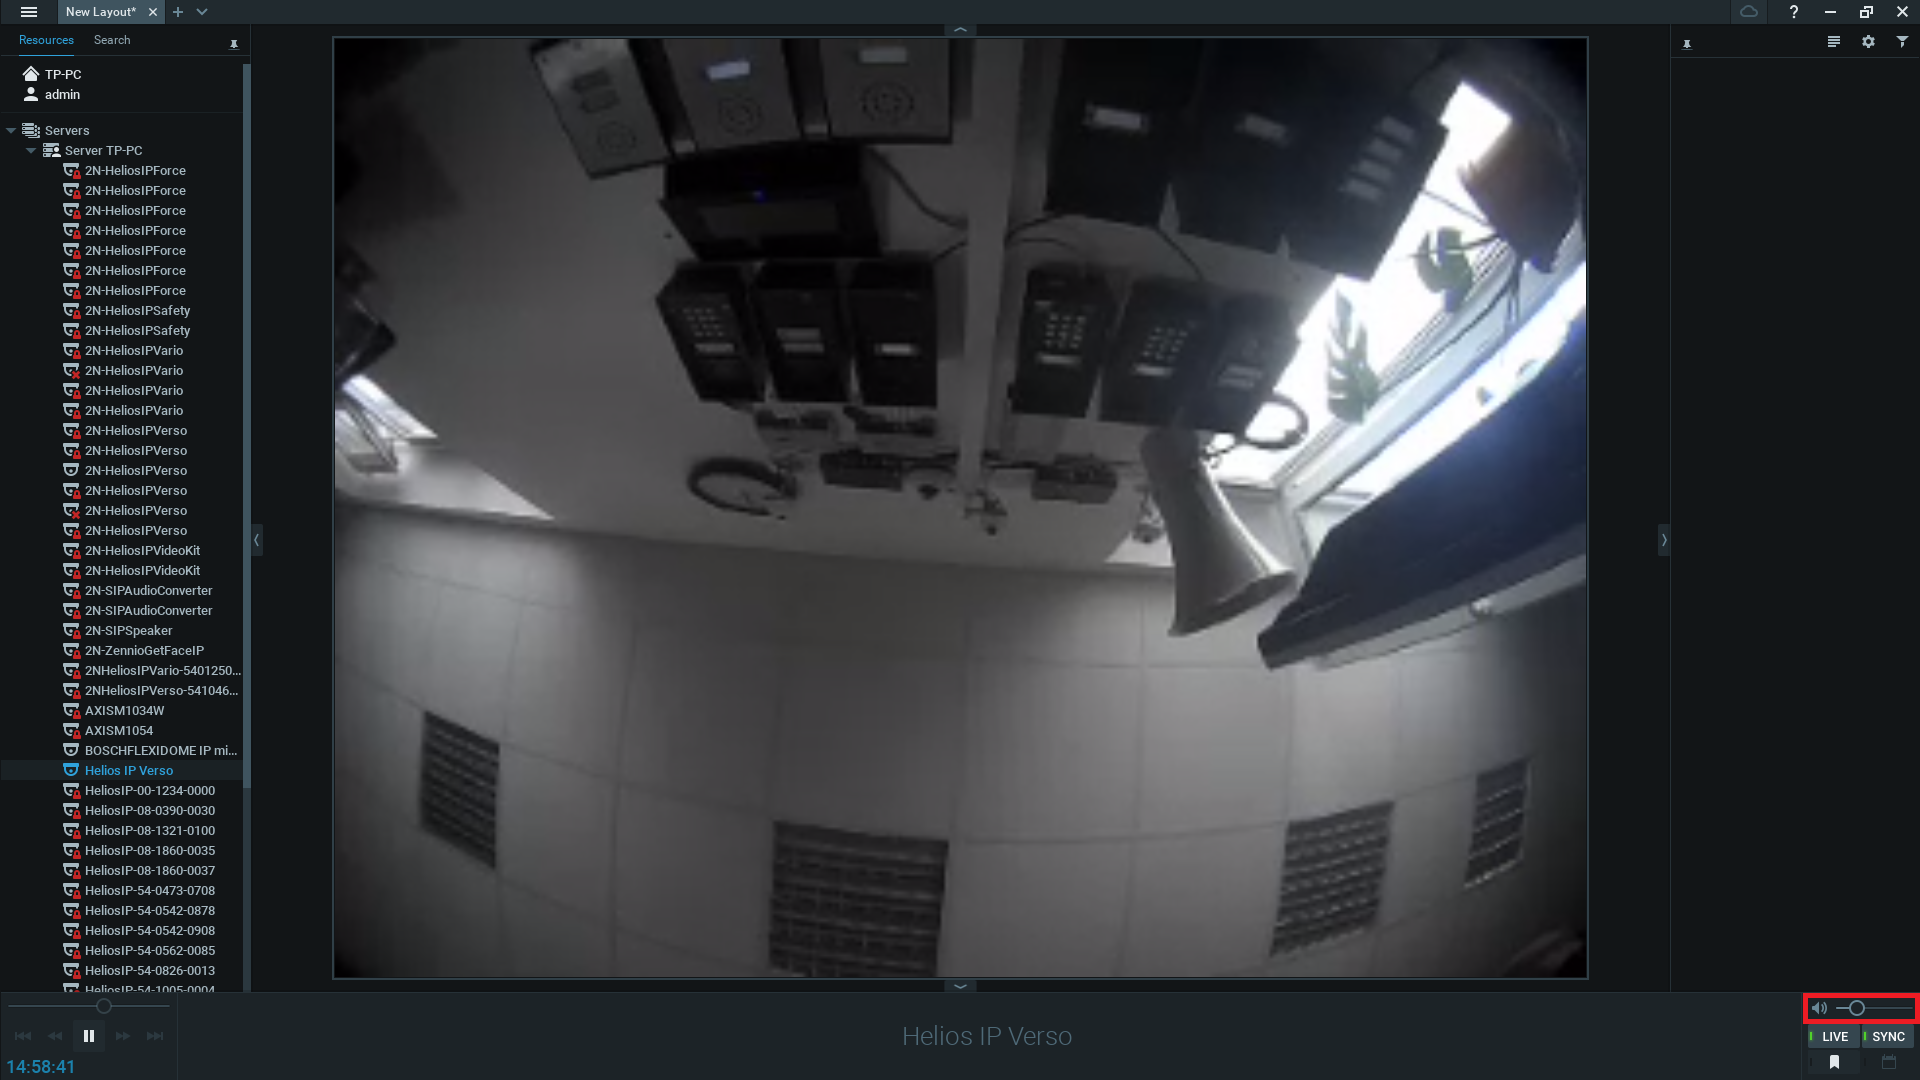
Right click on your camera and select ‘Camera Settings’ to configure. Enable Audio and click the OK button to save settings.
 |
 |
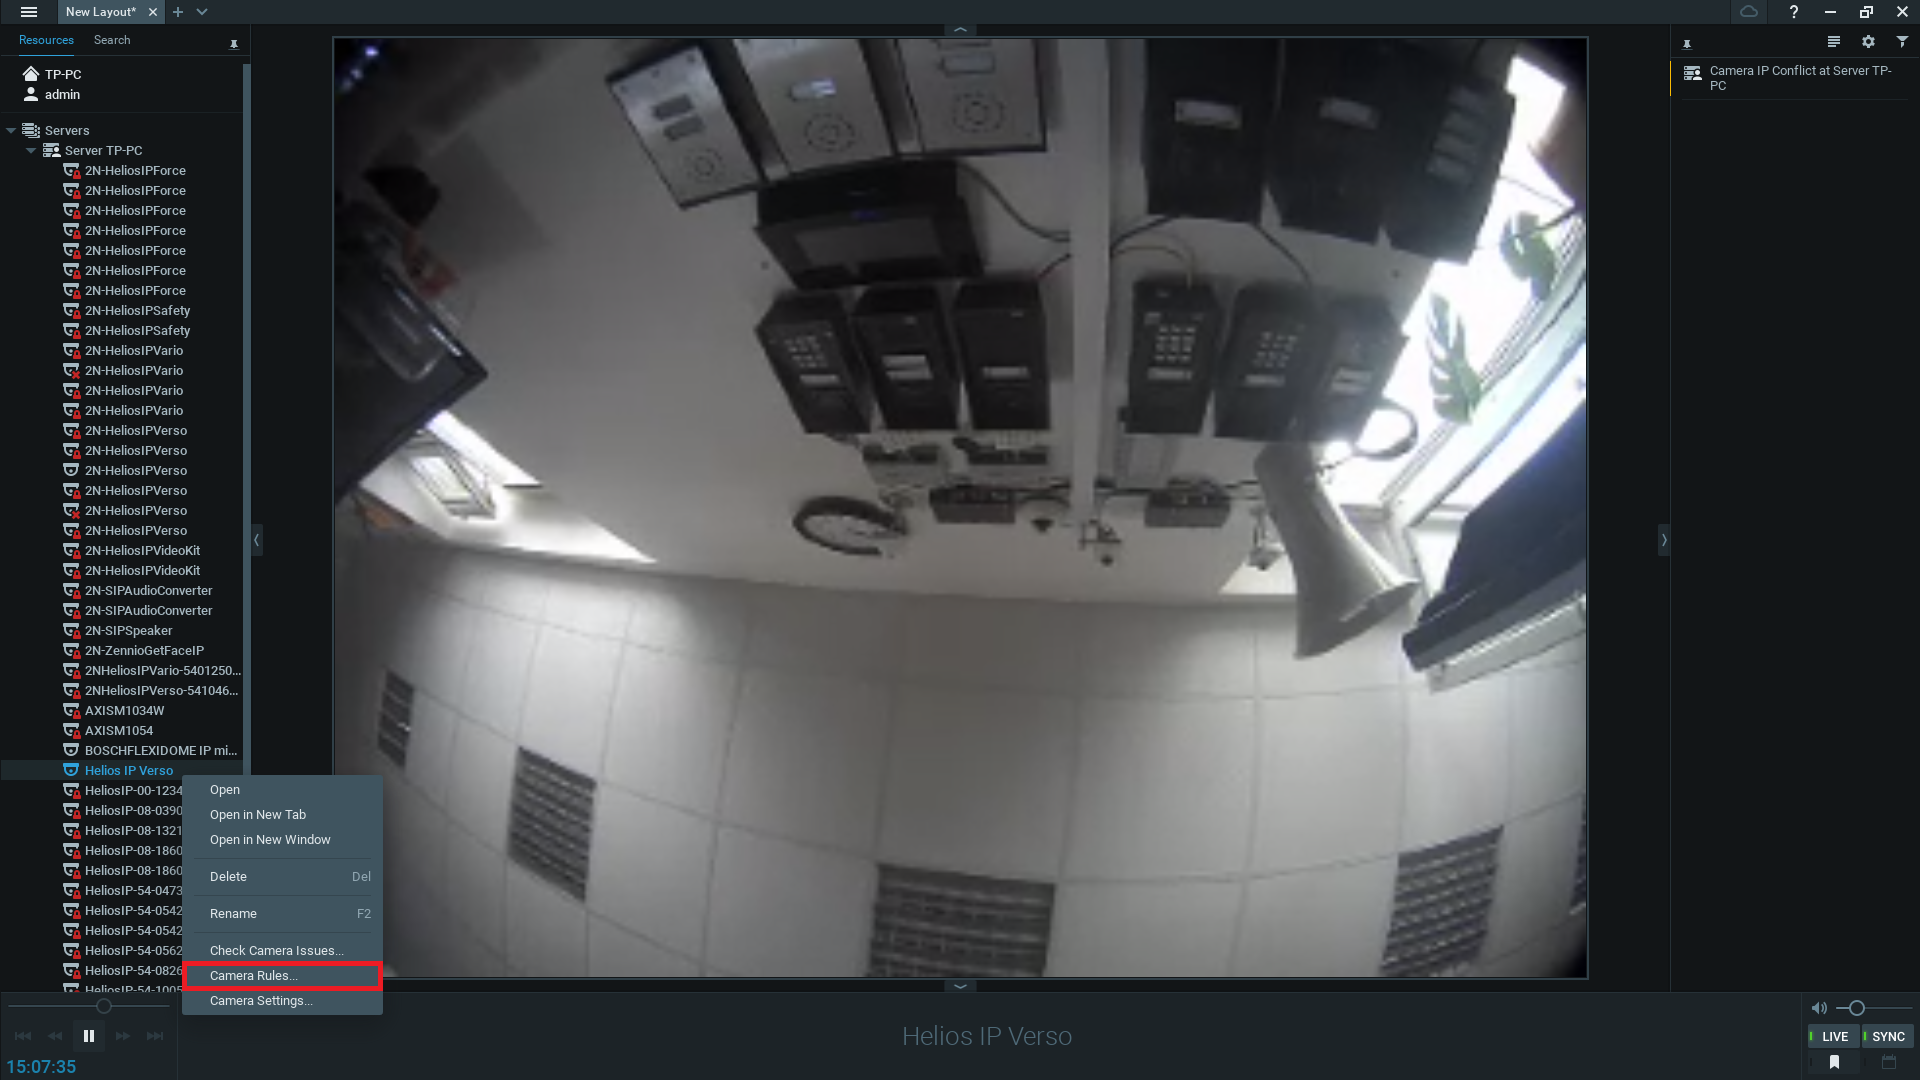
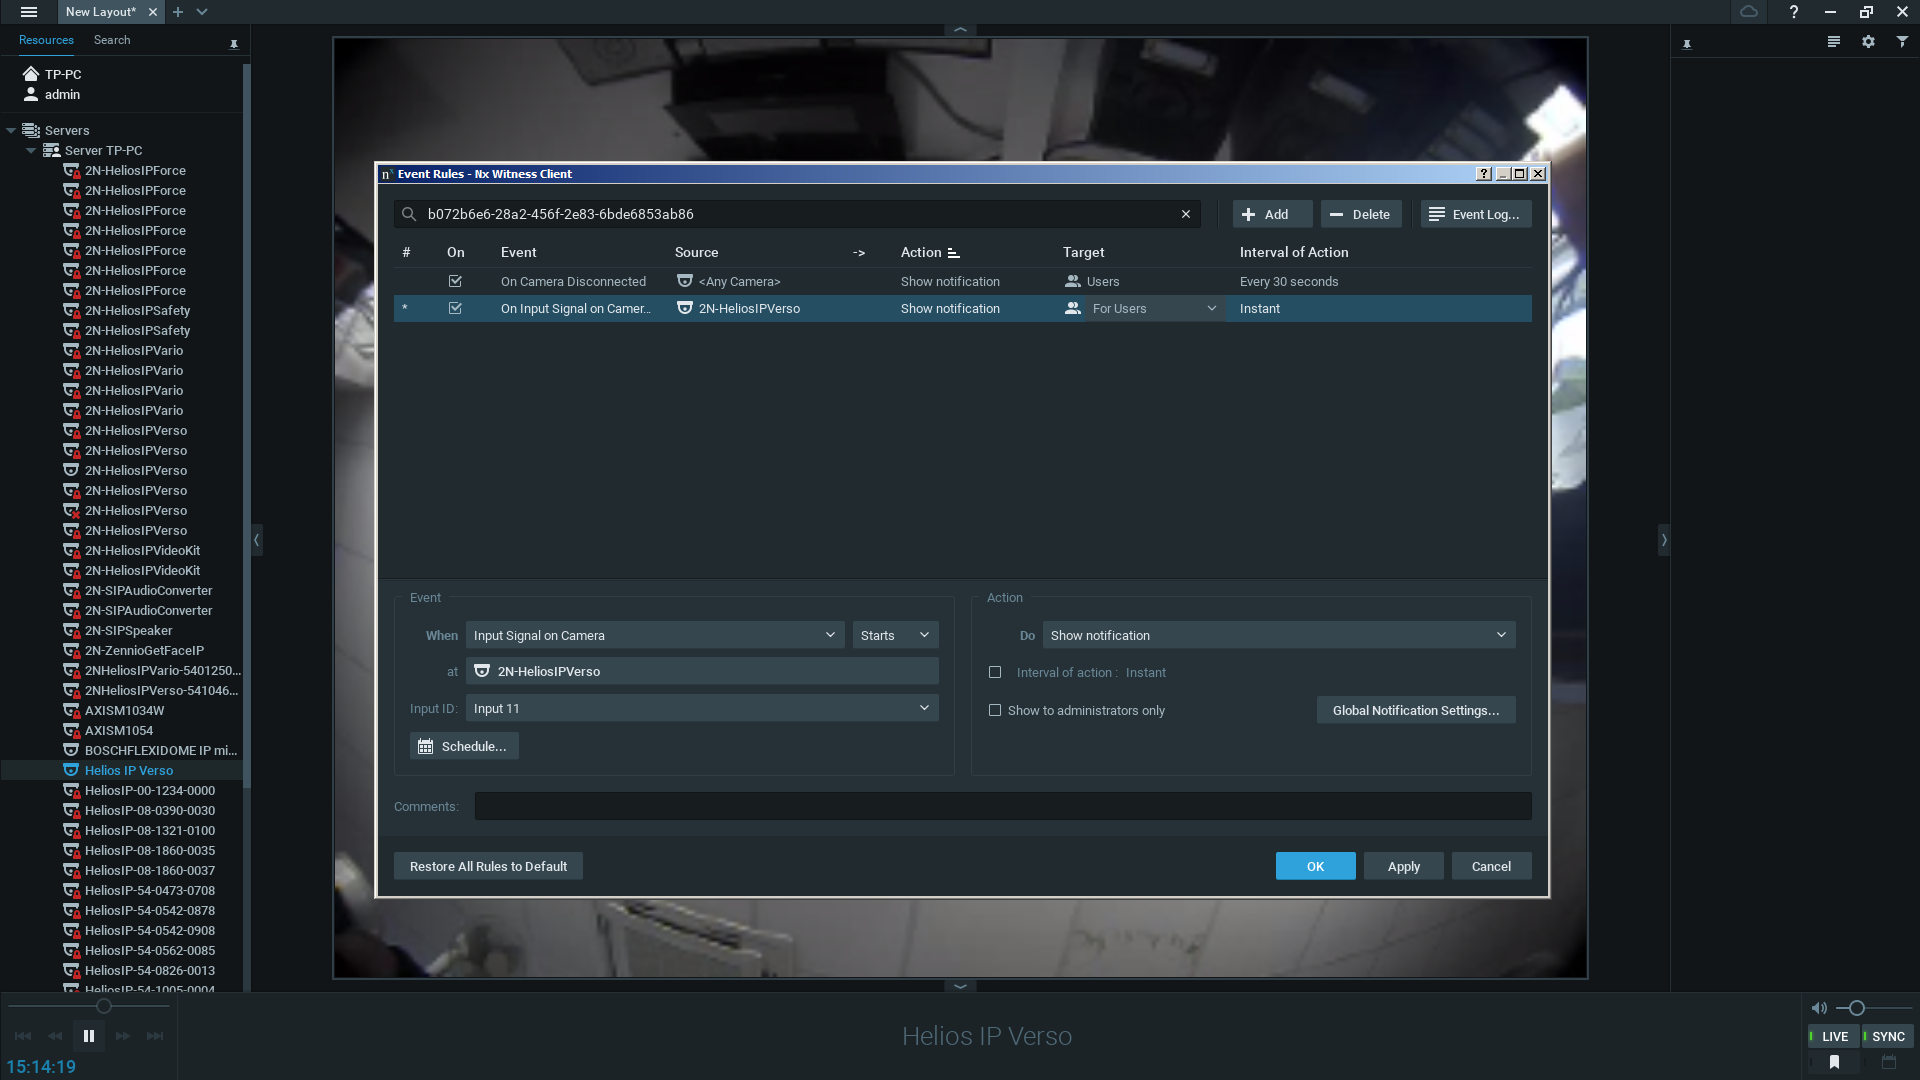
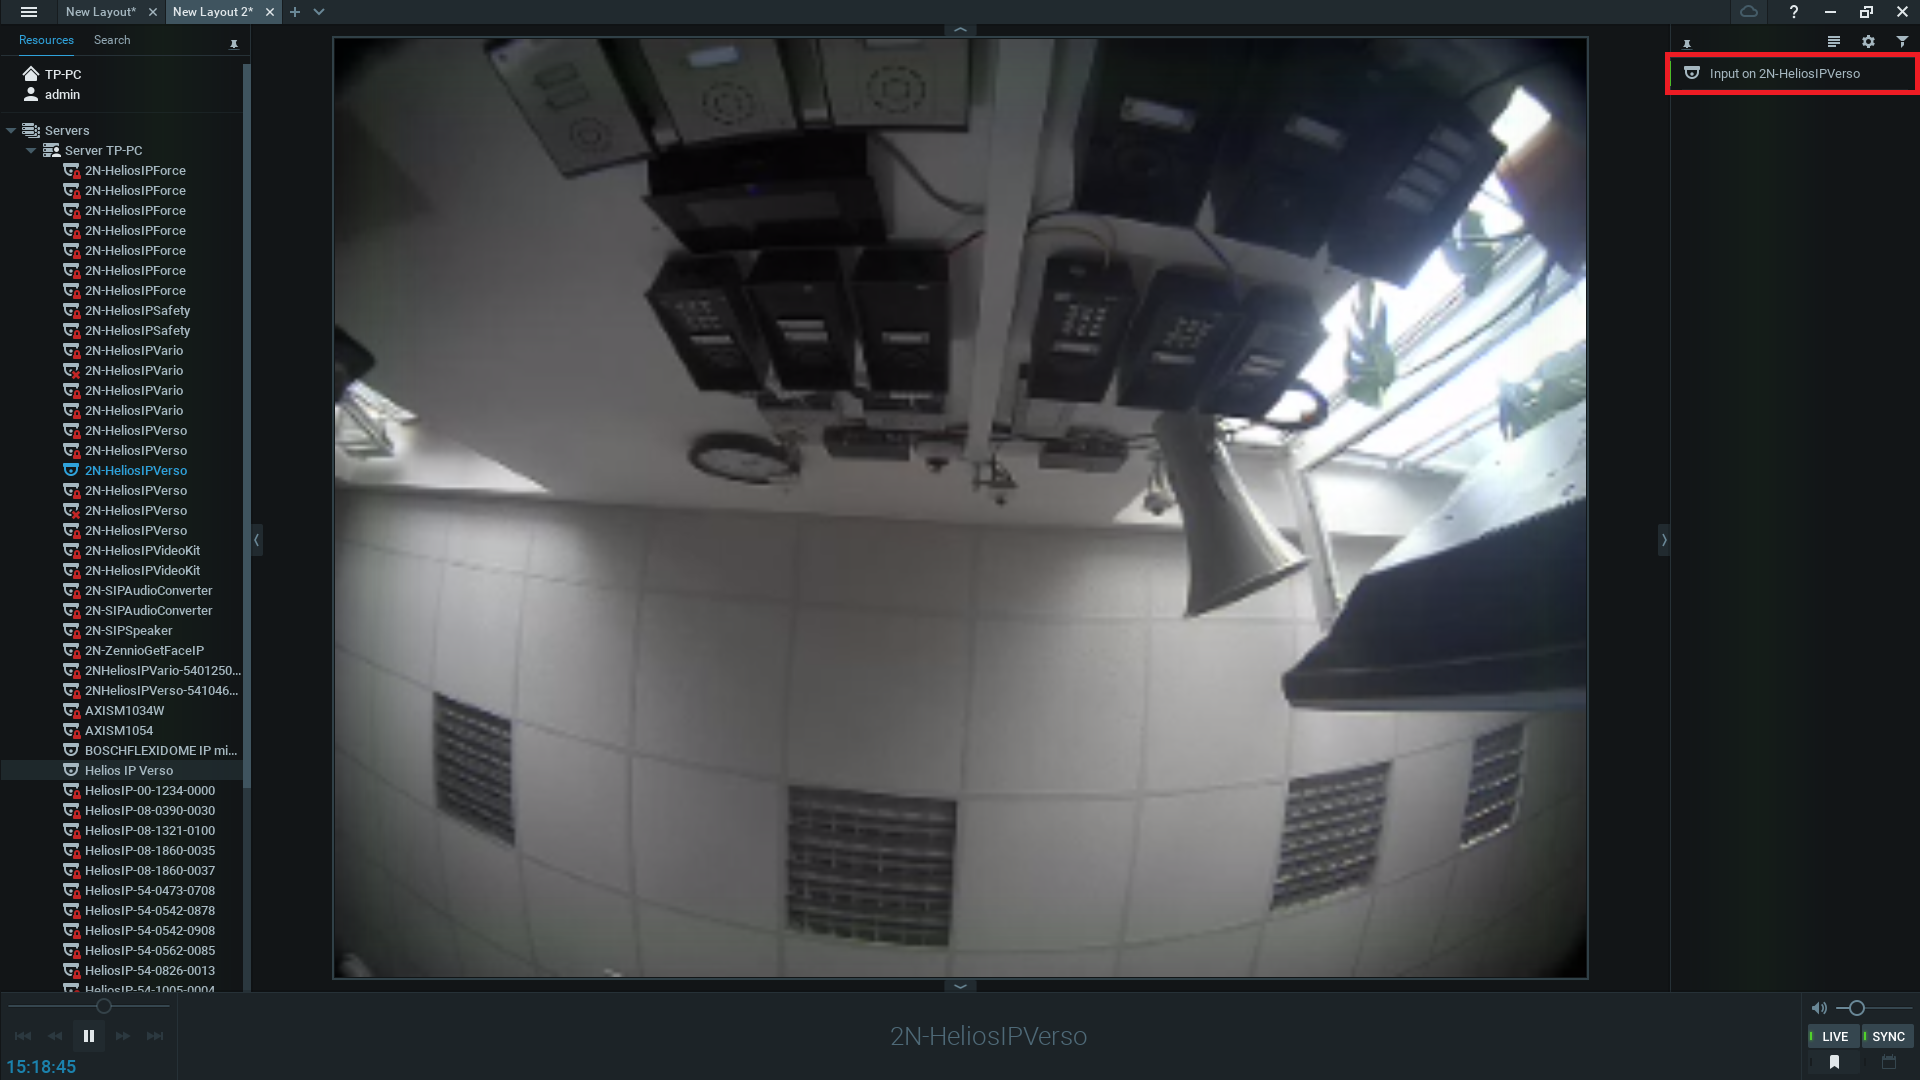
Right click on your camera and select ‘Camera Rules’ to configure.
 |
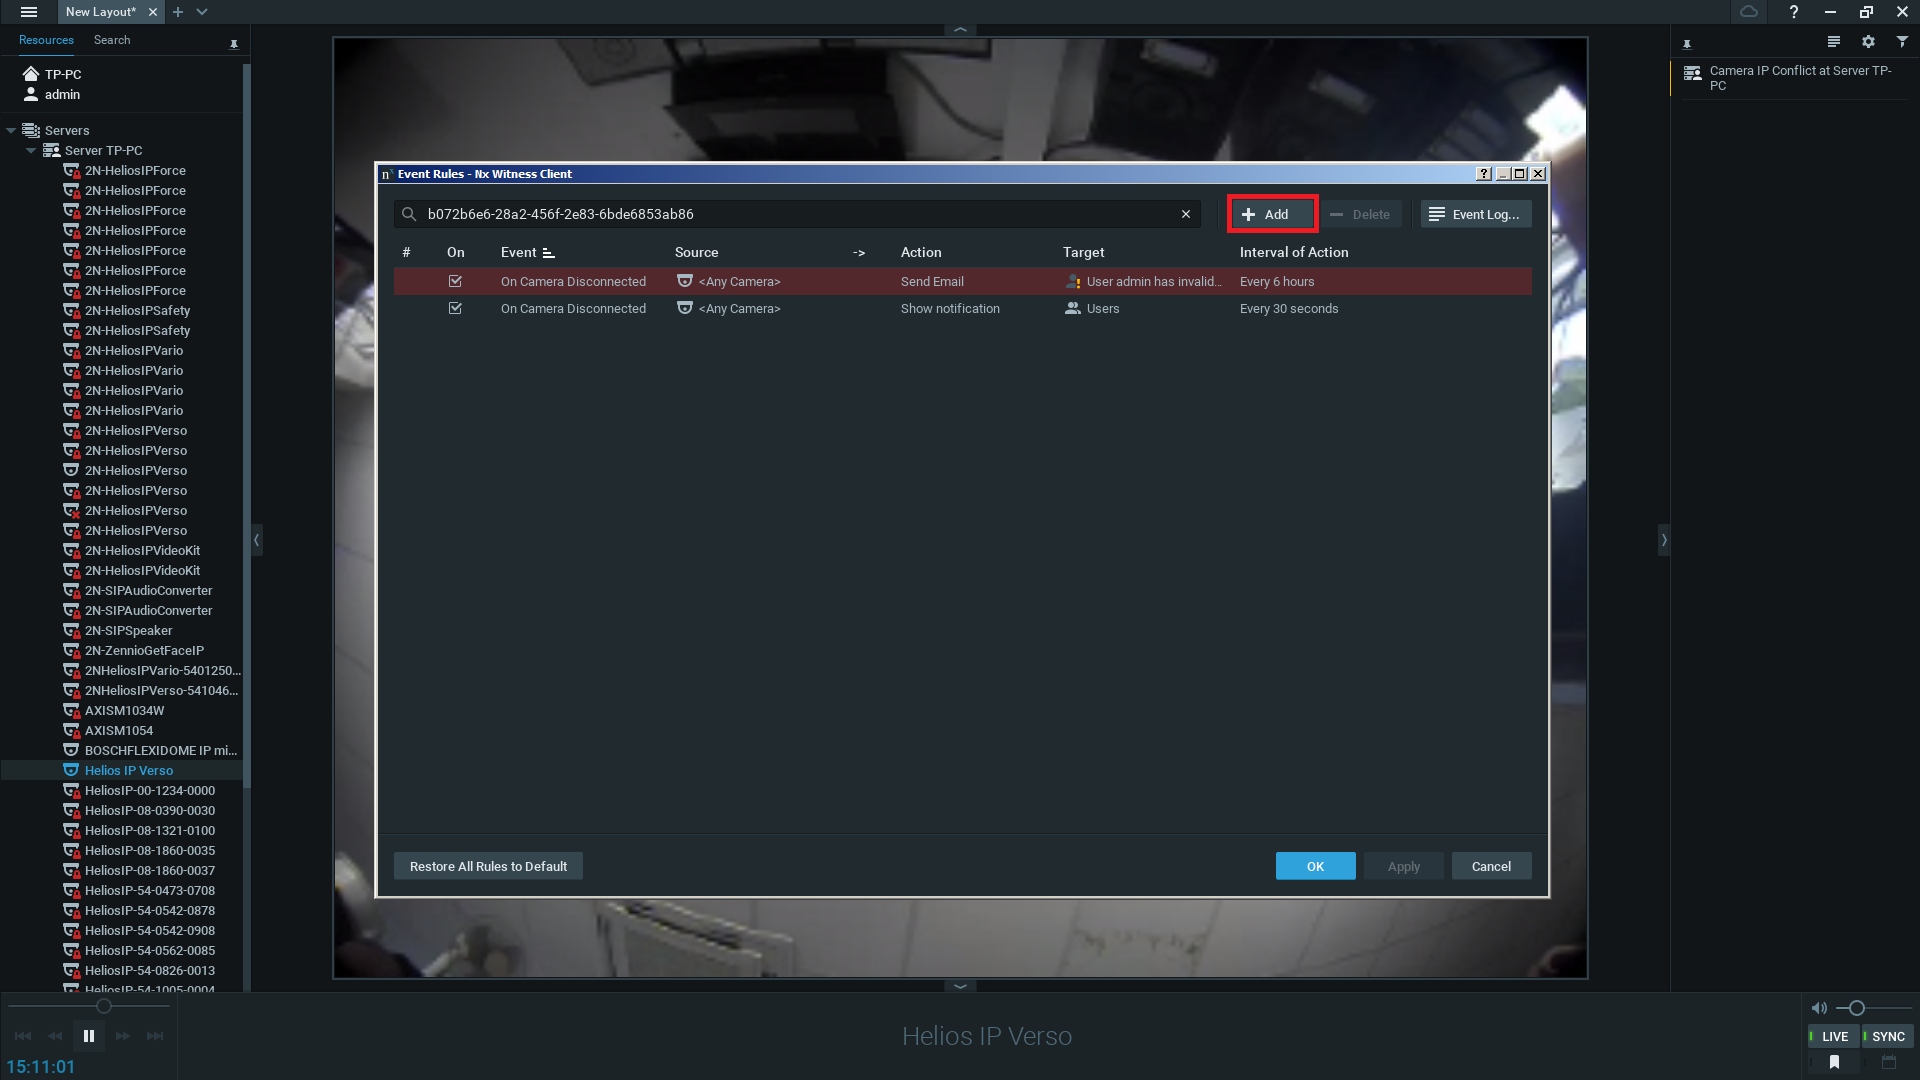 |
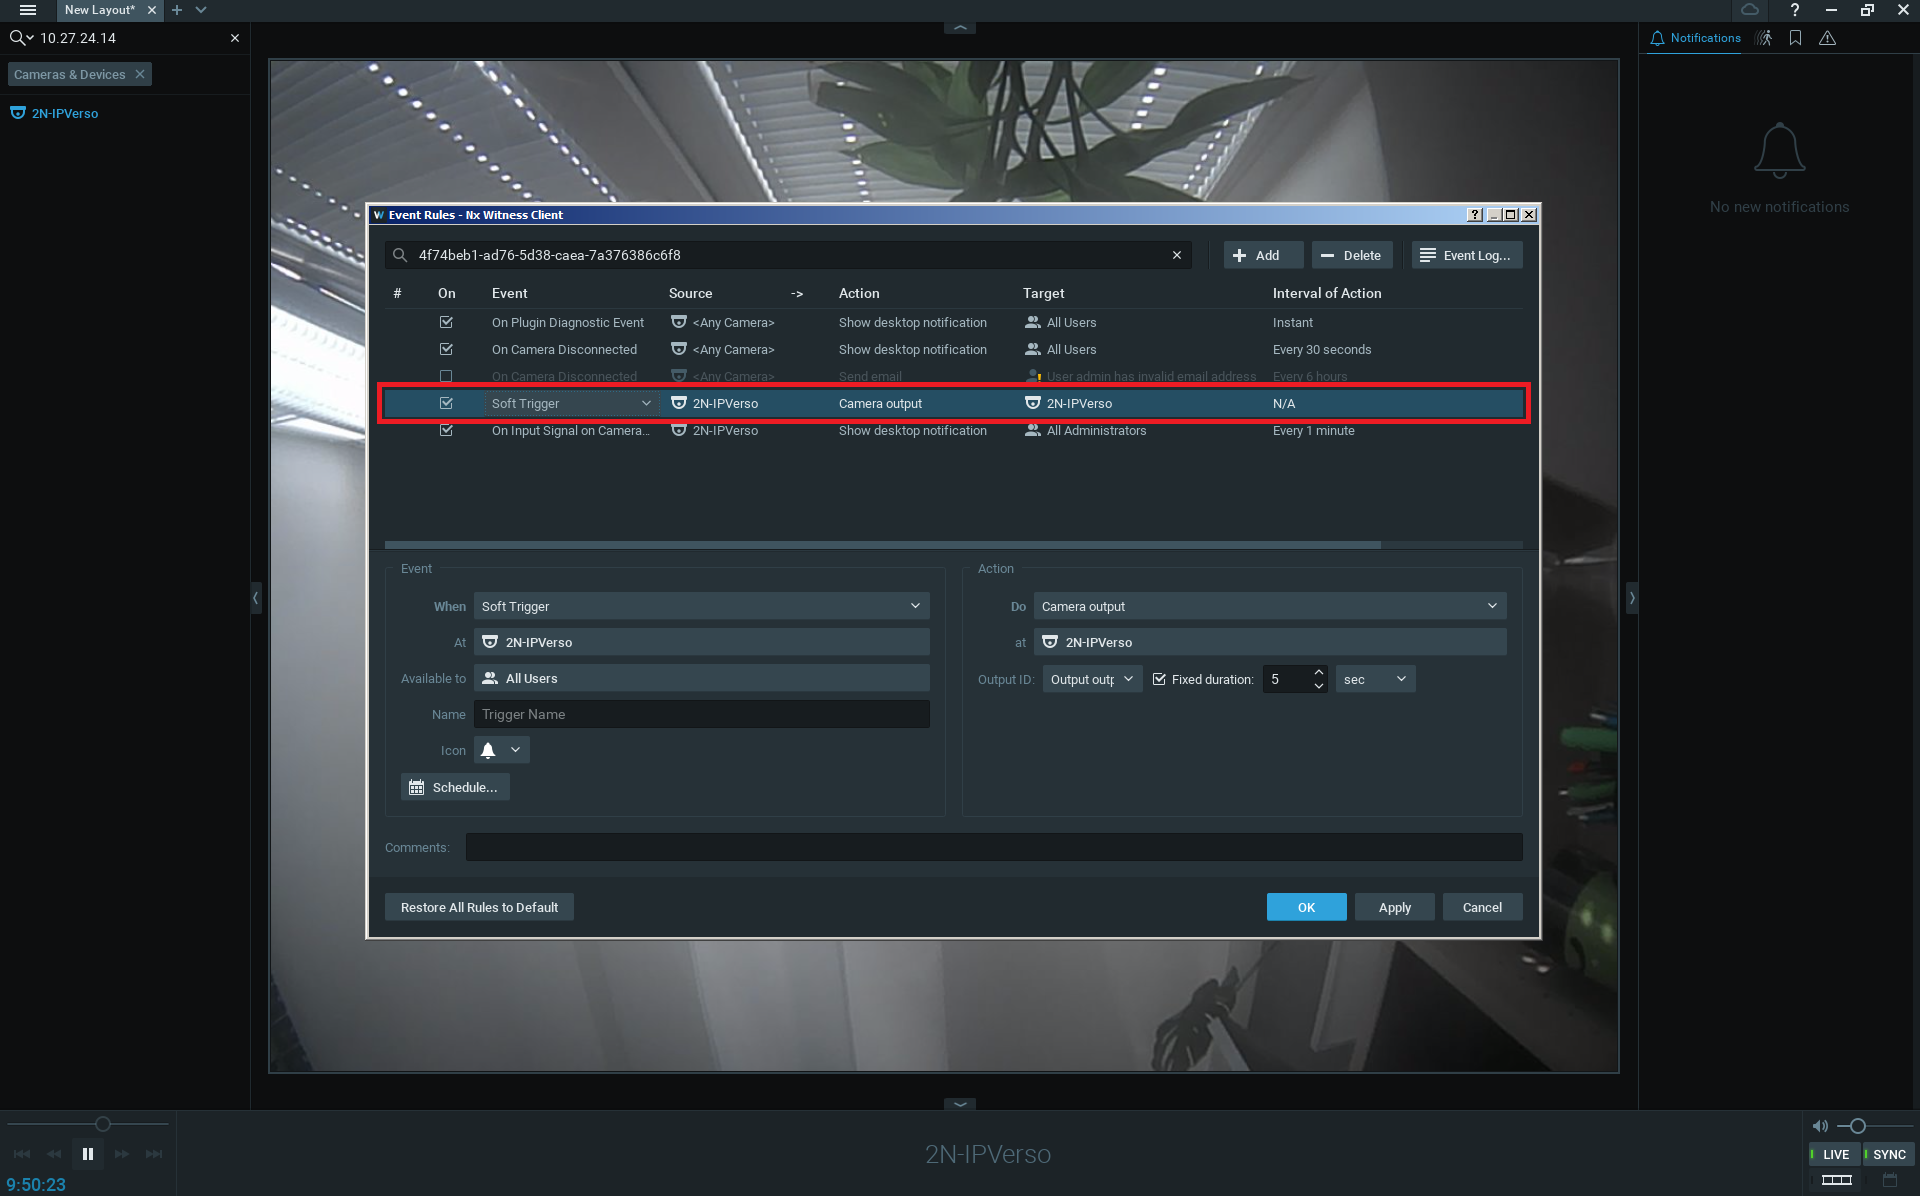 |
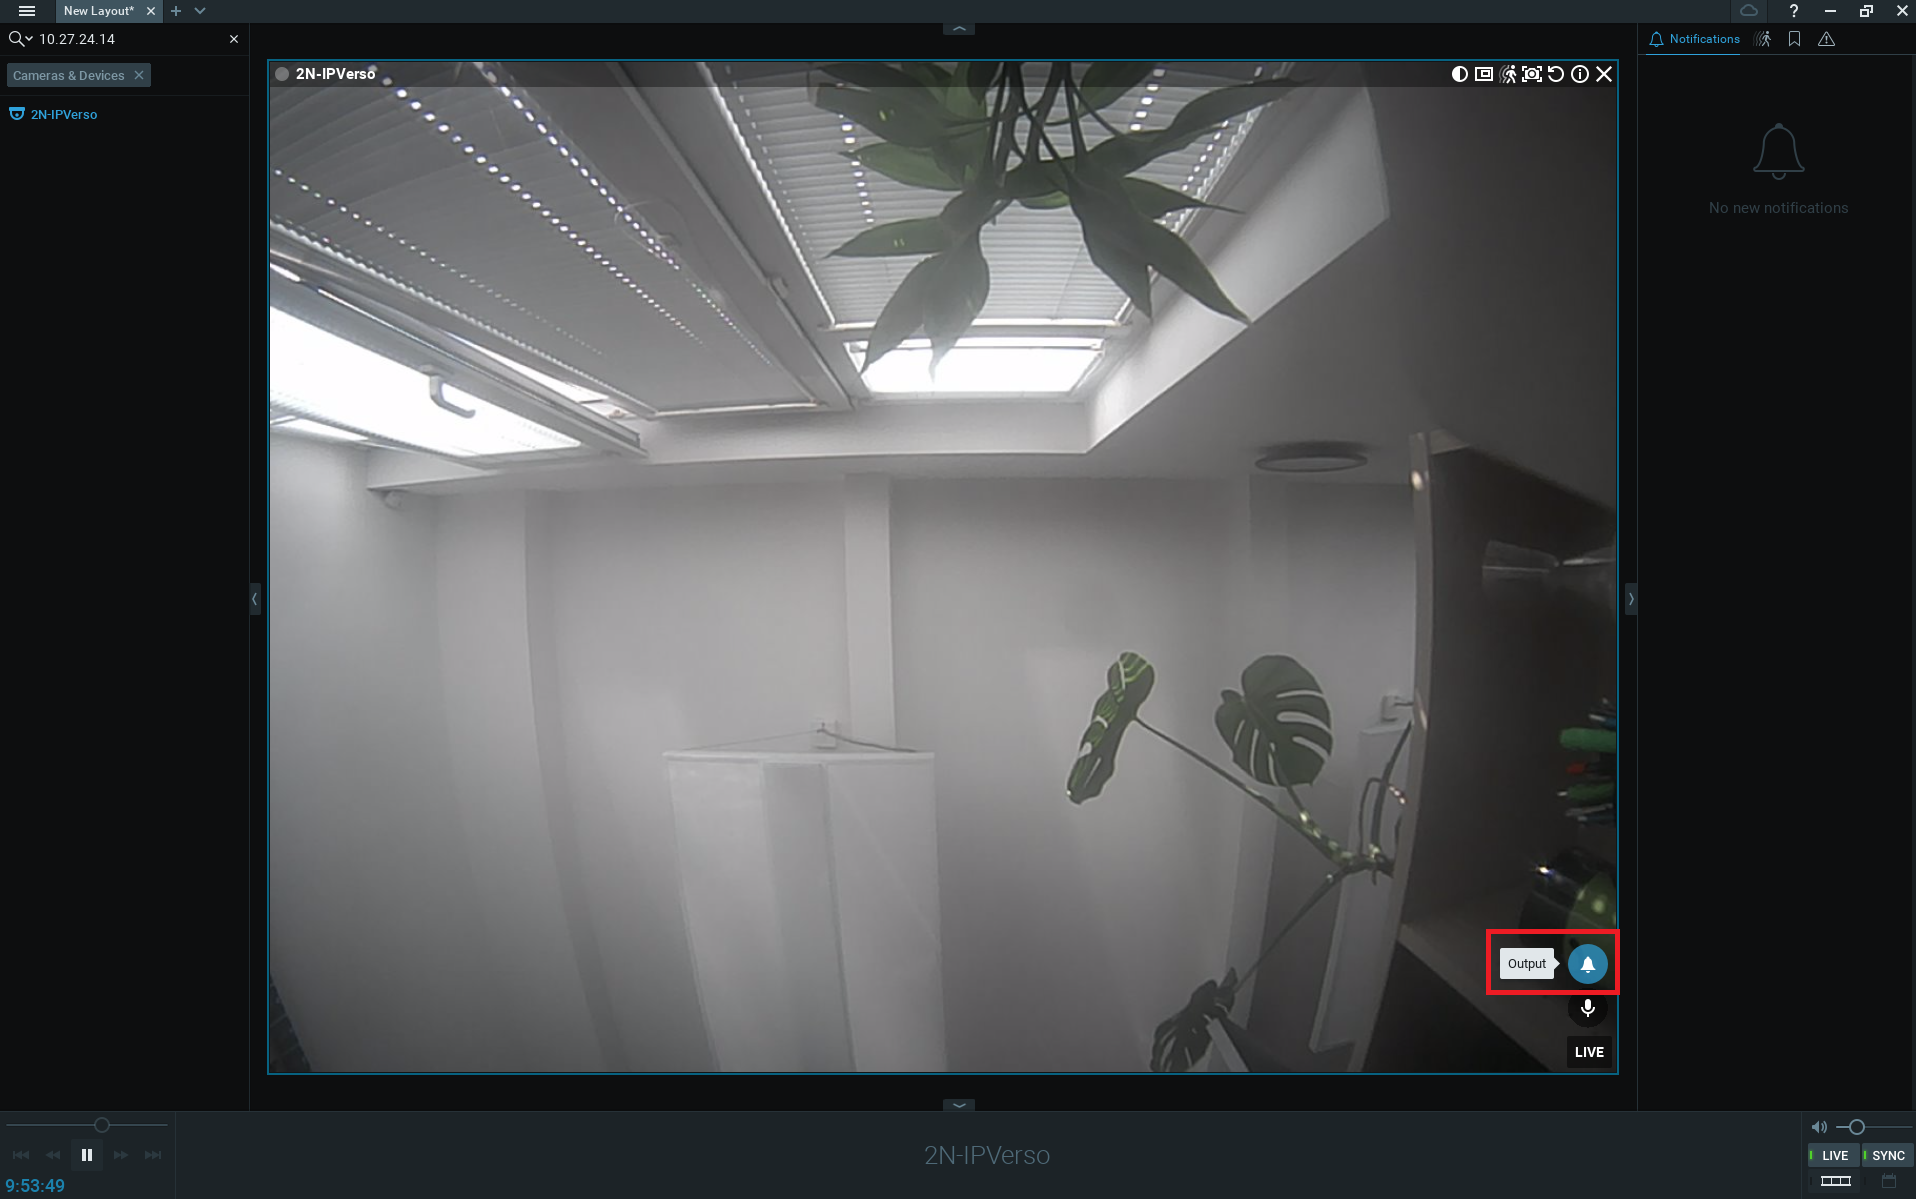 |
Right click on your camera and select ‘Camera Rules’ to configure.
|
|
 |
 |
Version 3
Tested Functions
| Nx Witness | Version Helios IP | Scan device | Video from HIP | Audio from HIP | Audio to HIP | Switch control | Events from HIP |
|---|---|---|---|---|---|---|---|
3.0.0.15297 | 2.19.0.28.5 | N/S | N/S |
2N Helios IP Settings
Check the ‘RTSP Server Enabled’ and Audio/Video Streams as below, then choose your preferred Video Codec from the drop down menu, also ensuring that the ‘UDP Unicast Enabled’ box is checked.
|
|
Tested Features
The intercom should now be visible in the available cameras list, thanks to ONVIF discovery. Locate the intercom that you wish to add to the layout.
|
Right click on your camera and select ‘Camera Settings’ to configure.
|
|
|
Right click on your camera and select ‘Camera Settings’ to configure. Enable Audio and click the OK button to save settings.
|
|
Right click on your camera and select ‘Camera Rules’ to configure.
|
|
|
|
Used Symbols
![]() - Interoperable
- Interoperable
![]() - Work with limitation
- Work with limitation
![]() - Incompatible
- Incompatible